Showing posts with label water reservoir. Show all posts

Friday, October 16, 2020

Economizing with Your Wood Cookstove

In the autumn of 2019, we didn't turn off our electric water heater and make the annual switch to wood heated water and daily firing of the Margin Gem until October 11.   Well, the fall of 2020 has been much cooler here, and with the economic uncertainties of the world today, it seemed prudent to make this transition much earlier.  Thus, we turned off our electric hot water heater on August 30 of this year, and with the exception of running it again for an hour and a quarter on Labor Day, which happened to be hot, all of our water has been heated by the Margin Gem since then.  And because the Margin Gem has been fired daily, the vast majority of our cooking has been done on it too.  This is the earliest we've ever made that transition, and the monetary savings has already been borne out in our most recent electric bill.

This got me to thinking about wood cookstove economics.  If you don't have to pay for your fuel, the wood cookstove can be an enormous money saver.  Yes, buying and installing a woodburning range is quite an investment, but as long as you can harvest and work up your own fuel, you begin to save money starting with the first fire you use in your range.  In the face of dire economic circumstances, I think a woodburning cookstove can be a tremendous tool for making a household as cost-efficient as possible.  Below you will find a list of some ways to take advantage of the money-savings a woodburning cookstove can provide.  Links are provided to posts which go into more detail.

A). Use a Wood Cookstove to Heat Domestic Hot Water

Shutting off our electric hot water heater shaves a minimum of $20 from our electric bill each month.  I figure that by the end of this calendar year, having our water heated by the Margin Gem will have saved us at least $1300 over the life of the system so far.  This means that the extra cost of the range boiler, the water jacket, and the specialized plumbing has paid for itself, and there are many years of continued service left in them.  If your water system and local codes will allow the installation of a range boiler system on your woodburning cookstove, I highly recommend it.

However, even if hot running water from your cookstove is not an option, heating water with your cookstove can be accomplished in a number of other ways.  Most cookstoves have a water reservoir option for heating water that is manually drawn from the stove.  In my experience, water heated in the range's reservoir is much hotter than the temperature at which most people would set their automatic water heaters.  Thus, a water reservoir that only holds five gallons actually provides far more hot water than its capacity because the super-heated hot water will have to be tempered with additional cold water before it can be used.

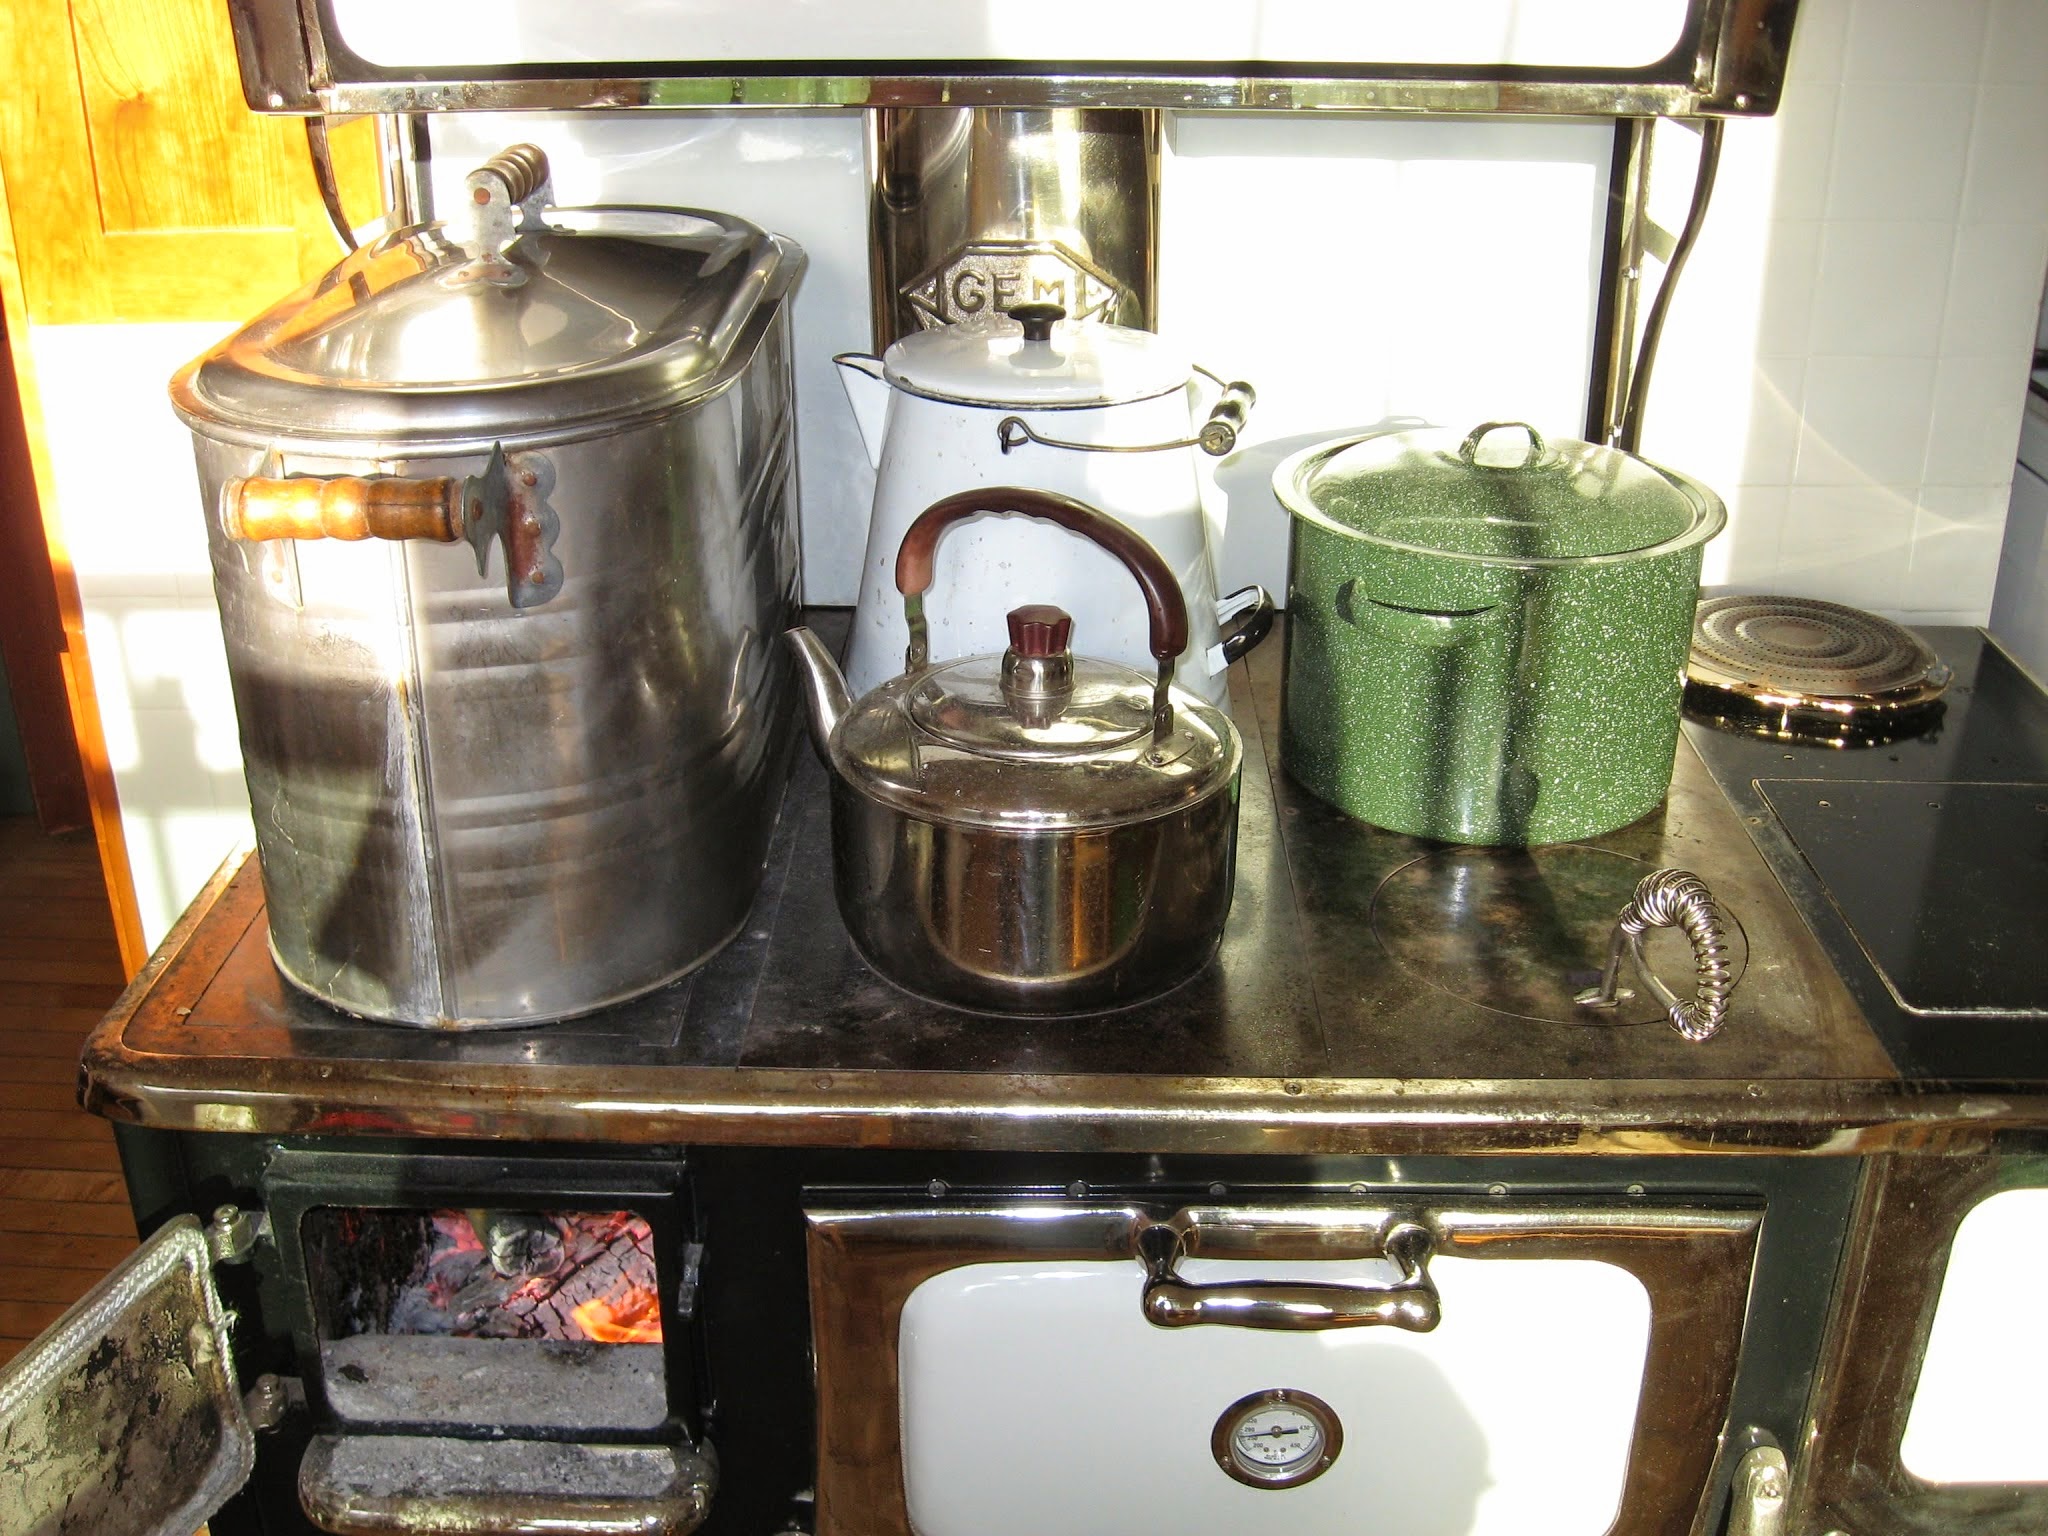
In addition to a reservoir, water can be heated in vessels on top of the stove.  The most commonly found is the old-fashioned teakettle; its spout makes using the water from it quite convenient, too.  You'd be surprised how many dishes can be washed and rinsed in a mere gallon of boiling water that has been diluted with cold water to a usable temperature.  You may find it impossible to turn off your automatic water heater, but you can still save a little money by supplementing it with a little hot water here and there from your wood cookstove.


B. Take Advantage of the Home Heating Capacity of Your Woodburning Range

The woodburning cookstove can be a powerful heater.  In fact, new ranges even come complete with BTU ratings and information about the number of square feet that they can heat.  I'm kind of amused by that because when you look at old cookstove advertisements, the heating capacity of the range is never mentioned.  Instead, they were always about the quality of the stove's construction, its fuel efficiency, and ALWAYS about its superior baking capabilities--even though history is replete with stories about cookstoves being the sole source of heat for many homes.  Nowadays, advertisements tout the cookstove's heating capacity, but they don't say much about how well a stove can bake.  Oh, the pendulum swings we see in life!

To maximize the heating capabilities of your woodburning range, keep the cooktop as free from extra kettles and miscellaneous as possible in order to let the heat radiate into the room.  Open that oven door, too!  The greater the surface area that is exposed, the greater the heat sent into the room.

Also, a strategically placed fan can move the heat through your house better, making you feel warmer when you are not standing right next to the stove.  You can see our wood stove fan to the right on the Qualified Range below.  For more details about getting the most heat from your wood cookstove, visit this post. 


C) Use Your Woodburning Range Instead of Your Small Kitchen Appliances

Conventional kitchen wisdom is that electric countertop appliances use less energy than utilizing your kitchen stove to accomplish the same cooking task.  This is the complete opposite of what happens when your kitchen stove is a woodburning range.  Here is a list of small electrics that can stay in the cupboard when the cookstove is in use:

The Electric Skillet
French Toast cooking on the wood cookstove.

The Toaster

For a very lengthy post about the many ways you can toast bread on a wood cookstove, visit here and here.

The Microwave

In the pictures below, you can see me using the warming ovens on both the Riverside Bakewell and the Margin Gem to soften or melt butter and to defrost homemade applesauce.  Susan Fenoff, in her video about using wood cookstoves, calls the warming oven her "Amish microwave."


The Waffle Iron


Waffles are delicious, but waffles cooked on a wood cookstove are a step above in my opinion.


The Slow Cooker or Crock Pot

There are actually many ways that you can use your cookstove as a slow cooker/crock pot, but the method discussed in this post creates the most similar heat by using your wood cookstove's oven with the door open.

The Electric Wok

I don't know anyone with an electric wok anymore, but I know they exist.  However, you don't need one because you can cook wonderful Oriental food in a stovetop wok on a wood cookstove.

The Insta-Pot

I am almost afraid to point this one out since I know many people are in love with their Insta-Pots, but you can use a pressure cooker on top of a wood cookstove quite easily.  Sure, it won't do all of the things that an Insta-Pot can do, but you can pick up a cheap used pressure cooker in second hand stores very easily, and the food possibilities are endless and fast.


My favorite thing to cook in a pressure cooker is tougher cuts of meat, but you can quickly cook vegetables, rice, and even hot cereals in them.

The Popcorn Popper

You'll need a very hot fire, but you can easily pop popcorn on top of a woodburning cookstove, and don't worry about having a fancy hand-cranked popper.  You can get popcorn that is every bit as delicious by shaking it in a plain old saucepan.

The Deep Fat Fryer

Of course you have to be careful, but the wood cookstove is great for deep fat frying.  Historically, wood cookstove cooks favored frying over baking because it is easier to control the temperature of the oil than the oven.  In the picture above, you see homemade chicken nuggets frying on the Margin Gem, and in the post I wrote about them, I discuss the details and cautions that are necessary to deep fat fry on a wood cookstove.

Some readers may look at the above points and note that specialized equipment is sometimes necessary.  For example, in order to bake waffles on your wood cookstove, a stovetop waffle iron is a requirement.  They are increasingly hard to come by in antique stores, and the price has risen exponentially in the last twenty years.  However, new stovetop waffle irons are still available from Lehman Hardware, and at anywhere between $30 - $60, they are competitively priced with new electric ones.  Stovetop waffle irons can be used on gas and electric coil-type modern ranges too, so they are not a bad investment when your countertop waffle iron gives up the ghost.

D. Use Your Wood Cookstove in Place of Other Non-Cooking Appliances

Your wood cookstove can do the jobs of other energy consuming appliances as well.  Here is a list of non-cooking appliances that you can unplug:

The Scentsy® Warmer

Wonderful aromas can be sent wafting through your home by simmering potpourri on top of your wood cookstove.  You'd be amazed how many things resting quietly in your spice rack can be put to use as perfumes for your house without having to spend a ton of money on a ceramic warmer and individually packaged lumps of colored soy oil.

Still, if the colored lumps are your preference, you can melt them in a pan on the cool end of the range just as well as in the expensive warmers.  The same can be said of candles in glass jars.  When we get down to the bottom of a candle which has a scent we really enjoy, instead of lighting the candle, we just put the glass jar as far away from the fire as possible.  The warmth of the stove still melts the wax so that it can emit the scent.  Eventually, the aroma wears away and the candle can move onto its next stage of usefulness, but we've taken all possible advantage of its perfume.  NOTE: Just be sure not to put any glass candle vessels where the heat of the fire is so intense that it could break the glass.  That could be a disastrous fire hazard!

The Clothes Iron

I know, I know.  Some of you are laughing because it's been years since you've ironed any clothes at all.  Well, more power to you.  But for those of us for whom ironing is still a very real chore, ironing can still be accomplished with a wood cookstove as your source of heat.  That's all I'll say about that here.

The Clothes Dryer


American households have to be the worst in the world about wasting energy to dry clothing.  Oops!  Sorry, I jumped up on one of my soapboxes there for a second.  Seriously, though, a clothes rack placed near the wood cookstove can speed along the drying process for freshly laundered clothes.  In the past, woodburning ranges were even equipped with rods for drying towels, mittens, and socks.  Cookstoves can still be used to cheaply and quickly dry clothes.  The double advantage in this is that your can also unplug your home humidifier if you are hanging your clothes to dry indoors.

E. Eat Leftovers

Reducing food waste is one of the easiest things a household manager can do to save money.  In the future, I hope to write a series of posts which give hints and recipes for making leftover foods into entirely new dishes.  I will admit that reheating leftovers is the primary function of our microwave oven, but there are many more tasty ways that leftovers can be reheated or re-made using the wood cookstove.  For example, instead of tossing mashed potatoes in the microwave and having them come out smelling unappetizing and looking no better, making mashed potato patties requires only a little extra effort, and the end product is three times as delicious.

Two posts that I already have which deal with leftovers include one about how to use leftover roast beef and gravy that is very good.  However, if you are really serious about stretching your grocery dollar, the most economical food discussed on this blog is definitely pot-au-feu.

A bowl of Pot-a-Feu.

Literally translated from the French, pot-a-feu means "pot on the fire."  It is as delicious as you want it to be, it is never the same twice, and it is only feasible on a wood cookstove.  

In short, to get the largest financial return from a wood cookstove, make it the energy center of the home.  This is most certainly the way our ancestors used their kitchen ranges, and if one of today's households is blessed with a working wood cookstove, it still has every capability of serving in that capacity.

So, dear readers, what have I missed?  Fill up the comments below with what you do, what you remember your ancestors doing, or what you have heard others did to save money with a wood cookstove.  I'm anxiously awaiting your feedback.

Tuesday, September 10, 2013

Marjorie's Busy Weekend

Last weekend was a very busy one.  Besides visiting Carstens Farm on Saturday and having a potluck brunch and church service in the park on Sunday morning, pretty much the rest of the weekend was taken up with canning and preserving.

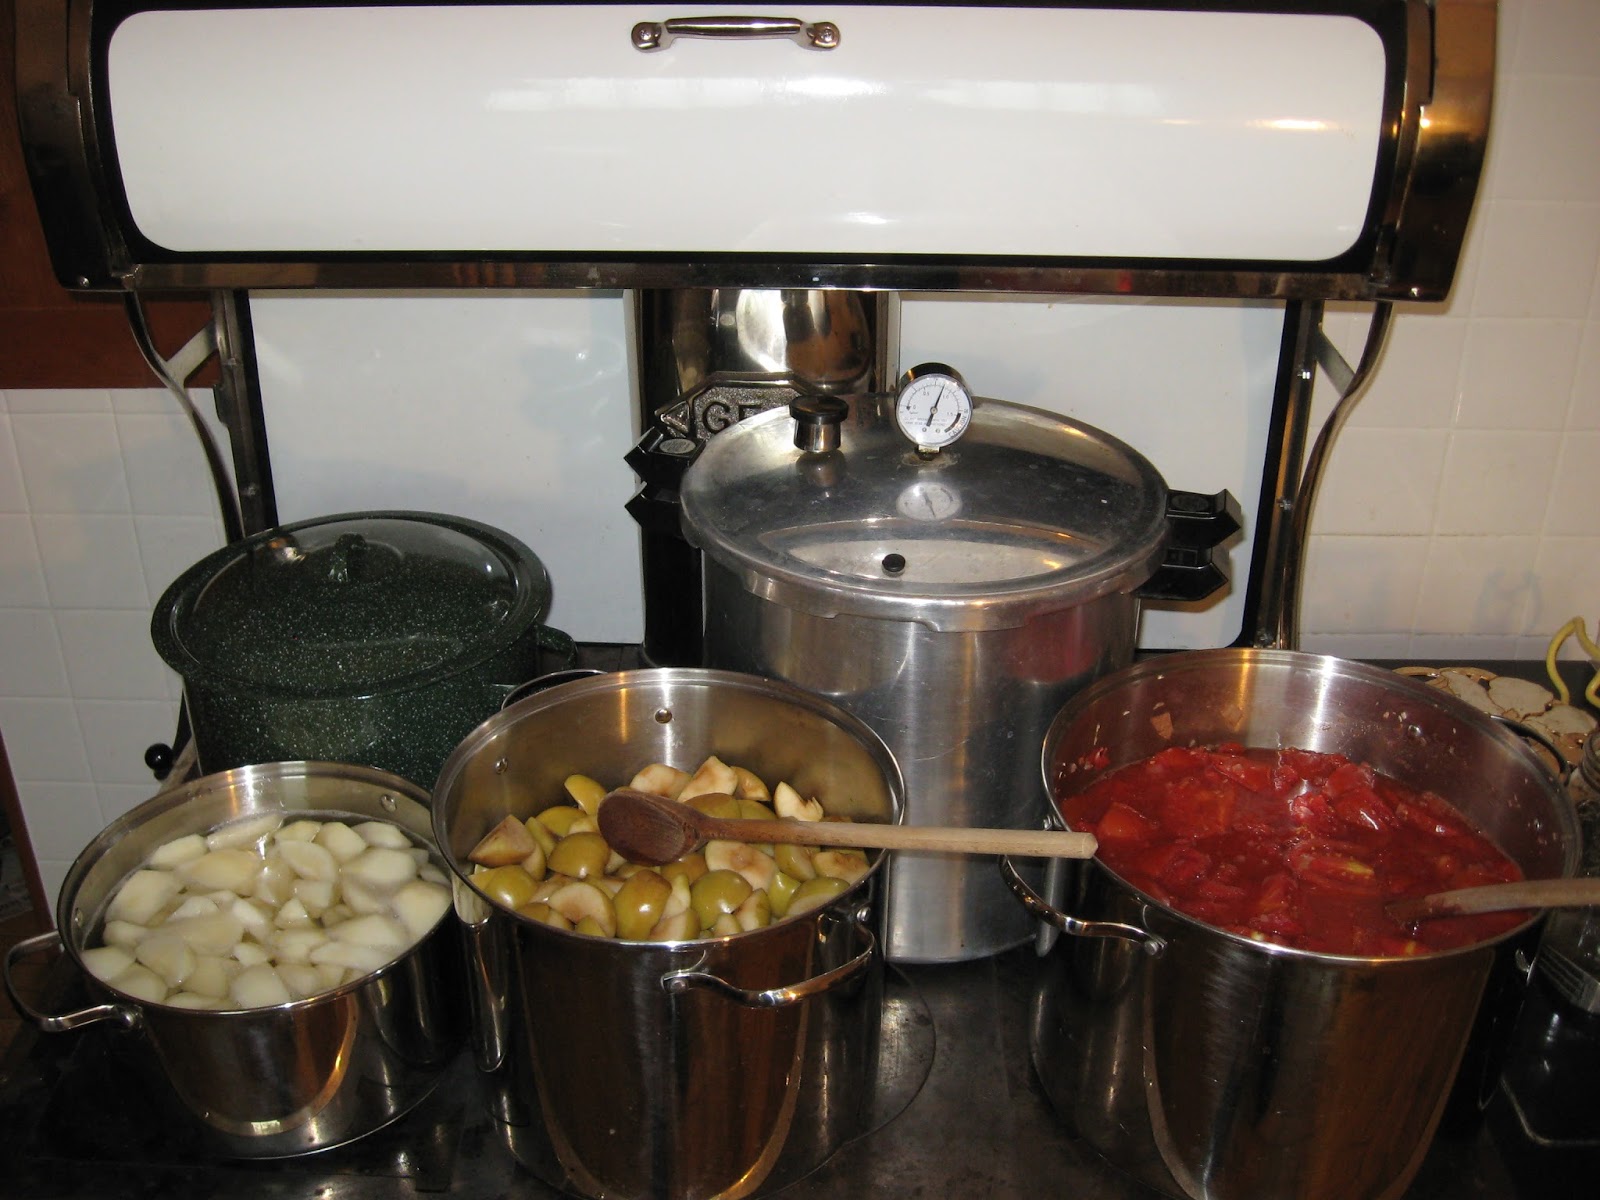
Many different produce items are currently ripe in our corner of the world, so we had a wide variety of tasks to complete, and despite temperatures in the 90s and considerable humidity, we fired up Marjorie the Margin Gem to do the canning.  First, we quickly canned the small batch of sweet pickles that my mother had been working on for the last two weeks.  She used my great-grandmother's recipe, which all of my dad's side of the family is quite fond of.  While they were in the canner, we started making pectin out of the unripe Jonathan apples which we plucked from the broken branches of my favorite apple tree in our orchard.  We also put a kettle of Roma tomatoes from my mother-in-law on the stove to cook down for homemade ketchup.  Then, we canned green beans from my sister-in-law's garden, and began to work on canning the pears from the tree in our orchard.  All of this kept the Margin Gem's cooktop quite full.


A very busy Margin Gem cookstove pressure
canning and water bath canning at the same time.

Notice in these two photos that the Margin Gem is accommodating seven vessels.


A closer picture of the many pots on the cooktop.  Pears boiling
to be hot-packed are on the lower left.  The apples being cooked
for pectin are in the middle rear; the tomato and onion mixture is
in the right rear.  The two canners, the teakettle, and scalding lids
round out the picture.


Things had to move once the pressure canner reached the
appropriate point. 
On Sunday afternoon, the stovetop looked quite similar except that the pears were replaced with peaches.  The pectin was on its second cooking, and we filled the sixteen-quart kettle with a second batch of tomatoes.

I'm terrible at guessing quantities of food to be canned, and I frequently miss my guess when it comes to how much fruit it will take to fill the canner.  Therefore, one of the things that I really like about using the wood cookstove for water bath canning is the reservoir.  If I have more fruit prepared than I can actually fit in the canner, what I've taken to doing is going ahead and filling the extra jar with the fruit and boiling syrup, putting the lid on it, and then placing it in the hot water in the reservoir.  This way, the jar won't seal prematurely (like it would if you were open-kettling), and I'm quite sure that the high temperature of the reservoir prevents any bacteria growth in the short time before the jar of fruit is removed to the canner once the initial batch of jars is finished processing.

I have read that if your stove's water reservoir is capable of reaching the boiling point, you can just do your water bath canning in the reservoir.  So far, the water in the Margin Gem's reservoir has not gotten hot enough to boil.

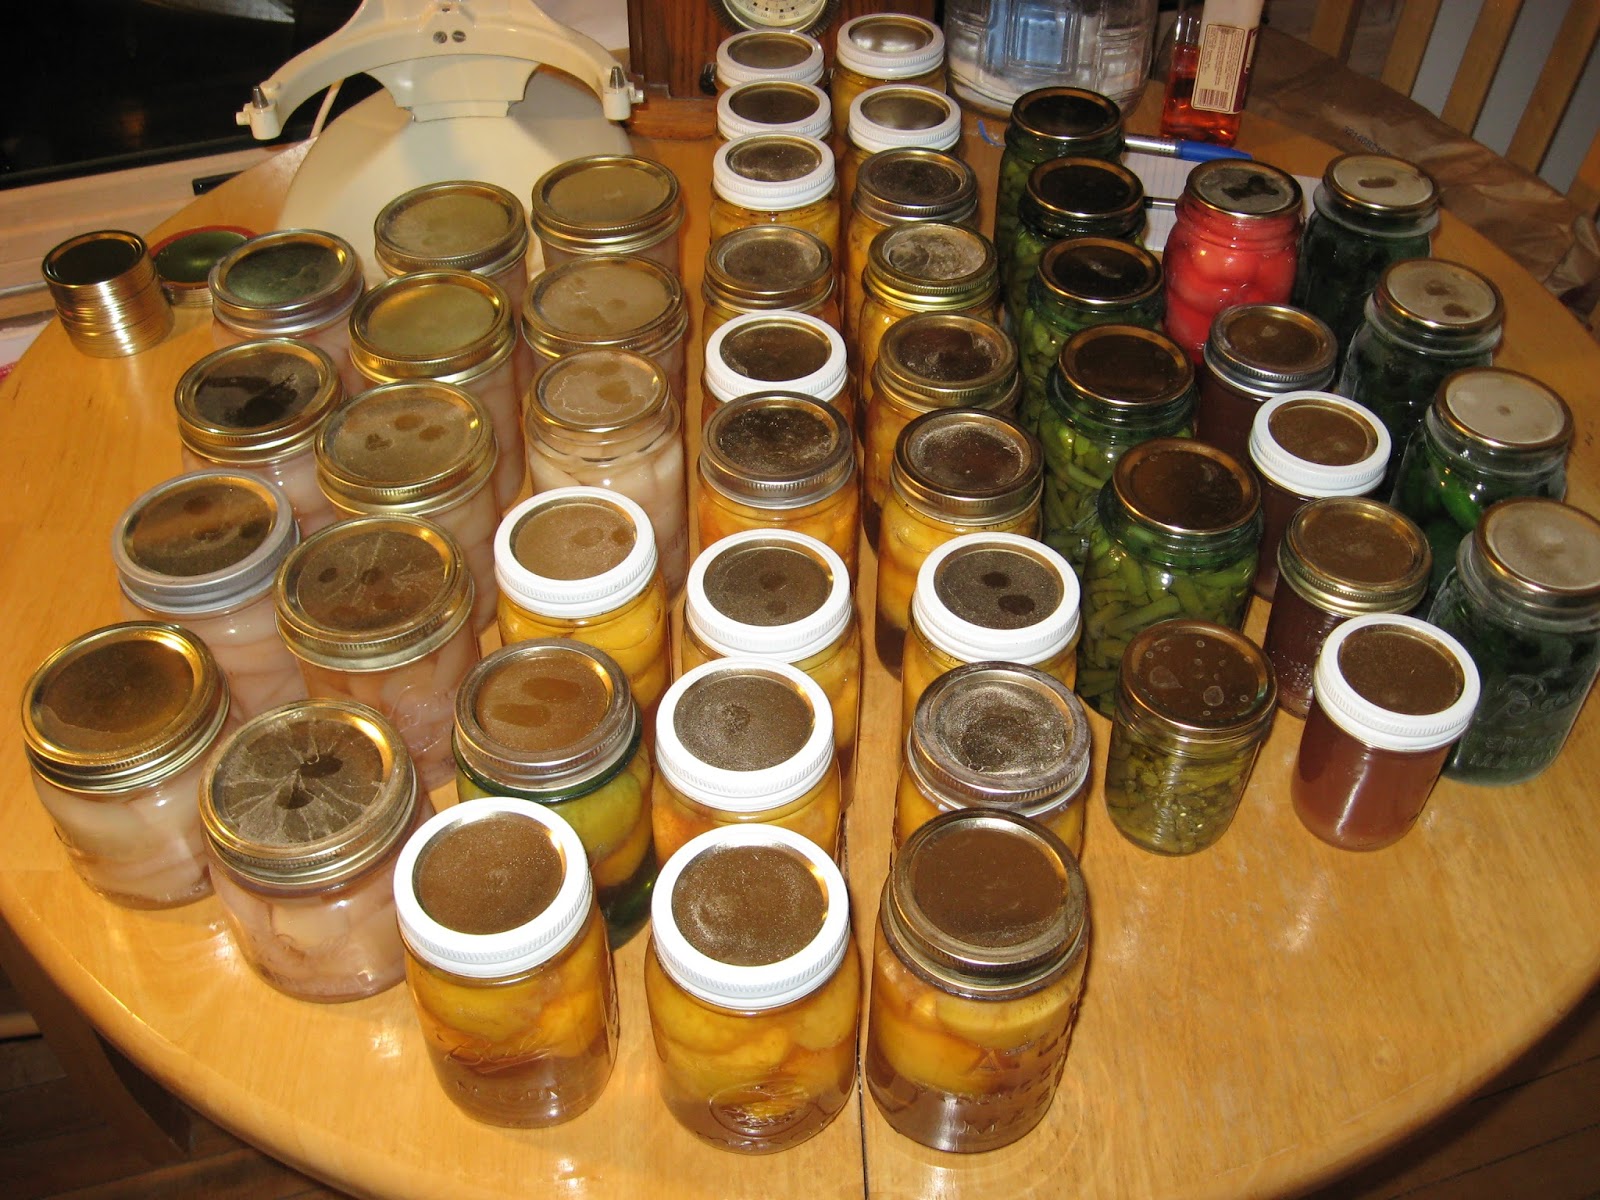
The final products ready to be washed and carried down to the
fruit room.  It isn't a large number of total jars, and they don't
include the ketchup yet because we were not finished with it at
the time of the photo.
I am quite fascinated by the whole prospect of making our own pectin.  I found the method here on Pinterest while looking at one of the boards that someone else had pinned our blog to.  My great-great-aunt Meme, who is mentioned in the "About Me" section to the left, used to reminisce about making pectin when she was a young girl, and I had read some vague accounts of how it was done, but this was the first time that I had seen very much in the way of directions.  Because of two exceedingly long cooking times, making pectin is a process which is well suited to the wood cookstove.

Everything worked according to what I read at the site, but one thing puzzles me.  The pectin gelled like it was supposed to when I tested it in the rubbing alcohol, and when I put it in the jars, it poured like honey.  However, now that it has been canned and allowed to cool, it is almost as runny as water, so I'm a little concerned about it.  I also have no idea how to use it.  I was able to find directions for that at this link: http://www.pickyourown.org/makeyourownpectin.htm.  I think I'll start by using the proportions for Certo and see what happens.  I'd better make a batch of jelly with it as soon as possible in order to find out whether it is going to work.  If the jelly is successful, I'd like to make more because commercial pectin has become so expensive.  If any of my readers have experience with this and can offer advice, please do!

Another thing that I wondered about frequently during our weekend was energy efficiency.  While we had the cookstove fired, we had the kitchen shut off from the rest of the house, but we had the air conditioning going.  Of course, it ran nearly constantly after the stove had been going for a while.  So, would it have been more energy efficient to use the gas stove?  In some ways, I think the gas stove throws an equal amount of heat into the house, and there is no way that we could have had any more than four pots in use at once when using it.  Also, when the cookstove is being fired, it is heating lots of hot water for us.  I don't know how one would figure this out, but it is a question that intrigues me.

At any rate, the forecast for the next several days shows much, much cooler weather on the way.  It doesn't look like we'll be needing the air conditioning anymore in the foreseeable future, so there won't be any wondering which method of canning will be the most energy efficient.

Monday, August 5, 2013

Pardon My Soapbox: Summer Fuel Addendum

If you read my last post, you saw the picture below of a wheelbarrow full of summer fuel: sticks, corn cobs, bark, etc.


Most of this particular wheelbarrow full of fuel was just bits of wood that I had picked up here and there around our farm, the rest was contributed by my dear grandmother from what she picked up around her farm.

I want to tell you what just half of this fuel did last Saturday.

1. Cooked our casserole for noon dinner (a new recipe that I copied out of a magazine in my doctor's office while I waited for my bi-annual cholesterol maintenance appointment--which, by the way, went very well despite the bacon grease that I put in my potato soup).  This new casserole recipe had approximately 75 minutes of stovetop cooking time before it was put in a moderate oven for another 20 minutes.  Thus, it had a total of over an hour and a half of cooking time.  We didn't like it, so you won't see the recipe on the blog.

2. Sauteed zucchini from my sister-in-law for our vegetable side dish.

3. Baked a pan of from-scratch buttermilk biscuits made with buttermilk from our cow Bonnie.  As soon as the casserole was finished baking, I put it into the warming oven, threw a pile of little sticks on the fire and brought the oven up to over 400 degrees for the biscuits.

4. Boiled and canned three and a half pints of pancake syrup made from the drippings that we catch from beneath the caramel sticky rolls baked for the Monday Markets.  (I think that this is a great way to save on the expense of sugar.)

5. Heated water for scalding the Tattler canning lids.

6. Heated water in the teakettle and reservoir for washing the canning jars and a few other dishes.

7. Heated enough hot water to meet all of our needs for the rest of the day, including a nice hot shower for me before we went to town.

Yes, that's right, all of this on half of the pile of sticks and cobs and bark which could have easily been left to rot where they were! 

You see--here is the soapbox part--having a wood cookstove allows a person to take what would often be considered trash and use it productively and efficiently.  It's just one of the many aspects of owning a wood cookstove that I consider extremely advantageous. 

I just wanted you all to know about that.  Thanks, I feel better.

P.S. Don't worry.  I know about the scientific evidence available on the importance of rotting wood as habitat and food source for all manner of flora and fauna which are necessary in balanced ecosystems.  Rest assured, no ecosystems were irreparably harmed in the above activities.  We have PLENTY of rotting wood around here!

P. P. S. The other half of the fuel in the picture above was supplemented by some split pieces that you saw in the winter fuel picture to cook potatoes for our dinner while we were gone to church on Sunday morning, to make another new casserole (also not very good), and, of course, to heat water.  I did get another partial wheelbarrow of summer fuel later on Sunday afternoon to keep the stove going in order to bake three batches of cookies to sell today at the Monday Market.  Efficiency, efficiency!


Monday, December 24, 2012

A Fat-Free Vintage Candy Perfect for the Wood Cookstove

My great-great aunt Meme, who is mentioned in the "About Me" section to the left, had a copy of the 1926 West Pottawattamie County Farm Bureau Women's Cookbook to which she and her sister and cousins had been contributors.  When I was young, it was old and yellowed and tattered and falling apart.  I've inherited it now, and it is still old and yellowed and tattered and falling apart.  It is filled with recipes that take one back to when diets were limited by what you could grow yourself, what you could catch and kill, and what few exotics came by train to rural Iowa's tiny grocery stores.

My family has lived in West Pottawattamie County for over one hundred and fifty years, so it is fun to read over the recipes which were contributed by family members whom I've only heard about or seen in ancient black and white photographs.  However, some of the names in the cookbook also belong to people that I knew in my childhood, people of the generation born in the late 1890s who had been considered elderly for a score of years before I came along.  I'm sure that I would recognize even more of the names, except that in 1926 the women had the habit of calling themselves "Mrs. Geo. Galloway" or "Mrs. S. S. Wymore."  What was Mrs. Galloway's first name?  For that matter, what did Mr. Wymore's "S. S." stand for? 

In addition to the challenges with the names, the recipes themselves are challenging at times.  They assume quite a lot, and you definitely have to have been cooking a wide variety of foods for quite awhile before you can even begin to make sense of some of the directions.  They are all also clearly written for people who were cooking on wood or coal-fired ranges.  In fact, in our area of Iowa, most rural cooks (and many in small towns) did not part with their wood cookstoves until after World War II when, after so many years of scraping by, the push for upgrading and buying everything new was at its peak. 

While Nancy and I have been home getting ready for Christmas, I decided to branch out a little this year and make a few things that weren't on our traditional lists.  Mrs. S. S. Wymore's recipe for "Orange Squares" caught my eye (p. 274).  These are certainly a different sort of candy than what is standard fare around here, but I like them.  An additional benefit is that they are fat free, and they certainly would add a new dimension to a tray of homemade goodies.  They are also a recipe that took advantage of the cookstove's features.

To make them, you first soften 2 Tbsp. granulated Knox gelatin (this worked out to be three envelopes) in 4 Tbsp. of cold water for 10 minutes. 

The gelatin dissolving in the cold water.  Note the cookstove
on the Rice Krispies vintage recipe tin.  Mom ordered that for me
when I was about five years old.  As you can see, my fascination
is an old one.
 
Then, you pour 3/4 c. of boiling water over this.  There's that use of the teakettle again.  Add 1 pound of sugar and 1/8 tsp. salt.  Then bring it to a boil and boil for ten minutes.


 As it is boiling, it looks like egg whites that have been beaten for just a couple of seconds.


Remove from the fire, partly cool, then stir in 1/2 tsp. orange extract and the grated rind of one orange.  Pour into a shallow pan that has been dipped in cold water.  Later in her directions, Mrs. Wymore says that you can add coconut and chopped nuts, so we did that.
 

These need to be set aside overnight to congeal.  Then the interesting and challenging part comes because you have to cut them and get them out of the dishes.  Though Mrs. Wymore didn't say so, here is what you have to do: dip your sharp paring knife into cold water and dip the pans into the hot water of the reservoir in order to soften the candy around the edges and bottom.

Holding the pan of candy in the hot water reservoir
to free it from the edges of the pan.
Cut into squares and roll in sifted powdered sugar.

A picture of the candy with light behind it so that you can see
how clear it is.

The finished product.

 
These have been met with mixed reviews at our house.  My mom disliked the texture, saying that they felt like "eyeballs."  Really, they're very similar to finger Jello but they have a much more natural taste.  I'm not a nut or coconut lover, but I think that the pan with the coconut and pecans is probably the better quality candy.  They're novel if nothing else.
 
Here is the way the recipe originally appeared in 1926:
 
 
Orange Squares
 
Mrs. S. S. Wymore
 
2 Tbsp. granulated gelatine [sic]
4 Tbsp. cold water
3/4 c. boiling water
1 orange rind grated
1 lb. sugar
1/8 tsp. salt
1/2 tsp. orange extract
 
Soften the gelatine by allowing it to tand for ten minutes in the cold water, then pour the boiling water over it.  Add sugar and salt, bring to a boiling point and boil for 10 minutes.  Remove from fire, partly cool, then stir in orange rind and flavoring.  Pour in a shallow pan that has been dipped in cold water.  Set aside over night, cut in squares and roll in powdered sugar.  If desired pour half in small pan and to remaining half add chopped nuts and cocoanut [sic].


As homemade candies go, this one is light and refreshing.  Give it a try!

Tuesday, September 18, 2012

A Rag and a Rock in My Reservoir

Grandpa Doc, my great-grandfather, had a favorite cousin by the name of Bessie.  By the time I came to know Bessie, she was a little antique lady who lived in a little antique house on the edge of a Southwestern Iowa town which was not our own.  She was the sort of person who had several reasons to feel sorry for herself, but who couldn't find the resources of personality or the asset of extra time in order to have a pity party.  Instead, her outlook was always bright and humorous, and the result was that I now wish that I could have spent many more hours listening to her reminisce than the few with which I was blessed.

She was once telling my grandmother and me about the summer that she and her husband had lived in the mountains of Colorado at some sort of mining or logging or oil drilling post.  Conditions had been primitive at best, even by the standards of seventy or eighty years ago, and the reason that they only stayed for the summer was because choosing to stay into the fall was the same as committing oneself to stay until the next summer because the roads became impassible with snow earlier than in most other places.

I had recently purchased the Qualified Range when Grandma and I went to visit Bessie, and Grandma is fond of bringing my woodburning cookstove penchant into conversations with people whom she feels might be suitably impressed, curious, or horrified at this bit of knowledge about me.  (I have to admit that with the right crowd it can be quite a diversion in an otherwise humdrum discourse.)  When Grandma brought up the woodburning cookstove that day, it was sufficient kindling to launch Bessie into a detailed memoir about her Colorado summer because it was there in that camp that she had had the most experience with a woodburning cookstove.

Bessie's husband's job (I'm sorry that I don't remember what it was) was of the sort that resulted in him coming home filthy every night.  Fortunately, her husband valued good personal hygeine.  Unfortunately, the cabin where they made their home did not have running water.  Thus, his nightly bath water had to be pumped from a well some yards away, lugged to the cabin, heated on the woodburning cookstove, and poured into a portable bathtub before the grime that Bessie's husband's person had accumulated could be removed.

As Bessie recalled the toil that bathing involved, she said, "And the water that we had up there was so hard that a cat couldn't scratch it."  Both my grandma and I dissolved into giggles at that Bessieism.

Lovely story, Jim, but why are you sharing it here?  you may ask.  What does this have to do with woodburning cookstoves?  I'm getting to that.

I tell the Bessie story because our well water here at our farm is also hard.  I do believe that a cat could scratch it, but it is full of minerals nonetheless.  Therefore, I am learning about how to handle hard water in the reservoir of a wood cookstove.  As I have stated before, reservoirs were traditionally used to heat rainwater when it was available, and rainwater is naturally soft.  Not everyone had the luxury of a rainwater cistern, though, and so one occasionally does come across advice from our ancestors about how to minimize the build up of lime on the inner lining of the reservoir.

My brother bought Mildred Armstrong Kalish's book Little Heathens: Hard Times and High Spirits on and Iowa Farm during the Great Depression in an airport on one of his many travels on behalf of the Iowa Corn Growers' Association.  He lent it to me, saying that he figured I'd get around to reading it before he would.  Two years later, I proved him correct and discovered that Ms. Kalish had included quite a bit of information about cooking on a woodburning cookstove amongst her memoirs of growing up during the Great Depression.*  One such memory dealt with hard water in cookstove reservoirs.  She said that what her family used to do was to tie a piece of cloth around a clean rock and place it in the reservoir.  The cloth would collect the lime deposits rather than the sides of the reservoir.

I was immediately skeptical, but I've seen (and scrubbed) the inside of our teakettle, and I knew that we didn't want that kind of mess in our reservoir, so I decided I'd give it a whirl.  Nancy and I sacrificed a portion of an old cotton tea towel, and she tied it around a rock which had endured a thorough bath.  Into the reservoir it went, and there it stayed from March until last Sunday afternoon.

The rock in the rag in the reservoir.  Ahh, I love alliteration.

Last Sunday afternoon, I decided that it was high time to thoroughly clean the whole stove (stay tuned for an entire post about that process), including the reservoir.  As you can see in the picture above, the reservoir has accumulated lime deposits on the side and bottom of the copper lining, so I was not impressed with the effectiveness of the rock-in-the-rag technique--until I removed the rock.  I was AMAZED at how much lime had truly accumulated in the cotton around the rock.  The material literally felt like it had been saturated with sand, and it had to be put through a wash cycle to get it all out. 

Needless to say, once the cloth was dry, it was re-tied around the rock and submerged in the reservoir again.  I'm going to try to remove and clean the cloth more frequently and see if that helps reduce the rate at which limescale is building up in the reservoir.  Indeed, there is a rock and a rag in my reservoir.

*The book was very interesting insofar as its content about the Great Depression, but I wouldn't recommend it because of the sprinkling of unbiblical theology which it included.

Saturday, May 26, 2012

Teakettles and Wood Cookstoves

You may have noticed that in each of the pictures of the three cookstoves that appear on this blog, a teakettle is resting somewhere on the cooktop.  Our cookstoves are not unique in this characteristic at all.  When I do a Google search for pictures of woodburning cookstoves, the vast majority of those ranges which are obviously in regular use have a teakettle sitting on them.

The Riverside Bakewell cookstove in our summer kitchen.

Marjorie the Margin Gem cookstove in the house kitchen.

The Qualified Range in the house kitchen before beginning to remodel.


Other than the occasional cup of tea, we are not tea drinkers at all; however, our teakettle gets a workout.  These soldiers of the kitchen serve many purposes, and I suspicion that when cooks began the transition from wood and coal-fired ranges to gas, kerosene, and electric stoves, the ever-present teakettle was sorely missed.  I know that each summer as we start to do more of our daily cooking with a modern range, I find myself feeling inconvenienced when I no longer have that old friend ready at my fingertips.

Of course, a teakettle is merely a pot with a pouring spout which is intended to be used to heat water.  When a house is equipped with hot running water, or when a stove is equipped with a hot water reservoir, it may seem redundant to have a teakettle heating water on the stovetop as well.  However, the water in the teakettle is used for different purposes than the water in those other systems.  The water in the teakettle is generally hotter than water from the reservoir or the tap, and if you spend any time reading over old, from-scratch recipes, you'd be surprised at how many of them call for boiling water rather than merely hot water.  Obviously, the cooks of the olden days were used to having their teakettles at the ready.

Another difference is that the water in the reservoir was often rainwater, which was what people meant when they referred to "soft" water prior to the advent of fancy electric water softening systems.  This water would have been used for all kinds of washing, but it would not have been consumed.  Of course, not all homes were equipped with a rainwater cistern, so their reservoirs would have been filled with well water, which obviously was often simply called "hard" water.  However, as my copy of The Foxfire Book of Appalachian Cooking* states, "As bread crumbs or other food might fall into the water in the reservoir, a kettle of fresh water was always kept on the stove for coffee or tea or for adding to food that was cooking."  I am amazed at how often I grab the teakettle to add a little boiling water to this or that which is cooking merrily away, and the best part is that the cooking is not slowed by this addition because the water is already boiling.

Jane Cooper devotes a section of her book Woodstove Cookery: At Home on the Range to the teakettle.  A contributor to that book wrote that her grandmother kept eggs in the teakettle so that at a moment's notice, one could have a hardboiled egg for a snack (I wonder how green the yolks would have been after cooking for so long).  Ms. Cooper also notes that steam from the teakettle would add much needed humidity to the dry winter air.  This is true, but I'd like to point out that the same humidity is not as welcome on a sultry summer day.  I've also read warnings in vintage cookbooks which state that if the teakettle is not permitted to be on the range all the time, the buildup of lime deposits inside it will be kept to a minimum.  We do struggle with the lime deposit problem, but we choose to combat it with vinegar rather than remove the teakettle from the cooktop.

Our teakettle is a German-made vessel which we purchased from an Amish store near Redding, Iowa.  It holds over a gallon of water and has a lid that is equipped with a "whistle" in the handle which sounds remarkably like the wail of a freight train when it boils.  I would advise anyone interested in seriously cooking on a wood cookstove to purchase the largest teakettle that can be found.  In my opinion, there is no point in messing around with the dinky little designer models that grace most store shelves today.  Heating the greater quantity of water is not going to cost you any more since the teakettle heats as an incidental result of your cooking or heating fire, and I've never heard of anyone complaining because too much hot water was available.  Furthermore, if you ever do any serious canning, that large teakettle will be a necessity.

A side benefit of keeping a teakettle on the stove top is that when the water gets to a certain temperature, the teakettle begins to make that humming noise that all pots make prior to reaching the boiling point.  You can often tell what your fire is doing even if you are not right next to the stove simply by listening to what the teakettle sounds like.  I guess you could call it a primitive version of the baby monitor or remote sensor.

I'd like to close this post with a poem which appeared in the January 1968 edition of Ideals magazine.  Obviously, I'm not the only one who is conscious of the sound of the teakettle.


The Old Wood Stove
by Christel B. Ellis

The old wood stove would crackle
As the cedar dried and burned.
Through the grating coals would tumble,
Glowing red to black they turned.
And the firelight through the covers
Of that dear old kitchen range,
Turned the ceiling into patchwork
With each dancing fairy flame.

Like a warm and glowing magnet
We were drawn around the hearth,
And the high old corner woodbox
Was a warm and heavenly berth.
With our backs against the chimney
We would listen to the wind
As it swung the stovepipe damper
Up and down and back again.

Many crops were planned and planted
As the winter lingered on.
Near the hearth the neighbors gathered
Till the glowing coals were gone.
Woolen socks were always drying
Near the kitchen range back home.
The iron kettle hummed a love song
Folks today have never known.

I see the kitchen of my childhood,
Feel the warmth of that old range.
To have known its glow and comfort
Is a joy I'd not exchange.

I'm just happy that the sentiments recorded in the above poem can still be reality today!

* This is a very nifty book which I purchased for a dime when it was being purged from the Avoca Public Library's collection--probably the best thing I've ever bought for ten cents.  It is full of pictures of people using woodburning cookstoves of every shape and variety and has some general instructions on how to not only cook on a wood cookstove, but also in a fireplace.  It has quite a few wood cookstove memoirs in it, too.

Sunday, April 8, 2012

Little Things Mean a Lot

Happy Easter!  We've had a wonderful day celebrating the resurrection of our Lord and Savior Jesus Christ with our church and our family, and now Nancy and I have finally gotten a little time to ourselves this evening.  I just wanted to write a few notes about how things are progressing as we get to know Marjorie the Margin Gem cookstove.  Tomorrow will mark one month that she has been installed, and with the exception of a couple of days when I was away for the All-State Speech Festival at the University of Northern Iowa, Marjorie has been fired every day.  We haven't necessarily cooked something every day, but except for those two days that I was away, she has been faithfully heating our hot water.

First, I need to say right up front that all of the food that has been cooked on the Margin Gem has been good, and I haven't ruined anything yet.  However, I'm still getting used to cooking on Marjorie, and I am a ways from being able to write a blog post which would give an expert set of instructions on how to manage her.  Significant differences exist between how I operated our Qualified range and how Marjorie responds to those same tactics, and I am still learning.  What I would like to address in this blog post is how some small aspects of the Margin Gem's design make it a much nicer stove than I have ever dealt with before.

One of the first things that I noticed about the Margin Gem was how clean the floor around her stays.  The floor just beneath the left side of the Qualified range always had a little pile of ashes on it.  Sweeping and vacuuming would only clean this mess up temporarily. Each opening of the white enamel door that covers the front feed and the ash drawer always sucked a few ashes out onto the floor, and each time the grates would be shaken, a few ashes would dribble out onto the floor, and when you pulled the drawer out in order to empty it, quite a few ashes would be dragged out onto the floor.  The bottom of the ash drawer slid along the floor of the stove, which was part of the problem.  As you can see in the picture below, the other part of the problem was that the bottom of the opening for the ash drawer was level with the floor of the stove

A photo of the ash drawer of the Qualified range pulled partly out of its
slot under the firebox.  You can see that the bottom of the drawer rests
on the bottom of the stove.  Even at rest and in a state of disassembly
in the utility room, you can see that a few ashes have collected on the lip
of the bottom of the stove.
 The Riverside Bakewell in the summer kitchen is constructed in much the same way except that it doesn't have the long front door which covers the access to the front feed and the ash drawer to suck out ashes each time that it is opened.  Thus, it doesn't usually have quite as many ashes on the floor in front of it as the Qualified did.
The ash drawer on the Riverside Bakewell pulled out a little way.
 The Margin Gem is constructed so that the ash drawer still sits on the floor of the stove, but a lip on the ash door fixes it so that the ash drawer actually sits about 3/4" lower than the opening of the door.  This allows one to pick up the ash drawer and--at the very least--slide the bottom of the drawer across the lip to remove any ashes which are stuck to the bottom of the drawer and leave them in the bottom of the stove.  Furthermore, if any ashes do drop as the drawer is removed, a small shelf is in place to catch them.  This has made a drastic difference in how difficult it is to keep the hearth clean.

A closeup of the open ash door in an attempt to show how helpful the lip
and shelf are in keeping the floor around the stove clean.
Another significant difference is the reservoir.  The Qualified did not have a water reservoir at all, so my only experience with a water reservoir has been with the water reservoir on the Riverside Bakewell in the summer kitchen.  The Riverside's reservoir is the conventional type in which a side of the copper water tank sits against the side wall of the stove.  While this is certainly effective at getting water hot, it can take quite a while for the water to get hot, and recovery time is not very quick.  Also, once the water is heated in that reservoir, it has to be dipped back out through the top for use.

The Margin Gem's reservoir has what its competitor calls a "hyper-heat" reservoir.  By turning a lever at the bottom of the reservoir to the right as shown in the picture below, a baffle in the stove diverts some of the smoke and heat from the fire so that it travels along the bottom of the reservoir before traveling under the oven and out the chimney.  This enables the water to get quite a bit hotter than the conventional water reservoir design and also improves recovery time.  The spigot, as shown in the second picture, allows the water to be drawn off the reservoir without having to go through the time-consuming and messy process of dipping it back out by hand.

Some of you may wonder why we chose the additional expense and bulk of having a reservoir when we also have the water jacket to heat our hot running water.  The answer is simple: at some point, I would like to have our rainwater cistern back in operation, so I wanted to have a way to heat rainwater with the cookstove, and the reservoir was the only logical option.  Until we are able to use rainwater, we will keep filling the reservoir with well water, thus increasing the hot water heating capacity of the stove.
The lever on the reservoir turned to divert heat from the fire to the
bottom of the reservoir.

The spigot on the side of the reservoir.
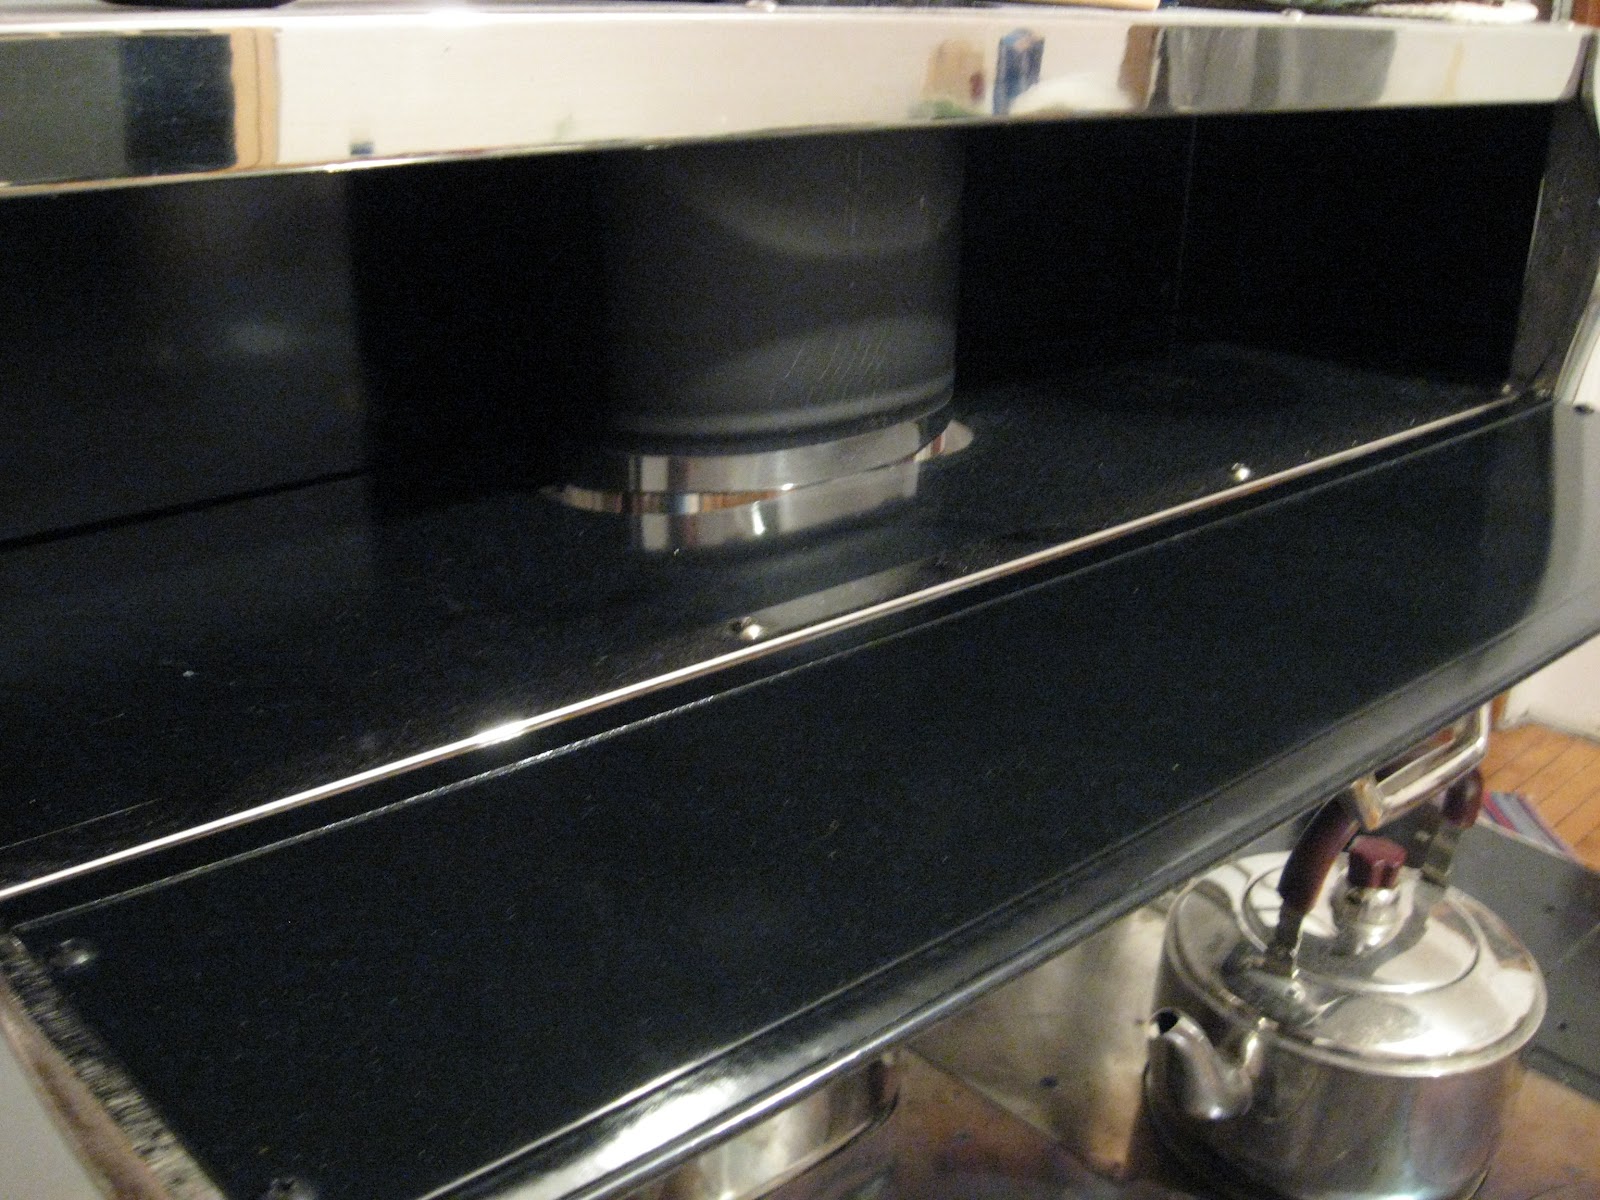
 The next feature of the Margin Gem that I like is the warming oven.  The Qualified simply had a high shelf, but the Riverside has a warming oven.  I cooked on the Qualified for twelve years before we hooked the Riverside up in the summer kitchen, and after getting a taste of what a warming oven can do, I wasn't going to purchase another stove that didn't have one.  The uses for this ingenious contraption deserve their own blog post someday, but for now, let me just tell you that Susan Fenoff from Stoves and More Online, the company that we purchased the stove from, calls her warming oven her "Amish microwave."  As my students used to say, " 'Nuff said."
The Margin Gem's warming oven.
 The firebox on the Margin Gem is huge!  I'm amazed at the size of log that fits in that thing.
A poor picture to demonstrate how large the Margin Gem's firebox is.
 Another thing that I find amazing about the Margin Gem is what an even baker it is.  In the first picture below, you can see four loaves of bread which were all baked at the same time, and they were never turned!  Furthermore, the bottoms of the loaves of bread were thoroughly cooked also, and I didn't have to do anything special.  In the Qualified, I always kept a layer of fly ash on the top of the oven box just under the cooktop, AND the top rack of the stove was always in the very top position with a sheet of aluminum foil over it to keep the tops of things from cooking before the bottoms were done.  I baked with the other rack resting on the floor of the oven so that whatever was cooking was only about a quarter of an inch from the oven floor.  Furthermore, when baking breads and rolls, I would remove the bottom rack for the last five minutes of the baking time and finish baking them directly on the oven floor. 

In the Riverside, I always put the baked goods on the stovetop for a few minutes to cook the bottoms thoroughly.  You can see this in a picture below.  Obviously, the Margin Gem has solved all of these problems for me.
Four loaves of bread in the Margin Gem oven.  They were not turned
at all during baking, but cooked very evenly.

You can see that the bottoms of the loaves were perfectly browned,
and I had nothing to do with it!

The first four loaves from the Riverside cookstove oven browning
their bottoms on the cooktop while the next two loaves begin baking.
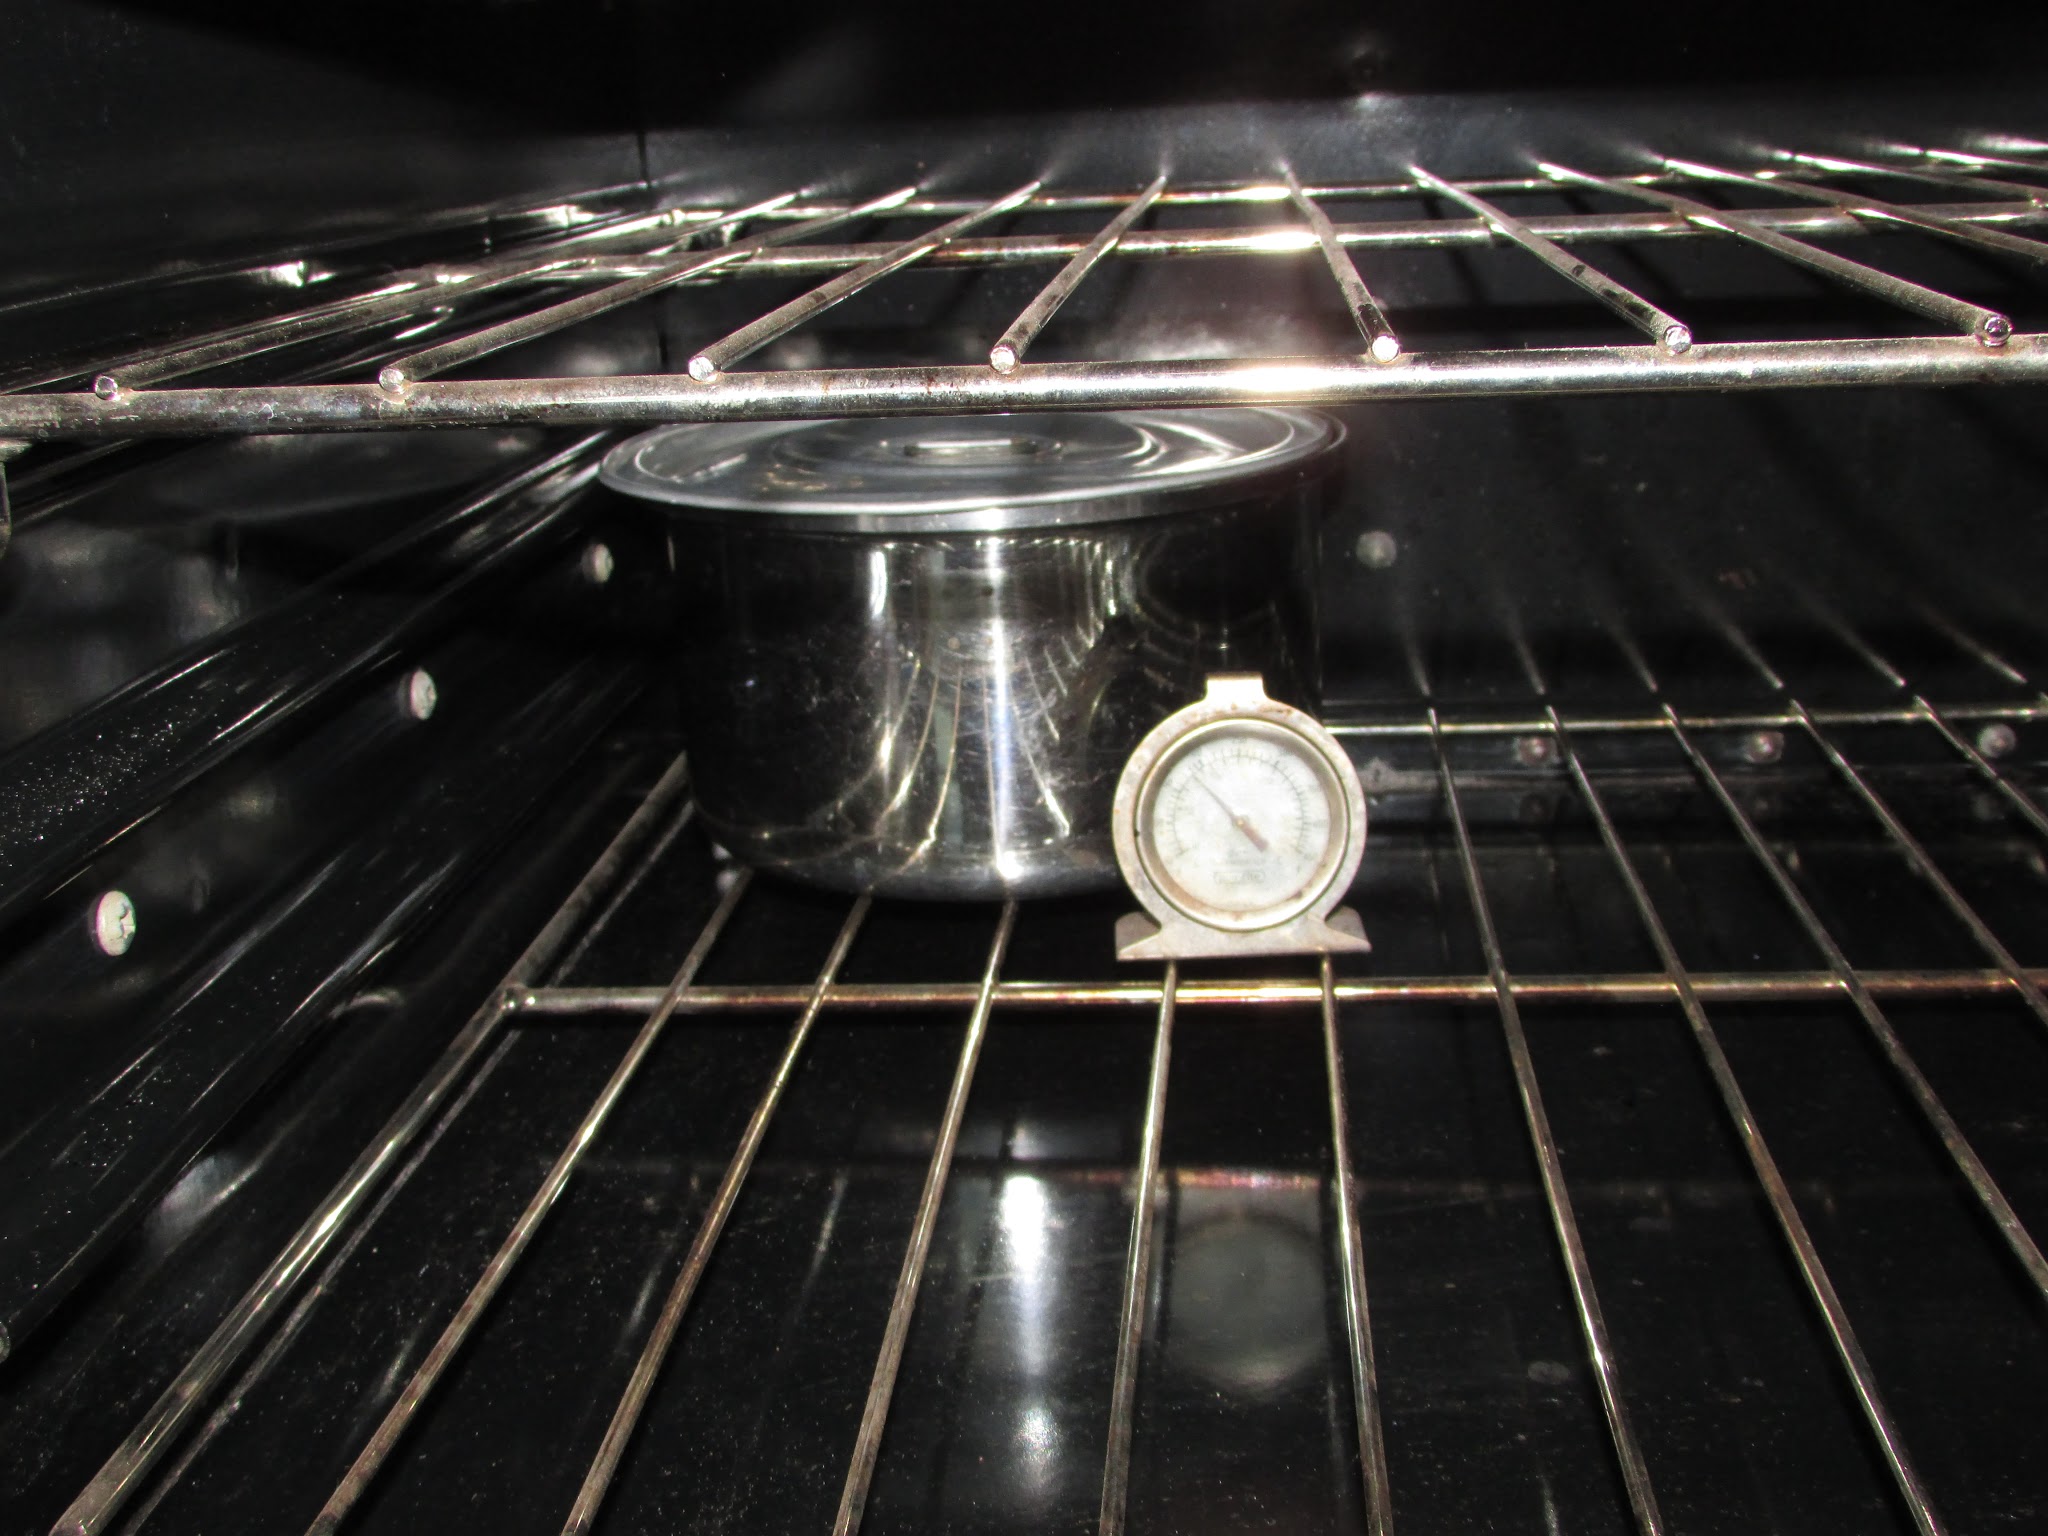
 I do have one complaint to share, and that is that the oven thermometer in the Margin Gem is dreadfully unreliable.  The oven thermometer on the Qualified was spot on all the time, and I got spoiled.  I have a small oven thermometer placed inside the oven of the Margin Gem to help me get this thing figured out, but I sure do miss being able to just glance at the oven door and know what was going on within.  This seems to be something that everyone agrees about because one site even runs the disclaimer that the oven thermometer on the Margin Gems is for decorative use only.  It's a small inconvenience in the grand scheme of things, though.