Showing posts with label great cookstove recipes. Show all posts

Saturday, February 23, 2019

Caramel Puffed Wheat ala Grandma Gladys and Grandma Marian


Nancy and I are sitting on our new reclining love seat watching Doctor Zhivago on Netflix while a blizzard rages outside.  The picture above was the view to the east of the house before it got dark and before the snow and wind got serious about their business tonight.

Prior to sitting down to watch the movie, I had a snack of caramel puffed wheat.  I haven't had this for perhaps two years, but I really enjoy it.  I think I was in high school when I was first introduced to this food by my grandma Marian.  I don't know what possessed her to make it at that time, but she said then that her mother, my great-grandma Gladys, used to make caramel puffed wheat for a snack when she was young.  Grandma Gladys cooked on a woodburning cookstove until they moved from their farm in Hazel Dell Township (the next township west of us) to their farm just south of Council Bluffs on 29th Avenue in 1941, but I don't know what her original recipe might have been.

The ironic thing about this is that when Grandma Marian first made this for us, she used a microwave recipe. I copied it from her so that I could make it while I lived in a dormitory at Iowa State University, and now I've adapted this recipe for use with a woodburning cookstove.  Lots of traditional recipes have been converted for use in a microwave, but perhaps this is the first time that a microwave recipe has been converted for the woodburning cookstove!

Here is what you will need:

5 to 6 ounces puffed wheat
1 cup brown sugar
1/4 cup corn syrup
1/2 cup butter
1/4 tsp. salt
1/2 tsp. baking soda

The first step is to build your fire, but don't get carried away.  You will need only a slow oven (between 200 and 300ºF).  In the Margin Gem, this is easily accomplished with a good bed of coals and a large chunk of wood. Your fire does need to be hot enough to boil your caramel syrup first, though.  Those of you who have been following this blog for any length of time will know that I consider this a great wood cookstove recipe because it uses the heat of the fire to complete the first step of cooking while the fire is heating the oven.

Combine the brown sugar, butter, corn syrup, and salt in a medium, heavy-bottomed saucepan.  Put this directly over the fire to come to a boil.


While this begins to heat, put the puffed wheat in an oven-proof metal bowl or roaster bottom.  I use one of my stainless steel bread bowls.


Stirring occasionally, let the caramel mixture come to a full rolling boil.


Once the full rolling boil has been reached, remove the syrup from the fire and stir in the half teaspoon baking soda.  The syrup will foam up.


Pour the syrup over the cereal in the large bowl and stir it thoroughly.


When the cereal is completely coated, slide it into the slow oven.  Bake for 35-40 minutes, stirring every ten minutes.  Baking the cereal is important because after you pour the syrup over it, it becomes distastefully chewy. Baking it makes it crunchy again.


After forty minutes have passed, pour the hot cereal out on a jelly roll pan to cool.  As soon as it can be handled, break the cereal apart so that there are no large clumps.

 
Store in an airtight container.  This will keep indefinitely.

This tastes a lot like Sugar Smacks, but without their characteristic burned flavor.  I'm sure you could eat them in a bowl with milk on them, but I never have.  Of course, the syrup and the method could also be used to make caramel popcorn.

Now, I know that many of this blog's readers do not cook on a woodburning range, so I will give you the microwave directions the way I originally copied them:

Cook the brown sugar, white syrup, butter, and salt for two minutes on full power.  Stir.  Cook for another two minutes.  Then stir in the 1/2 tsp. soda until foamy.  Pour over cereal which has been placed in a brown paper grocery sack.  Shake thoroughly.  Microwave the cereal in the paper bag for forty-five seconds on full power.  Shake.  Repeat these steps two more times.  Pour out to cool.

I hope you enjoy this one!

Thursday, December 6, 2018

Corn Cob Jelly: A Great Wood Cookstove Recipe

Just about a year ago, I wrote a post about using corn cobs as fuel in a woodburning cookstove.  I wrote then that the corn harvest was finished in our area.  This year, we had a really wet October, a relatively dry and cold November, and then winter storm Carter hit us hard last weekend.  Most of the corn has been harvested, but not everyone is finished yet, and we've got several inches of snow on the ground.  Next week is supposed to be warmer, though, so maybe the harvest will be finished then.

At any rate, I wanted to share with you another use for corn cobs today. This is the recipe that I use for corn cob jelly.  I don't much care for it, but some people like it, and it is certainly unique.  Corn cob jelly is also a particularly efficient thing to make on a wood cookstove because of the long cooking time and the fact that you can burn the by-products from this process in your stove later on.

This recipe was given to me by Marsha S. from Carson, Iowa, and if I remember right, it belonged to her mother.  We worked together sometimes during my banking days, and I quite enjoyed talking to her about food--actually, I enjoy talking to anybody about food.  

The first step in making corn cob jelly is to choose a dozen corn cobs. Look for cobs that are relatively clean and are as dark red as possible because they will tint your finished jelly a prettier color.

Some corn cobs in a five-gallon bucket on the kitchen floor.

Wash and drain the corn cobs and break them into small pieces.  The washing and draining isn't difficult, but I find that breaking them into small pieces can be challenging.  I used a knife to aid this process, but it was still on the difficult side.

Put the clean broken corn cob pieces into a large kettle and add three pints of water.  Place the pot of corn cobs directly over the fire and boil the cobs for a half hour with the lid on the kettle.

The broken corn cobs in the three pints of water
coming to a boil over the firebox.

If you are going to be water-bath canning this jelly on the wood cookstove, I would suggest that you start heating your canner of water while the corn cobs are boiling.  This would also be a good time to get your jars washed and inverted on clean towels in the warming oven and your canning lids down in hot water.

Once the half hour has elapsed, strain the juice from the corn cobs.  I accomplish this by putting an old piece of cotton tea-towel in a colander over a glass measuring cup.  Don't get lazy and skip the cloth; you don't want corn chaff in the liquid.

Straining the juice off the cooked corn cobs.

You will find that your three pints of liquid has reduced to about half the volume that you started with, and this is perfect because you want three cups of corn cob liquid.  If you have a little more or a little less, either discard the extra or add hot water to make up the difference.

Three cups of the corn cob liquid.

The rest of the ingredients that you will need are as follows:

  • the juice of one lemon
  • one box pectin (5 1/2 to 6 Tbsp. if you buy it in bulk)
  • 3 cups granulated sugar, measured and ready in a separate bowl


All of the ingredients that go into corn cob jelly.  I believe the
glass juicer on the right belonged to my great-grandmother who
was the first woman to live in our house.


Combine the lemon juice and the pectin with the corn cob liquid and put them in a heavy-bottomed stock pot.  Place the pot directly over the hottest part of the cooktop and bring to a boil as rapidly as possible.  For this step, you need to have a raging fire going, and I find it is best accomplished with sticks of a one- to two-inch diameter.

A shot of the raging fire needed for making jelly.

In this picture, you can see the pre-measured sugar on top of
warming oven to the left, the hot jelly jars inverted on the
right side of the warming oven, the cob/lemon/pectin mixture
over the firebox, the canner nearby, and the pan of hot water
and lids to the far right of the cooktop.  Of course, the ever-
present teakettle is ready with hot water in case I missed my
guess on how much water was needed in the canner.

Once the mixture has come to a full boil, add the three cups of sugar. Return to a full rolling boil as quickly as possible and let the mixture boil for exactly three minutes.  (Yes, this is correct.  In fruit jellies this is usually just one minute.)

Remove the entire kettle from the fire, skim any foam, and pour immediately into the hot canning jars from the warming oven.  Seal and process in the hot water bath for 10 minutes.

You can see the fire still running hot while
the jars of jelly are processing directly above
the firebox.

For me, this recipe yields four 8 oz. jars and one 4 oz. jar of jelly.  You can see the amber color that this batch turned out to have.  Sometimes, it is slightly more pink than this.


I threw the boiled cobs out onto the cement patio to dry in the sun and had burned a few of them as kindling before the snow covered them over.

It feels strange to share a recipe on this blog that I don't like, but I feel this is a good recipe because the end product tastes exactly like some professionally made corn cob jelly that I was once given as a gift.  It does add a nice color to the jelly shelf, and for those who like the taste of field corn or do not have enough exposure to it to reckon it as a barnyard taste and smell, this could be quite enjoyable.

Fill up the comments with your own version of this distinctive condiment or your thoughts thereon.  Thanks for reading, and may your wood fires be burning brightly!

Tuesday, May 22, 2018

Cheating with Your Wood Cookstove: Broccoli Rice Casserole

I'm totally embarrassed by the recipe that I'm sharing with you today.

It is not healthy.

It is not original.

It is not from scratch.

It is not one made from all homegrown foods.

You've probably all seen it before.

But .  .  .

It tastes SOOO good!

This 1970s-era recipe was one of only two casseroles that my mom could get the three of us kids to eat while I was growing up.  We all loved it, and it was frequently requested on our birthdays when we got to choose what we ate for all three meals that day.  I still really enjoy it, and because of the cooking method, it is extremely well suited to being made on a wood cookstove.

You are going to need the following ingredients:

1/4 cup butter (I usually reduce this to 1 or 2 TBSP.)
1/2 cup chopped celery
1/2 cup chopped onion
1 can cream of mushroom soup
An 8 oz. jar of Cheez Whiz (GASP! I'll talk more about this later.)
10 oz. frozen broccoli
1 cup instant rice

Here is what you do:

1) Build your fire so that eventually you will have a moderate oven.


2) While the oven is heating, gently sauté the onion and celery in the butter in a very large frying pan.  I like to use my Magnalite chicken fryer for this because it has much taller sides, and that prevents spillage on the cooktop. I usually add a sprinkling of pepper to this mixture, too.


3) Once the onion is translucent, add the rest of the ingredients in the order given, stirring after each addition.  You may need to add a little water if the mixture doesn't flow freely, but don't do this until the broccoli has thawed so you know how much moisture it will release.


4) After the mixture has started to bubble a little, pour it into a greased 7" x 12" casserole dish.

5) By this time, the oven should be running at about 350º.  Pop the casserole into the oven for about a half hour.  It should be bubbly around the edges and beginning to brown a little on the top.


6) Remove from the oven and serve.


My mom always served this with our homemade applesauce, and I think this is an excellent combination.  When I was little, Mom would always make hamburgers (sans bun; we never had hamburgers with buns) to go with this as our meat.  Later on, she began to put a pound of cubed ham into the casserole.  This adds a lot of flavor to this and makes it a one-dish meal.  That is my favorite way to make it, but I didn't have any ham to put in it this evening.  If you do put the ham in it, you'll need a bigger casserole dish.  I often use a 9" x 13" dish then.

I have made this casserole with home-canned broccoli quite successfully.  It is a good way to use up a vegetable that many don't find very good when canned.

Now, about that Cheez Whiz.  You can substitute other cheeses or other cheese sauces here as you see fit and your taste permits.  You could also make your own mushroom white sauce and parboil regular rice, and then this recipe is no longer cheating.  It's still a great cookstove recipe, though, because you take advantage of the hot cooktop while your oven is heating to bake the casserole.

And since I'm so embarrassed that I like this dish so much, let's just agree to not talk about it anymore. 

Thanks.  I knew you'd understand.


Sunday, February 25, 2018

Cream Puffs: An Ideal Wood Cookstove Dessert

Cream puffs are one of my favorite desserts, and they are an ideal recipe for the wood cookstove.  If your chickens are like ours and the lengthening days have resulted in increased egg production, cream puffs are also a great food to make during this time of year.  For one thing, the weather has not gotten warm yet.  This allows the cream puffs to keep better, and standing over the stove while you make the filling is still a pleasant experience.

Cream puffs are very simple, and if you have your own chickens and a dairy cow or goat, you can produce a great deal of the ingredients for them on your own.  Here is what you will need:


1 cup water
1/2 cup cold butter
1 cup flour
4 eggs

1. The first thing to do is to build your fire so that you will have a hot oven (400º F).  As you do this, keep in mind that your baking time is going to be 45 minutes long.  I find that it is best to have a lot of pieces of firewood that are small in diameter.

2. Once the top of the stove has gotten good and hot, put the water and the butter in a medium saucepan and place it directly over the fire.  You want to bring this mixture to a full boil.

Note: I find that I have better results when the butter is cold when I put it in the water.  I don't know why, but it seems to make a difference.


3. While the water and butter are coming to a boil, crack four eggs into a measuring cup and measure your flour.  This is also a good time to grease the cookie sheet you will bake these on.

4. Once the water/butter mixture has come to a full boil and the butter is completely melted, take the pan off the fire and immediately stir in one cup of flour.  This will make a paste that smells awful and doesn't really look very nice either.


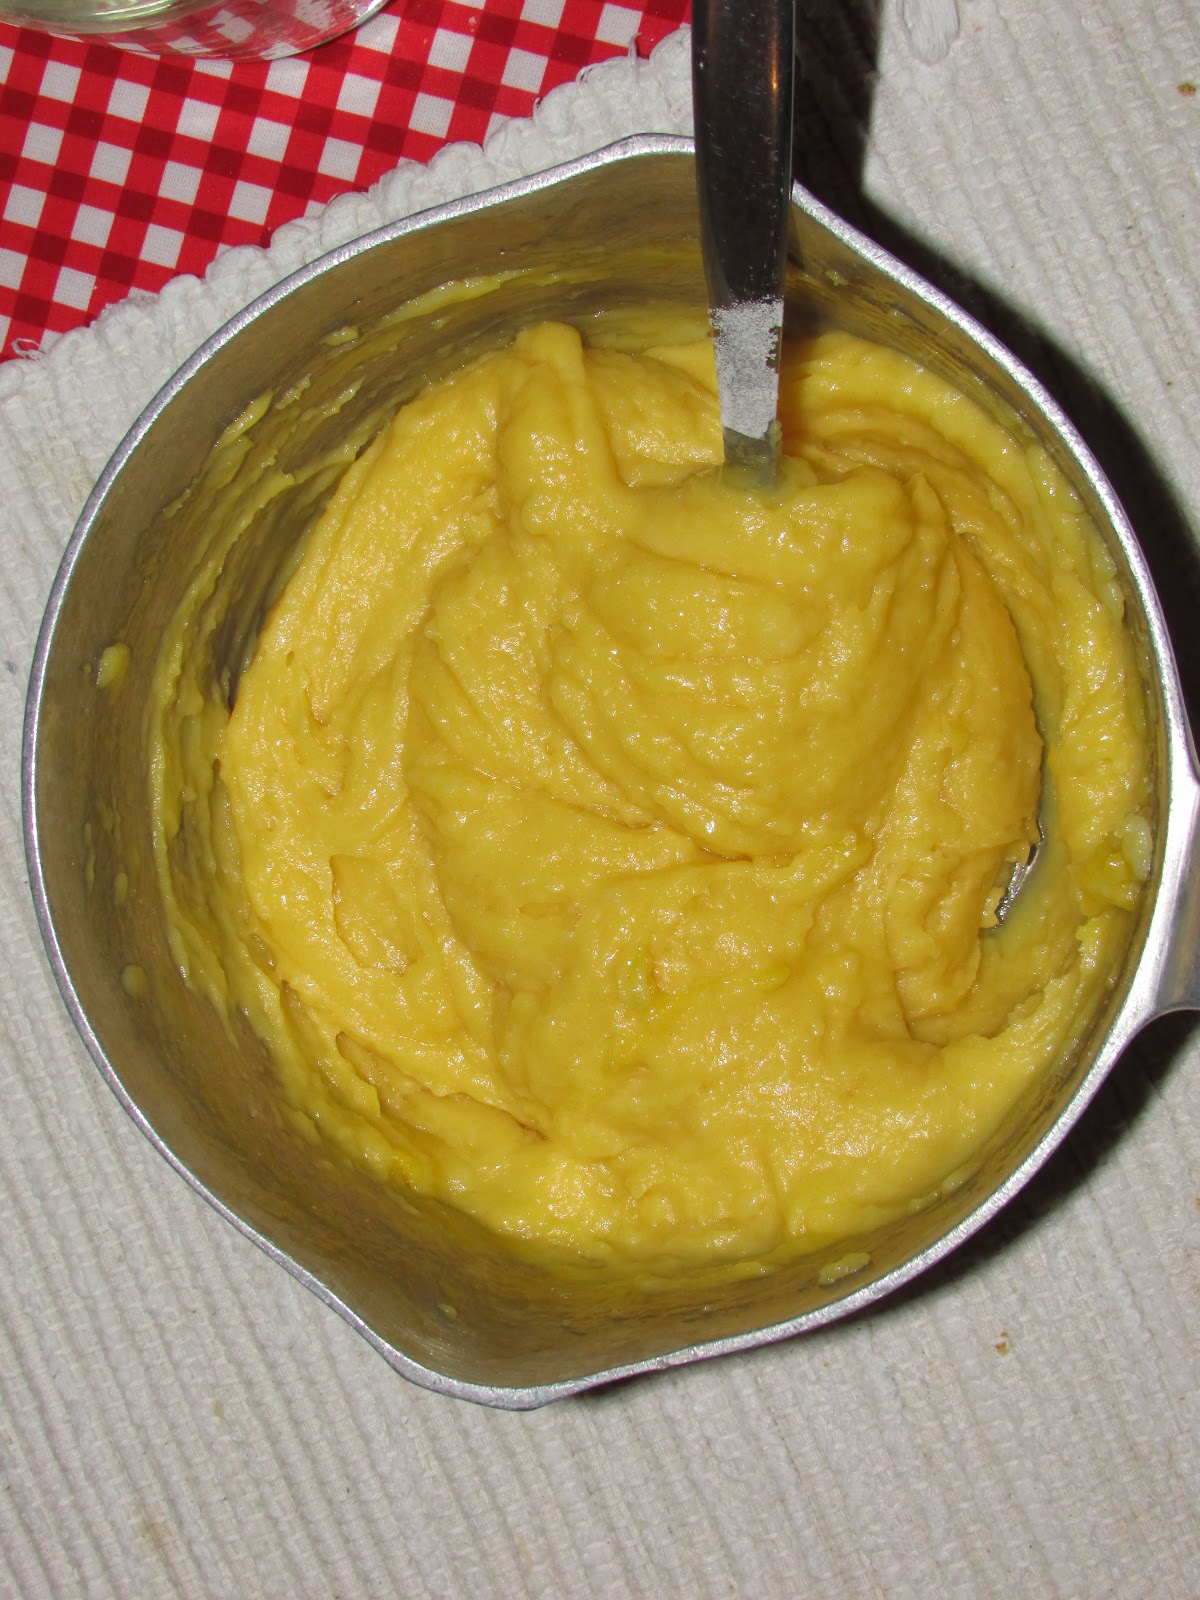
5. Stir the eggs into the paste one at a time, beating thoroughly after each addition.  Do this quickly because you don't want the eggs to cook before you've beaten them in.  Now your paste will be a sticky, bright yellow goop that still looks and smells unappetizing.


6. Drop or pipe the puff paste onto the greased cookie sheet.  You can make these as big as you want.  In stores, they seem to always be bitesized.  I tend to prefer a more bold cream puff, so I drop them by the 1/4 cup.  


7. Bake in a hot oven for 35-45 minutes, watching to be sure that the edges aren't turning too dark.  

If you are going to fill the cream puffs with a cooked custard, it is best to cook it during this time because your stove is already hot for the baking. My favorite filling is my great-grandma Gladys's vanilla cornstarch pudding. You can find the recipe here.


7. When done, remove from the oven and cool completely.

8. To serve, either slice the cream puff in half to insert the filling, or you may use a pastry gun to squirt the filling inside the cream puff.  I like to sprinkle powdered sugar over the top, but for fancier occasions, I have diluted strawberry jam with strawberry syrup and drizzled that on top of the cream puff and then dusted it all with the powdered sugar.  I know I'm weird, but I also like my cream puffs warm, so I often pop them in the microwave for a few seconds before eating them.  


I consider cream puffs an excellent wood cookstove recipe because you take advantage of the heat of the fire to make the paste while your oven is heating, and then while they are baking, you again make double use of the fire by making the custard filling.  Really, your fire is always serving a double purpose as you make these.  Also, with the exception of the butter, these are a very economical but fancy dessert.


Note: This is the same recipe for eclairs.  The difference is that eclairs are usually piped onto the cookie sheet in oblong shapes, and they have chocolate on the top. 


Monday, January 8, 2018

Baking Apple Crisp in a Woodburning Cookstove

As the new year begins and much of the nation is experiencing cold weather--and since some people have undoubtedly received new wood cookstoves for Christmas :)--I thought there might be quite a few people who are learning how to bake in their wood cookstoves right now.

If you are new to baking in a woodburning cookstove, there are two different treats that I would suggest baking first to get a feel for how your oven works.  The first would be a batch of cookies.  The reason I suggest cookies is because you will be able to determine where your oven's hot spots are by examining the various doneness of the cookies on each sheet.  You can also determine if the bottom of the oven is cooler or hotter than the top by noting whether each individual cookie is cooked evenly on its top or bottom.  Obviously, you should not bake chocolate cookies for this test because you will not be able to see the browning sufficiently to learn anything.

Baking cookies will help you to figure out whether you will need to rotate foods midway through their baking time to ensure even cooking and browning.

Of course, you may discover, as I did, that your oven bakes very evenly.  If so, all the better!

This was the first sheet of cookies baked in the
Margin Gem back in 2012.  You can see that
they are very evenly browned.  Hmm--I wonder
where those missing three cookies went!
The second thing I would suggest baking is an apple crisp.  The reason I would suggest this particular dish is because it is very forgiving of uneven oven temperatures, so you will be able to practice maintaining an even oven temperature without having to worry about ruining your finished product.  (One time, I baked an apple crisp in a Dutch oven using coals from a wiener roast fire.  It had been years since I had baked in this manner, and I got a little over-zealous with the coals.  I pretty much burned the apple crisp, but my sister carefully scraped the top off and ate it anyway, declaring that it was still good.)

1. As always, the first thing to do is build your fire in such a way that you will have a moderate oven when you are ready to bake your apple crisp.

2. Choose your baking dish and butter the bottom and sides.  If I am using purchased butter, I like to just unwrap one end of the stick of butter that I will be using in the topping and rub it on the pan.  This way, I save unwrapping an extra stick of butter just for greasing the dish, and I don't get my fingers messy, either.  When we are milking, this is also a great recipe for using homemade butter.

A word about choosing your dish: I like to use a glass or ceramic baking dish for apple crisp due to the fact that the acid in the apples will not react with it, thus increasing the shelf-life of the finished product.  If you are new to baking apple crisp, I would suggest using a clear glass pan if you have one because it will allow you to easily see how the apples are cooking.

3. Next, make your topping.  The recipe that I use is for either a 9 x 9 or 7 x 11 inch pan.  (Double this for a 9 x 13.)

1/2 cup butter
1 cup all-purpose flour
1 cup sugar

You can vary this in lots of different ways:  

a) You can use stick margarine if you prefer, but I never think it is as good.
b) Instead of 1 cup of all-purpose flour, use 1/2 cup whole wheat flour and a 1/2 cup all-purpose.
c) Instead of 1 cup of all-purpose flour, use 1/2 cup oatmeal and a 1/2 cup flour.
d) Instead of 1 cup of white sugar, use 1/2 cup brown sugar and a 1/2 cup white sugar.

This could go on forever, but you get the idea.  Keep the same proportions, just vary the ingredients to suit your taste.

Cut the butter into the sugar and flour until well blended and crumbly.  I like to use a pastry blender for this, but I've seen my grandma just use her fingers.

The prepared apple crips topping.  This was a combination of
whole wheat flour, oatmeal, and brown sugar.  It was quite good.
4. Now you are ready to peel, core, and slice the apples.  Since we always do this with homegrown apples of various size and quality, I couldn't give you a certain number of apples to use.  Just cut up enough apples to fill your dish 2/3 to 3/4 of the way to the top.  Use whatever apples you like to bake with.  My preference is the Jonathans that grow in the southeast corner of our orchard.  They are firm fleshed and have a flavor that is second to none.


5. This step is optional.  I like to spread just a little bit of white or brown sugar over the apples.  I do this because the sugar draws the juice out of the apples and causes them to cook better.  I don't put so much sugar on them that I notice a difference in the flavor.  My mom has baked hundreds of very delicious apple crisps and does not do this, however.  My grandma would sprinkle a little cinnamon on the apples at this time, too.  Sometimes I do, and sometimes I don't.

6. Spread the topping crumbs on top of the apples.


The assembled apple crips ready to go in the oven.
7. Slide the assembled apple crisp into a moderate oven.

The apple crisp in the oven of the Margin Gem cookstove.
8. Bake as long as you like.  I've seen recipes that say as little as 35 minutes, but I like my apples to be thoroughly cooked, so I generally leave it in for at least 50 minutes.  Of course, as in all baking in a wood cookstove, you have to watch the food and the oven temperature and adjust baking times accordingly.  I suggested a clear glass pan above because I don't think an apple crisp is any good until the apples are bubbling quite a bit.  You can see that I didn't use a clear pan to bake the crisp in the picture, though.

9. When done, remove from the oven and cool for a little while before serving warm with whipped cream or ice cream.  You could serve it plain, but what is the fun in that?

The finished apple crisp.  I think this one is a little too dark on top,
but it tasted very good anyway.
There you have it.  You'd have to work pretty hard to ruin this one badly enough that you couldn't eat it, and you'll have the rewarding experience of pulling a delicious dessert out of the oven of your wood cookstove.  Enjoy!

Saturday, October 17, 2015

Baking From-Scratch Refrigerator Rolls in Your Wood Cookstove

When you are using a wood cookstove to cook all of your meals, you will likely have a hot oven at each mealtime.  When the cookstove is being fired constantly for home heating, you can have a baking-temperature oven in just a few minutes at any time of the day.  This adds an element of flexibility to the menu that one does not have with a modern range. 

That may sound strange, I know, but hear me out.  Now, obviously we only use our gas range in the summer months, but if we used it year 'round, I'm such a skinflint that it would bother me to turn on the gas oven for short, optional baking, so I would think twice when planning meals so as to avoid using the energy.  However, the fire that heats the cooktop of the wood burning range is also the fire that heats the oven, so no extra energy cost (or at least very little) is accrued by heating the oven--hence the extra flexibility.  Therefore, the recipe and method that I'm going to share in this post is one that I would never use in the manner that I'm going to show you if I were confined to using a modern range.

Some time ago, I received a reproduction copy of the 1950 edition of Betty Crocker's Picture Cookbook (Wiley Publishing, Inc. and General Mills, Inc.). I think that it was a Christmas gift.  I haven't used it as much as I would like, but the prose centering around one recipe for refrigerator dough caught my eye.  I'm convinced that this is the precursor to the various canned bread doughs that we now see lined up so neatly in the dairy case at the grocery store.  Every cook knows that a meal is kicked up a notch when there is fresh yeast bread to be served with it, but sometimes schedules don't allow going to the trouble of mixing and proofing dough while making other food preparations.  This is the perfect recipe to help ease that process.

Of course, I rarely follow recipes exactly, so I've made some adaptations.  Here is what I did:

On an evening when we had mashed potatoes as part of our supper (I could have mashed potatoes every day and never get tired of them), I saved the water that they were cooked in.  It turned out to be almost exactly a cup and a half of potato water.  After we had eaten supper, that water was still warm, but no longer hot, and I started mixing the roll dough.

To the potato water, I added a tablespoon of yeast, then two-thirds cup of sugar, and a bit more than a teaspoon of salt.


To that, I added two eggs (I used duck eggs), 2/3 c. of room-temperature shortening, and about a cup of leftover mashed potatoes.


Then, I started mixing in All Trumps bread flour.  After I had added three cups of flour, I beat the dough very briskly with my spoon in order to get the gluten activated and the lumps of mashed potatoes broken down.


I stirred in approximately another three cups of flour and then turned the dough out onto a floured board and began to knead just enough flour into it that it stopped sticking to my hands.  It was still a pretty soft dough, though.


I put the dough into a clean bowl and coated it with thin layer of shortening. 


After tightly covering the bowl with plastic wrap, the whole thing went into the refrigerator. 

The key to keeping this dough in good condition is to keep it refrigerated and to be sure that you punch it down regularly.  I have kept it in the fridge for as long as six days.  I mixed this batch on Tuesday evening.  The picture below shows what it looked like on Wednesday morning just before I punched it down for the first time.


Of course, you could make all of the dough into whatever kind of roll you want and bake it all at once, but that would be a LOT of rolls, and really, the beauty of this recipe is that you can have so much flexibility and variety.  Here is what I did with this batch:

On Wednesday evening, I made cinnamon rolls.  Usually, I open the door of the warming oven on the Margin Gem, spread an old towel on it, and let loaves of bread and pans of rolls rise there.  I don't close the warming oven door because it gets too hot for the dough. 

However, because this dough is so cold after having been in the refrigerator, the closed warming oven is the perfect place to put these rolls to rise.  I put a hot pad on the floor of the warming oven and place the pan of rolls on that so that the pan is not conducting too much heat, though.


I baked these rolls in a moderate oven for about 20 minutes.  Remember, baking times are relative in a wood cookstove.


Now, because I had used a shiny pan, I knew that the bottom of the rolls would not be done enough, so I placed them on the middle of the cooktop for a few minutes.


That did the trick, and they were perfect.  After turning them out of the pan onto a rack to cool, I returned them to the pan and frosted them.


As I said in the previous post, I love frosting, but I have to tell you that I put too much frosting on these rolls.  This recipe makes a really rich dough, so I should have been more sparing.  When I ate these, I had to scrape some of the frosting off, and I NEVER do that!

On Thursday evening, I made plain dinner rolls to go with our roast beef supper.


Then, this morning, Nancy and I made the last of the dough into cinnamon twists.


This was the first time I had ever made cinnamon twists.  I talked to Janet L., who was a school cook when Nancy and I were still eating school lunch, and asked her how they made the delicious from-scratch cinnamon twists that we used to eat.  She told me to simply roll small pieces of dough between my hands like little kids do with Play-Doh to make "snakes."  Dip them into melted butter, then a cinnamon-sugar mixture.  Twist a few times and put them on the pan to rise.  It worked like a charm.


These were plenty large, so I'll try to make them smaller next time, but they were a big hit.

I'm going to continue to experiment with different kinds and shapes of these rolls, and I will continue to add pictures to this post to show the many possibilities that this recipe has.  I'm thinking that it would be very easy to coat them with some herbs and parmesan to make savory rolls, for example.  What would be your suggestions?  Let me know in the comments section below.