Showing posts with label Kitchen Klatter. Show all posts

Sunday, June 20, 2021

Cherry Bars Baked in the Hayes-Custer

In my last post, I said that I would be bringing a series of posts to you about cooking out in the summer kitchen.  I've started those, but this isn't one of them.  

We have five sour cherry trees here on our farm.  Three are courtesy of my grandparents, and the other two are volunteer children of our venerated Montmorency cherry tree.  The Montmorency cherries are my favorite, but they aren't quite ready yet.  Nancy and I did pick from the other two dwarf cherry trees yesterday, though, and as she is not a pie lover, I made cherry bars.  I've seen this recipe in several places, but we first had these in the early 80s after my aunt Rhonda Jo made them.  Now, they are a recipe that I will forever associate with her.

I think Rhonda Jo probably made them with canned cherry pie filling, but since we are starting with fresh fruit, the first thing we had to do is convert the cherries into pie filling.  To do that we use an old Kitchen Klatter recipe that my Great-Grandma Ruth very likely copied down as she was listening to the radio.  

For one batch of cherry pie filling, you need the following:

4 cups of fresh cherries

1 to 1 1/2 cups cherry juice (the juice from the cherries should be sufficient)

1 cup sugar

3 to 4 Tablespoons cornstarch

1/2 teaspoon almond flavoring

This avocado green plastic colander belonged to Granny,
my paternal grandmother, and I've been picking cherries
into it for almost forty years.

Of course, you first have to pit the cherries, saving as much of the juice as you can.  The process of pitting cherries by hand is messy and not an appropriate place for a camera, so there are no pictures of that step.  Sorry.  

Both of my grandmothers, Meme, and my mom were all very thrifty cooks, and very little of the produce that we grew here at home went to waste.  I grew up watching this team of women work for hours over dishpans of wormy apples just to save whatever they could for human consumption.  Hence, Granny always made us save the pits as we processed cherries.  She would then put just the tiniest bit of water on them in a saucepan and bring them to a boil on the stove to get as much of the cherry juice as possible.  I don't know whether this is necessary or not, but this is what she always did, so I continue the tradition.
  
The cherry pits and a splash of water coming to
a boil over a freshly started fire in the Hayes-Custer
in the summer kitchen.

The boiling cherry pits.

Once you have all of the juice drained off the pits, place the four cups of cherries, the juice, one cup of sugar and 3 to 4 Tablespoons of cornstarch in a heavy-bottomed saucepan.  

Start cooking this mixture directly over the firebox, but when it begins to thicken, move it to the middle of the cooktop to continue cooking until the desired thickness is reached.

Hint: This step can be a bit tricky.  Sometimes (often), this has not wanted to thicken for me.  I discovered that if you strain the cherries from the juice and cook just the juice, sugar, and cornstarch directly over the fire, once it reaches a good boil, it will thicken when you add the cherries back into the hot mixture.

It has been extremely dry around here this spring, though, and we had a hard time getting much juice to come out of the cherries at all.  Thus, yesterday, I actually had to add a little boiling water from the teakettle in order to thin the mixture to an appropriate consistency.  You just have to watch and be careful!


Remove the cherry mixture from the stove and stir in a 1/2 tsp. almond flavoring.  Set aside.

For the batter, you will need 1 cup of very soft butter (no substitutes) and 1 3/4 cups of sugar.  

Please pardon my avocado green Sunbeam Mixmaster.
It is uglier than sin.  It belonged to Granny, and when I 
inherited it 26 years ago, I thought I would just use it
until it died.  The thing has to be near to fifty years old now
and shows no sign of dying anytime soon.  How I wish she'd
bought a white one!

Cream the butter and the sugar together until smooth.


Add four eggs to the butter and sugar mixture.


To the above, beat in 1 tsp. vanilla, 1/2 tsp. salt, and 1 1/4 tsp. baking powder.


Stir in 3 cups of sifted all-purpose flour.  Good luck trying to keep from tasting the batter at this point.  It is SO GOOD!

Spread two-thirds of the batter into the bottom of a greased jelly roll pan.


Spread the cherry filling over the bottom layer of batter, and then dollop the remaining batter on the top.


Bake in a moderate oven for about a half hour until it begins to pull away from the edges and is golden brown.

Doesn't the Hayes-Custer do a nice job
of baking?

Notes:

If you want to freeze sour cherries for later use in pie filling, pour the cherry juice from cooking the pits, the four cups of cherries, and the cup of sugar into a freezer container and freeze.  When ready for use, thaw, drain the sweetened juice off, add the starch and cook.  Add the cherries once the juice and starch have come to a boil and thickened.

If you were going to make a cherry pie with the filling, I would recommend adding a dash of cinnamon to it along with the almond flavoring.  JUST a dash, though.

These bars can be made with any type of canned pie filling.  Strawberry is one that I've seen fairly frequently.

Some people drizzle a little vanilla icing over these bars.  Now, I love frosting and put it only lots of things, however, I will admit to thinking that these are sweet enough without it.  You do what you want, though.

Wednesday, December 21, 2016

"Prize Egg Yolk Cookies"

When I make from-scratch angel food cakes, I always put at least fourteen egg yolks in some kind of vessel in the refrigerator.  My great-grandmother always made Eleven Egg Yolk Cake, a recipe that I will share here sometime.  Nancy's grandmother always made homemade noodles.  I have done both, but over the summer I found a recipe that I think will become my tradition: Prize Egg Yolk Cookies.

My niece celebrated her 17th birthday on Thanksgiving Day, and she asked for an angel food with caramel frosting (the traditional birthday cake on my mom's side of the family), so I had some egg yolks in the fridge a few weeks ago, and these were soon on the menu.

I found this recipe in the March 1956 edition of the Kitchen Klatter Magazine.  It says there that it was "repeated by request," and I also have this same recipe in a publication put out by Shenandoah, Iowa, radio personality Billie Oakley in the mid-1980s.  Another person put this recipe on food.com from the Billie Oakley publication at this link; however, the flavoring is slightly changed.  No matter where you want to believe that it originated, this is a great way to get rid of extra egg yolks and a delicious cookie recipe.

Here is what you do:

1. Cream one cup of butter and a cup and a half of sugar.


2. Add six egg yolks (or three whole eggs).


3. Beat in one teaspoon soda and one teaspoon cream of tartar.  I love the flavor of cream of tartar in cookies.


4. Add one teaspoon of vanilla and a half teaspoon of lemon flavoring. 


5. Stir in two and a half cups of sifted flour.


6. Roll the dough into small balls, coat with sugar, place on an ungreased cookie sheet, and flatten with the bottom of a drinking glass.

Cookies that have already been flattened with the glass are on the right.
7. Bake in a moderate oven until desired doneness has been achieved, about 8-10 minutes.  If you like a chewy cookie, don't let these begin to brown around the edges.  They will be crunchy if you let them begin to brown.


8. Remove from cookie sheet immediately to cool.  Cooling cookies on paper towels like this helps them remain chewy.  If you want cookies that are more crunchy, use a cooling rack.


Store indefinitely in an airtight container.  From what I've read, these also freeze well, but I've never tried that.

Here is the recipe in a more compact format:

Prize Egg Yolk Cookies

1 cup butter
1 1/2 cups sugar
6 egg yolks
1 tsp. soda
1 tsp. cream of tartar
1 tsp. vanilla
1/2 tsp. lemon flavoring
2 1/2 c. sifted flour

Cream butter and sugar.  Beat in next five ingredients.  Stir in flour.  Shape into small balls, roll in sugar, place on cookie sheet and flatten with a glass.  Bake at 350 for 8-10 minutes.

These have that classic sugar cookie flavor that many people love.  Enjoy!


Friday, October 24, 2014

Danish Apple Bars with Brown Butter Frosting

Our apple crop this year has not been nearly so large as last year, and the quality of the apples is lesser also.  However, we have taken the opportunity to make a couple of these Danish Apple Bars. This is a perfect seasonal recipe for autumn when apples can seem to be multiplying before your very eyes and while the chickens begin to respond to the waning daylight by slackening off on their laying.

The first step is to cut 1 cup of vegetable shortening into 2 1/2 c. all-purpose flour and a scant teaspoon of salt.  I always use a pastry blender for this job.

Shortening, flour, and salt blended together.
Next, place an egg yolk in a measuring cup.  Add a little vanilla and enough water or milk to make 2/3 c. of wet ingredients.  Beat the mixture until well combined.

The egg yolk, vanilla, and milk combined to make 2/3 cup.
Add wet ingredients to the dry ingredients and combine.  Do not over beat!  This is a pastry after all.
The completed pastry dough.
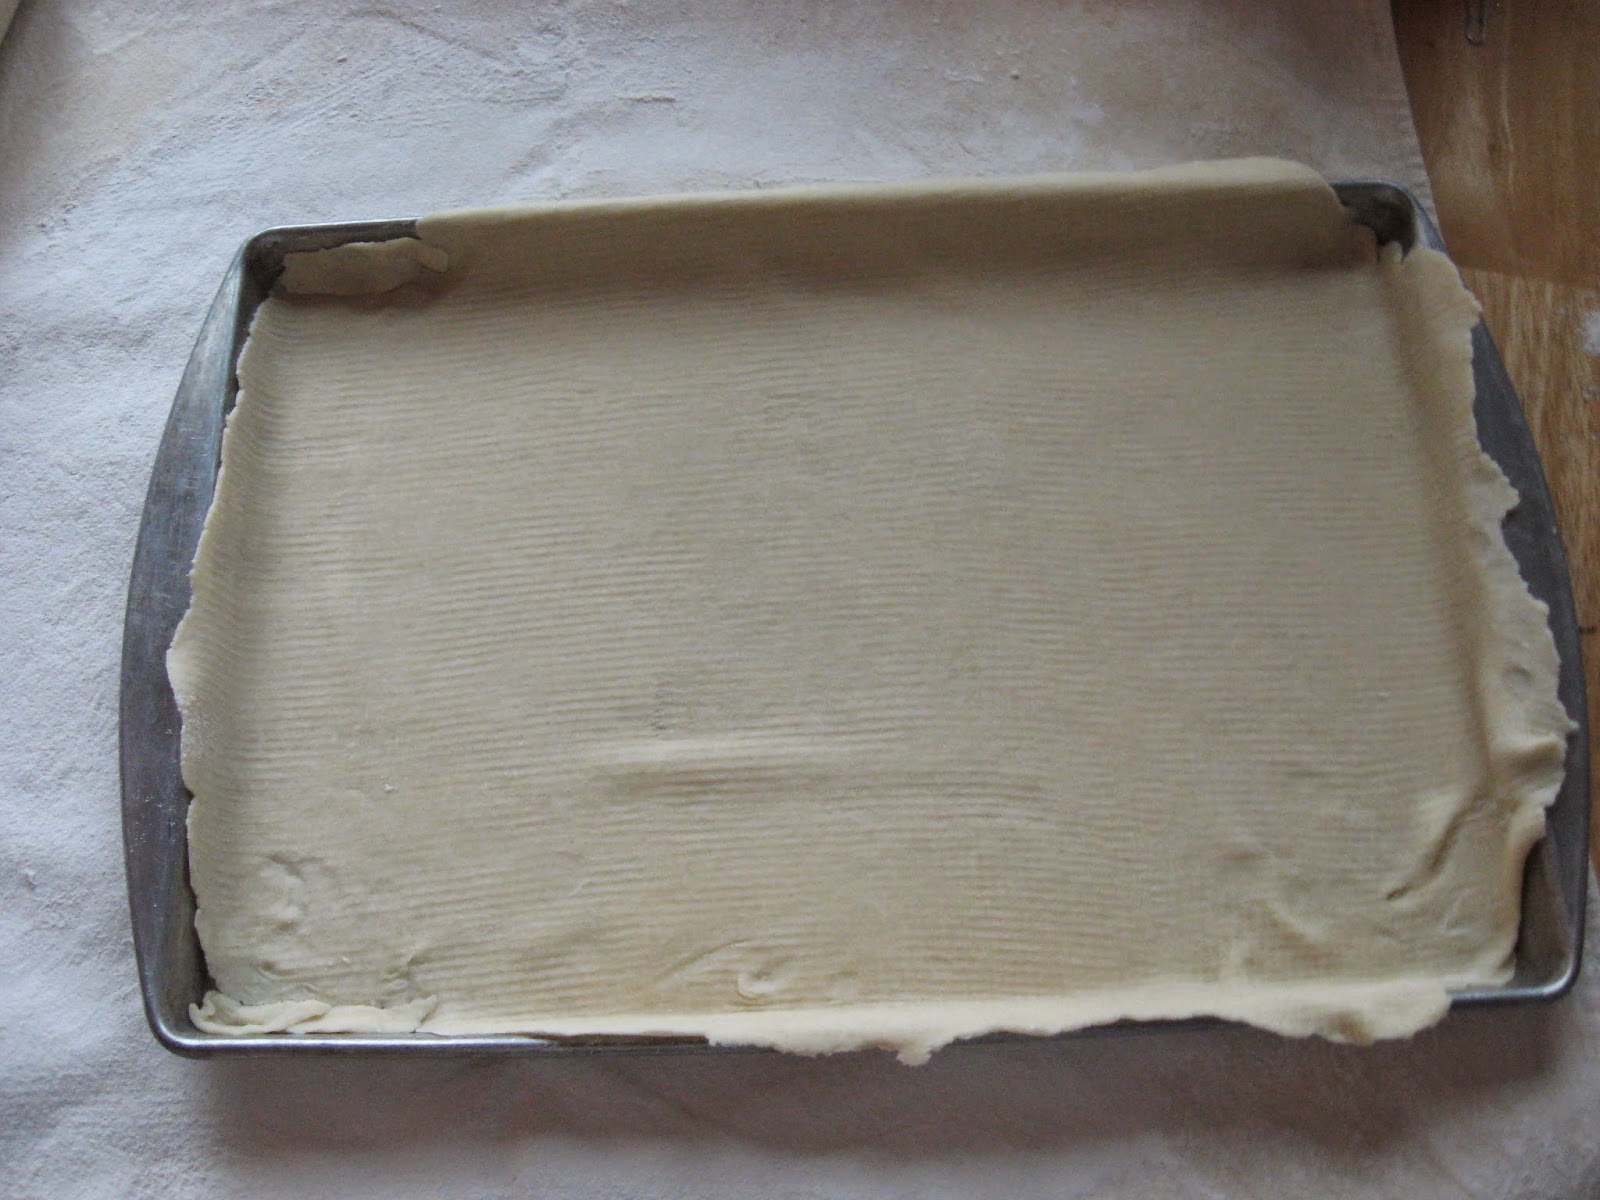
Divide the dough in half and roll one half into a 10x15-inch rectangle.  Line the bottom of a 10x15 jelly roll pan with this bottom crust.
 
The bottom crust in the jelly roll pan.
Next, peel eight to ten small baking apples and slice them thin as for pie.  Spread these on top of the bottom crust.  On top of the apples, sprinkle two handfuls of corn flakes (to absorb some of the moisture from the apples), one cup sugar, and one teaspoon of cinnamon.  I also added some raisins because I love them--in everything.  


The apple, corn flake, sugar, cinnamon, (and raisin) mixture.
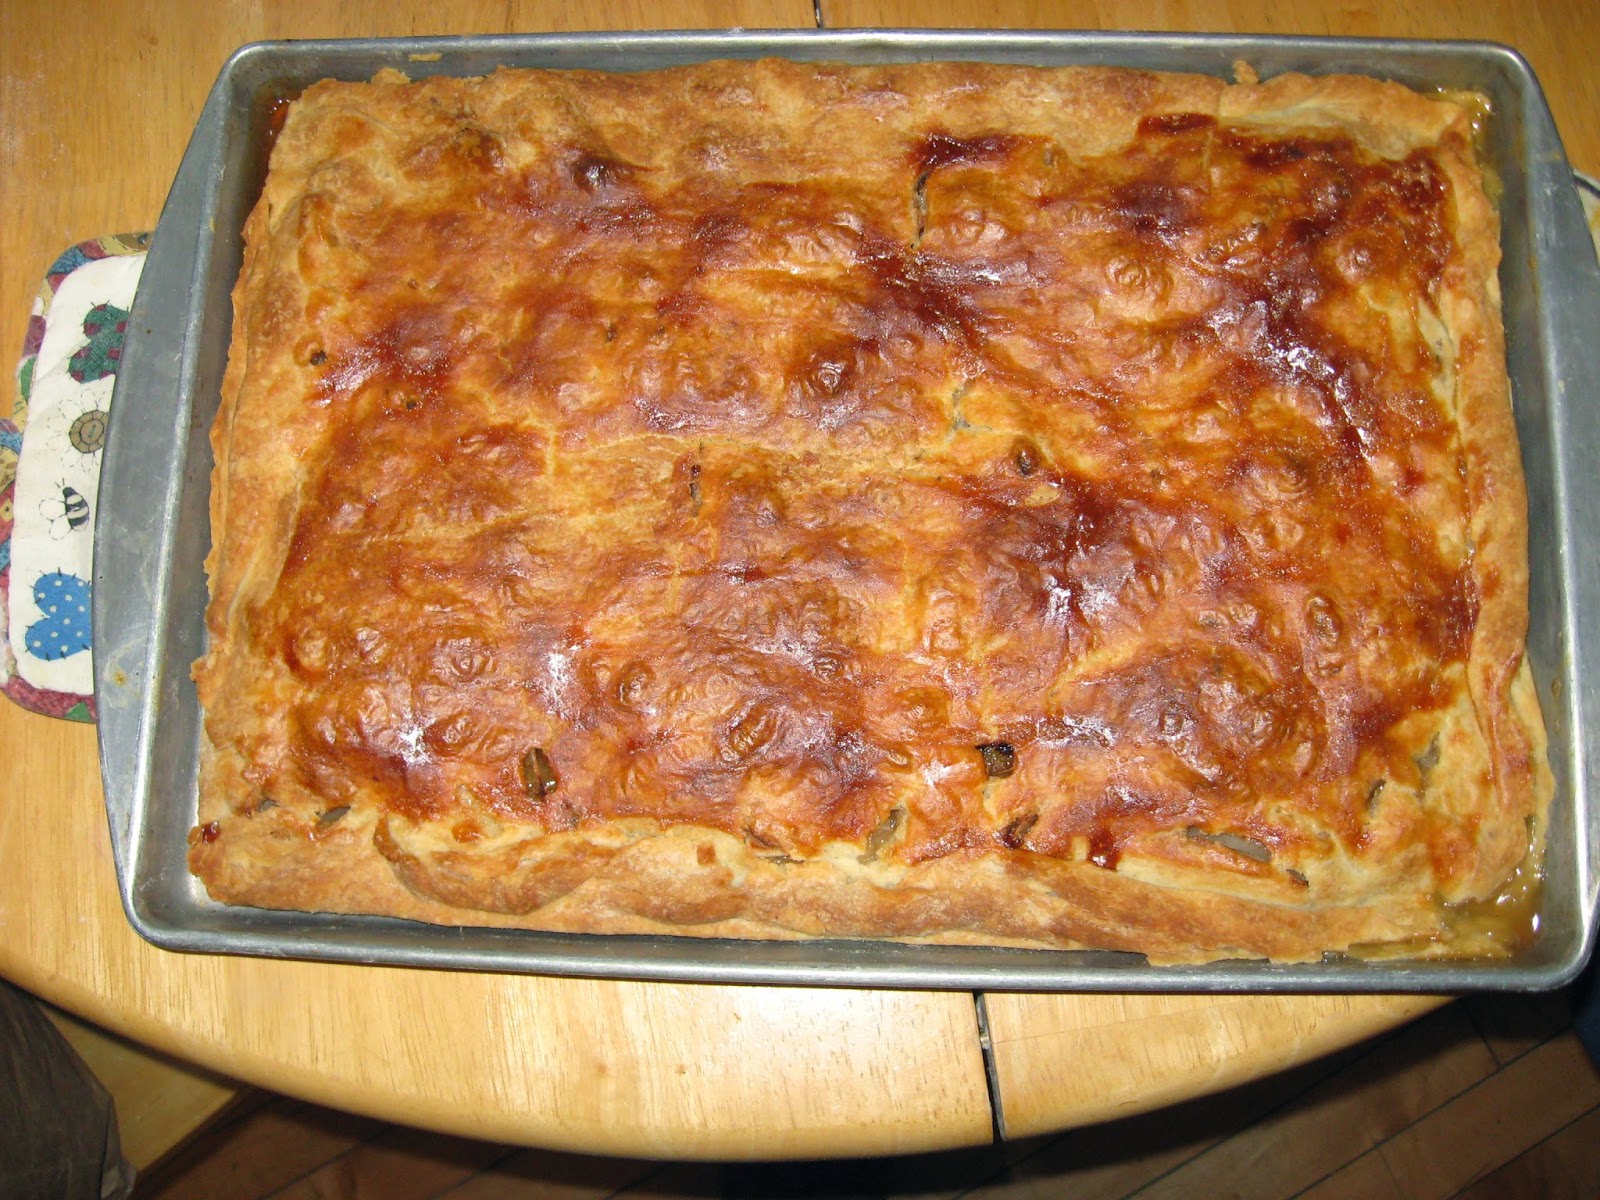
Roll out the other half of the crust and put it on top of the fruit mixture.  Seal the edges.  Beat the egg white and brush it over the top of the upper crust.

The Danish Apple Bars ready to go into the oven.  My second
one of these of the season looked a lot better.
Bake in a moderately hot oven for 45-60 minutes.  The recipe says to bake it at 400 degrees for that amount of time, but I think that an oven closer to 375 degrees for about forty minutes seems better.  You be the judge based on how brown you want the crust to be and how thickly you have sliced the apples.
Danish Apple Bars baking in the oven of Marjorie, the Margin
Gem cookstove.

The finished bars.  The second batch of these was not so dark,
partly because I didn't put the egg white on top.

And now for my favorite part of the whole thing: the frosting!

Some of you may recall that I had written about the Applishus booths at the Iowa State Fair and how wonderful I consider their frosting.  This recipe is so similar to what they use that it may be the very same recipe.  I found it on page 339 of the 463-page Kitchen Klatter cookbook, a wonderful collection of recipes that I sometimes call "the southwest Iowa kitchen bible."  This was a very popular cookbook in our area in the middle of the last century, and it remains so popular that they are very hard to come by.

For the frosting, melt 1/4 cup of butter.
 

A half stick of butter melting over the fire.

Gently brown the butter.


Add the browned butter to two cups of powdered sugar.  Add 2 Tbls. cream, 2 Tbls. hot water, and 1 1/2 tsp. vanilla.  Beat until smooth.


The finished frosting.
Drizzle frosting over the pastry.


Here are the same recipes in a little more accessible form:
 
 
Danish Apple Bars
 
Pastry:
 
2 1/2 c. flour
1 tsp. salt
1 c. vegetable shortening
1 egg yolk
1/2 tsp. vanilla
enough water or milk with the above to ingredients to make 2/3 c.
 
Directions: Mix as for pie crust.  Roll out half to cover the bottom of a 10x15 inch jelly roll pan.
 
Filling:
 
8-10 medium baking apples
1 c. sugar
2 handfuls corn flakes
1 tsp. cinnamon
 
Directions: 1. Peel and core apples, slice thin. 
2. Spread apples and rest of filling ingredients on bottom crust.
3. Roll out top crust and place over apple filling.  Seal edges.
4. Beat egg white and brush over top crust if desired.
5. Bake at 400 degrees for 45-60 minutes until apples are done.  (See what I think about this above.)
 
 Brown Butter Frosting
 
(p. 339 of the Kitchen Klatter Cookbook, The Prairie Press, 17th Printing, March 1978)
 
1/4 c. butter or margarine, melted
2 cups powdered sugar
2 Tbls. cream
2 Tbls. hot water
1 1/2 tsp. Kitchen Klatter vanilla flavoring
 
Melt butter or margarine over a low flame until golden brown.  Remove from fire and add sugar, cream, water and vanilla.  Beat until smooth and creamy.
 
 
I have also used this recipe for making apple strudel.  Instead of making the pastry into bars that will be cut into squares, I roll the pastry out, put the apple filling along one side, then start rolling the fruit up in the pastry.  It works pretty slick.  I hope you enjoy this recipe as much as I do.


Saturday, December 22, 2012

Christmas Caramels

Marjorie the Margin Gem and I have been bonding over the last three days. Winter storm Draco hit our area on Wednesday afternoon, causing my drive home from school to be rather scary. Things proceeded to get worse for those who were traveling, but Nancy and I hunkered down and rode out the storm with no difficulties. We had filled both of the woodboxes on Wednesday morning, pumped the cistern full of water, and purchased the groceries which were necessary for our plans. We were set.

The wind blew, and a heavy, wet snow fell during the night, putting our electricity out for a period of two and a half hours.  I love it when the power goes out, but ours rarely does, and I was disappointed that it happened in the middle of the night when I couldn't enjoy it.  However, at 9:30 on Thursday morning our power went out again and remained out until after four o'clock in the afternoon.  Other than the fact that we had to bathe instead of shower (our basement shower uses a sump pump to drain), a snow day without electricity was pretty much the same as a snow day with electricity for us.  I was terribly disappointed when the power came on before nightfall, though, because we weren't forced to use our oil lamps.  Next time maybe.

On Thursday, I checked papers because I honestly thought that we'd be in school on Friday.  We didn't get nearly the amount of snow that was forecast for us, and the sun was shining brightly.  What we couldn't see in our protected little valley was how windy it was everywhere else and what havoc that was playing with the roadways.  Thus, Friday was a snow day also, and while I should have been checking papers, I abandoned that task in favor of beginning to make goodies for Christmas.

I started by making caramels.  I remember when my dad first made these.  When he announced that he was going to be making caramels, I was excited because I love caramel anything (so long as it isn't contaminated with nuts).  I know that I was pretty young when he first did it.  I also suspicion that I was sick because I remember that he handed me the spoon to lick after I woke up from a nap.  I remember being colossally disappointed with that spoon.  You see, when Dad said that he was making caramels, my youthful mind assumed that the result of his efforts would taste exactly like the golden nuggets of goodness that came from Kraft. 

Dad was delighted with them, however, and they have been a tradition at Christmas for a number of years now.  I think that they are my brother's favorite Christmas candy.  They are not difficult to make, and they are particularly well-suited to being cooked on a wood cookstove because of their long cooking time.  The recipe comes from the Kitchen Klatter Cookbook, a southwestern Iowa go-to cookbook which is a compilation of recipes from the radio homemaker show and magazine of the same name.  I give more details about the Kitchen Klatter legacy in my post about apricot bars.  I can't say enough good things about this mid-twentieth century cookbook.  It doesn't include a lot of beautiful photographs, and the directions are obviously written for people who have had some experience in the kitchen, but I haven't yet run across a recipe in it that I didn't like.  Many of the recipes have personal notes on them, and, having milked a cow for ten years, I appreciate the fact that they are very conscientious about telling you whether you can use "country sour cream" or "commercial sour cream" in the recipes which call for it.

This recipe appears on p. 457 in the candy section and is simply labeled "Caramels." To make them, you first combine 2 cups of sugar, 1 cup of cream, 1 3/4 cup corn syrup, a dash of salt, and 1 cup butter in a heavy-bottomed pan which has a capacity of at least four quarts.  Bring to a boil directly over the fire.

Bringing the ingredients to boil over the firebox.
Once it has come to a boil, move the kettle to a cooler part of the range where it will continue to boil, and let it do so for a half hour.  Stir occasionally to make sure that it isn't scorching.

The mixture boiling on the reservoir side of the stove.
As the mixture cooks, it turns a pretty amber color.
 After the thirty minutes is up, add another cup of cream.  Put the mixture back over the fire until it returns to a boil.

Coming back to a boil after the second cup of cream was added.
Return the kettle to a cooler part of the range where it will continue to boil until it has reached the consistency you desire.


Here is where things get a little interesting.  You can use a candy thermometer to decide when the caramel is done cooking, but I prefer the cold water test because I have better luck with it.  What I do is put very cold tap water (not difficult to come by at this time of year) into a coffee cup.  Then I let a few drops of the candy fall off of the stirring spoon into the cold water.  When it isn't yet done, it makes a beige puddle at the bottom of the cup.

I'm sorry that this is blurry.  I don't think that I know how to take
close-ups with our camera.

I take these caramels off the stove when they are at the softball stage.  At that point, the drops of caramel in the cold water look like this:


 When you stick your finger down at the bottom of the cup and stir everything around, the caramel forms a soft ball--hence the "soft ball stage."
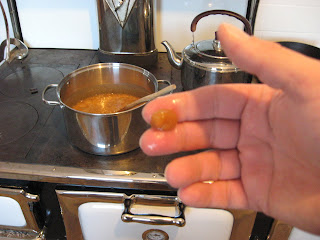
The soft ball of caramel after I stirred it around in the cold water.
If you want your caramels to be a harder finished product, you can cook the caramels longer.  When they are done, pour the caramels into a buttered 9 x 13 pan.


When they are most of the way cooled, cut and wrap.

A couple of the caramels removed from the pan.
Here is the way the recipe appeared in the original cookbook:

Caramels
2 cups sugar
2 cups cream
1 3/4 cups corn syrup
1/8 tsp. salt
1 cup butter (may be half margarine)
1 cup chopped nuts
 
  Combine sugar, 1 cup of the cream, corn syrup, sal and butter
or margarine.  Boil 30 minutes.  Then add the second cup of
cream and boil until it makes a firm ball when dropped into
cold water or until it reaches 260 degrees on the candy
thermometer.  Add nuts and pour without beating into well-
buttered pan.  Cut into squares when still slighly warm.
 
 
These have an old-fashioned, homemade taste that I hope you'll enjoy.


Monday, April 16, 2012

Apricot Bars in the Wood Cookstove

After this last weekend, I think I'm finally beginning to understand Marjorie the Margin Gem Cookstove better.  As I baked these bars tonight, I felt like the two of us were much more "in tandem" than we have been so far.  Jane Cooper, in her book Woodstove Cookery: At Home on the Range hits the nail on the head when she writes "You are as much responsible for the final product as the stove; rather than being your slave, it's a partner.  You learn to cook together."  Tonight, I'm happy to announce that I feel like Marjorie and I are finally coming to an understanding. 

I promise a long post about how to operate the Margin Gem later when I feel like I've become an expert.  The purpose of this post is to share with you all an excellent wood cookstove recipe that I found.

For my readers who are from outside my area of the Midwest, I need to first give a little background information.  I found this recipe for Apricot Bars in the April 1974 issue of Kitchen Klatter MagazineKitchen Klatter was the longest running radio homemaker show in America.  Broadcast from Shenandoah, Iowa, to several radio stations throughout the Midwest, Leanna Driftmier (and later her daughters) had a huge following among the homemakers of America's Heartland.  The popularity of the radio show led to the publishing of a monthly magazine, the development of a line of flavorings and salad dressings, and then to the manufacture of some high quality cleaning products.  The brand is now known as X-tra Touch and is still widely sold in our area of the Midwest.

The April 1974 edition of Kitchen Klatter Magazine.
Leanna Driftmier, founder, is seated at left.
This recipe is a great wood cookstove recipe because it takes advantage of the heat of the cooktop while using the oven, too.  Of course, the deliciousness of the end product makes it a good recipe for any stove, but I always think that any recipe which would have meant turning on an extra burner or heating element in a modern stove is particularly well suited to the wood cookstove since that extra heat is already available from the same fire. 

Keep in mind that I doubled the recipe, so the pictures below are going to show a larger version than what the captions indicate.  Here is what to do:

Cut 1/2 cup butter, 1/4 sugar, 1 cup sifted flour, and 1/4 tsp.
butter flavoring together with a pastry blender.
Press into the bottom of a lightly greased pan.  Pop this mixture into
a moderate oven for approximately 25 minutes or until it begins to
brown very lightly around the edges.
The recipe says to use 2/3 cup dried apricots, but I think that a
full cup is better.  Put 3 tablespoons of water on the apricots in
a saucepan.  I put a splash of X-tra Touch apricot flavoring in
too in order to freshen their flavor a bit.
While the bottom crust is in the oven, simmer the dried apricots,
watching to make sure that they don't boil dry.

While the crust is baking and the apricots are simmering, beat
two eggs.  Beat in 1 cup brown sugar, 1/3 cup sifted flour,
1/2 tsp. baking powder, 1/4 tsp. salt, 1/2 tsp. vanilla (I used more),
and 1/4 tsp. almond flavoring. 
And now a word from our sponsors: X-tra Touch almond flavoring really is the best almond flavoring on the market.*

*I did not receive any remuneration or other consideration from the kind people at X-tra Touch for my endorsement of their product.  They know that I exist, but they are, at this writing, unaware that I am giving them free advertising on my blog.  While I'm on this jag, by the way, I'd like to mention that their butter flavoring is really quite good, too.  Oh, and did I mention that their laundry detergent is superior to anything else I've ever tried?  I didn't?  Then let me also just say that their laundry detergent is superior to anything else that I've tried.  Their color-safe bleach has salvaged many a garment around here, as well.  Oh, no!  I totally forgot to mention their Honey Dijon Dressing--OUT OF THIS WORLD!

Drain any remaining simmering water from the apricots and
add them to the brown sugar and egg mixture.
Poor the brown sugar/egg/apricot mixture over the hot crust.
Make sure that the apricots are evenly distributed.
Pop it all back in a moderate oven for about 25
minutes or until it is a deep golden brown.
When it is ready to come out, it will look puffy on the top.
As it cools, the brown sugar/egg mixture falls and creates a
gooey, yummy caramel layer.

Sprinkle the top with a little powdered sugar once they have cooled
quite a bit.  I'm sorry that the picture is of such a small piece, but the
rest are going to school tomorrow.  This piece didn't even make it to
the room where our computer is.

Here is the recipe the way it appeared in the 1974 magazine:


Apricot Bars

1/2 cup butter or margarine
1/4 cup sugar
1 cup sifted flour
1/4 tsp. Kitchen-Klatter (now X-tra Touch) butter flavoring
2/3 cup dried apricots
2 to 3 Tbls. water
2 eggs, beaten
1 cup brown sugar
1/3 cup sifted flour
1/2 tsp. baking powder
1/4 tsp. salt
1/2 tsp. Kitchen-Klatter vanilla flavoring
1/4 tsp. Kitchen-Klatter almond flavoring

Combine butter or margarine, sugar, 1 cup flour and butter flavoring.  Pat into a greased 8-inch square pan.  Bake 25 minutes at 350 degrees.  While this is baking, combine apricots and water and simmer until soft.  (Add a bit more water if needed, but use as little as possible.)  Beat eggs and combine with brown sugar, 1/3 cup flour, baking powder and salt.  When blended and beaten smooth, add remaining flavorings and apricots.  Spread on top of baked crust.  Nuts may be sprinkled over the top if desired.  Bake in 350-degree oven until golden on top, about 25 minutes.  Remove from oven and cut in squares while warm.  Sprinkle the top with powdered sugar.


As you can see, these bars are neither healthy nor economical, but I hope you enjoy these as much as I do!