Showing posts with label other uses of a wood cookstove. Show all posts

Friday, October 16, 2020

Economizing with Your Wood Cookstove

In the autumn of 2019, we didn't turn off our electric water heater and make the annual switch to wood heated water and daily firing of the Margin Gem until October 11.   Well, the fall of 2020 has been much cooler here, and with the economic uncertainties of the world today, it seemed prudent to make this transition much earlier.  Thus, we turned off our electric hot water heater on August 30 of this year, and with the exception of running it again for an hour and a quarter on Labor Day, which happened to be hot, all of our water has been heated by the Margin Gem since then.  And because the Margin Gem has been fired daily, the vast majority of our cooking has been done on it too.  This is the earliest we've ever made that transition, and the monetary savings has already been borne out in our most recent electric bill.

This got me to thinking about wood cookstove economics.  If you don't have to pay for your fuel, the wood cookstove can be an enormous money saver.  Yes, buying and installing a woodburning range is quite an investment, but as long as you can harvest and work up your own fuel, you begin to save money starting with the first fire you use in your range.  In the face of dire economic circumstances, I think a woodburning cookstove can be a tremendous tool for making a household as cost-efficient as possible.  Below you will find a list of some ways to take advantage of the money-savings a woodburning cookstove can provide.  Links are provided to posts which go into more detail.

A). Use a Wood Cookstove to Heat Domestic Hot Water

Shutting off our electric hot water heater shaves a minimum of $20 from our electric bill each month.  I figure that by the end of this calendar year, having our water heated by the Margin Gem will have saved us at least $1300 over the life of the system so far.  This means that the extra cost of the range boiler, the water jacket, and the specialized plumbing has paid for itself, and there are many years of continued service left in them.  If your water system and local codes will allow the installation of a range boiler system on your woodburning cookstove, I highly recommend it.

However, even if hot running water from your cookstove is not an option, heating water with your cookstove can be accomplished in a number of other ways.  Most cookstoves have a water reservoir option for heating water that is manually drawn from the stove.  In my experience, water heated in the range's reservoir is much hotter than the temperature at which most people would set their automatic water heaters.  Thus, a water reservoir that only holds five gallons actually provides far more hot water than its capacity because the super-heated hot water will have to be tempered with additional cold water before it can be used.


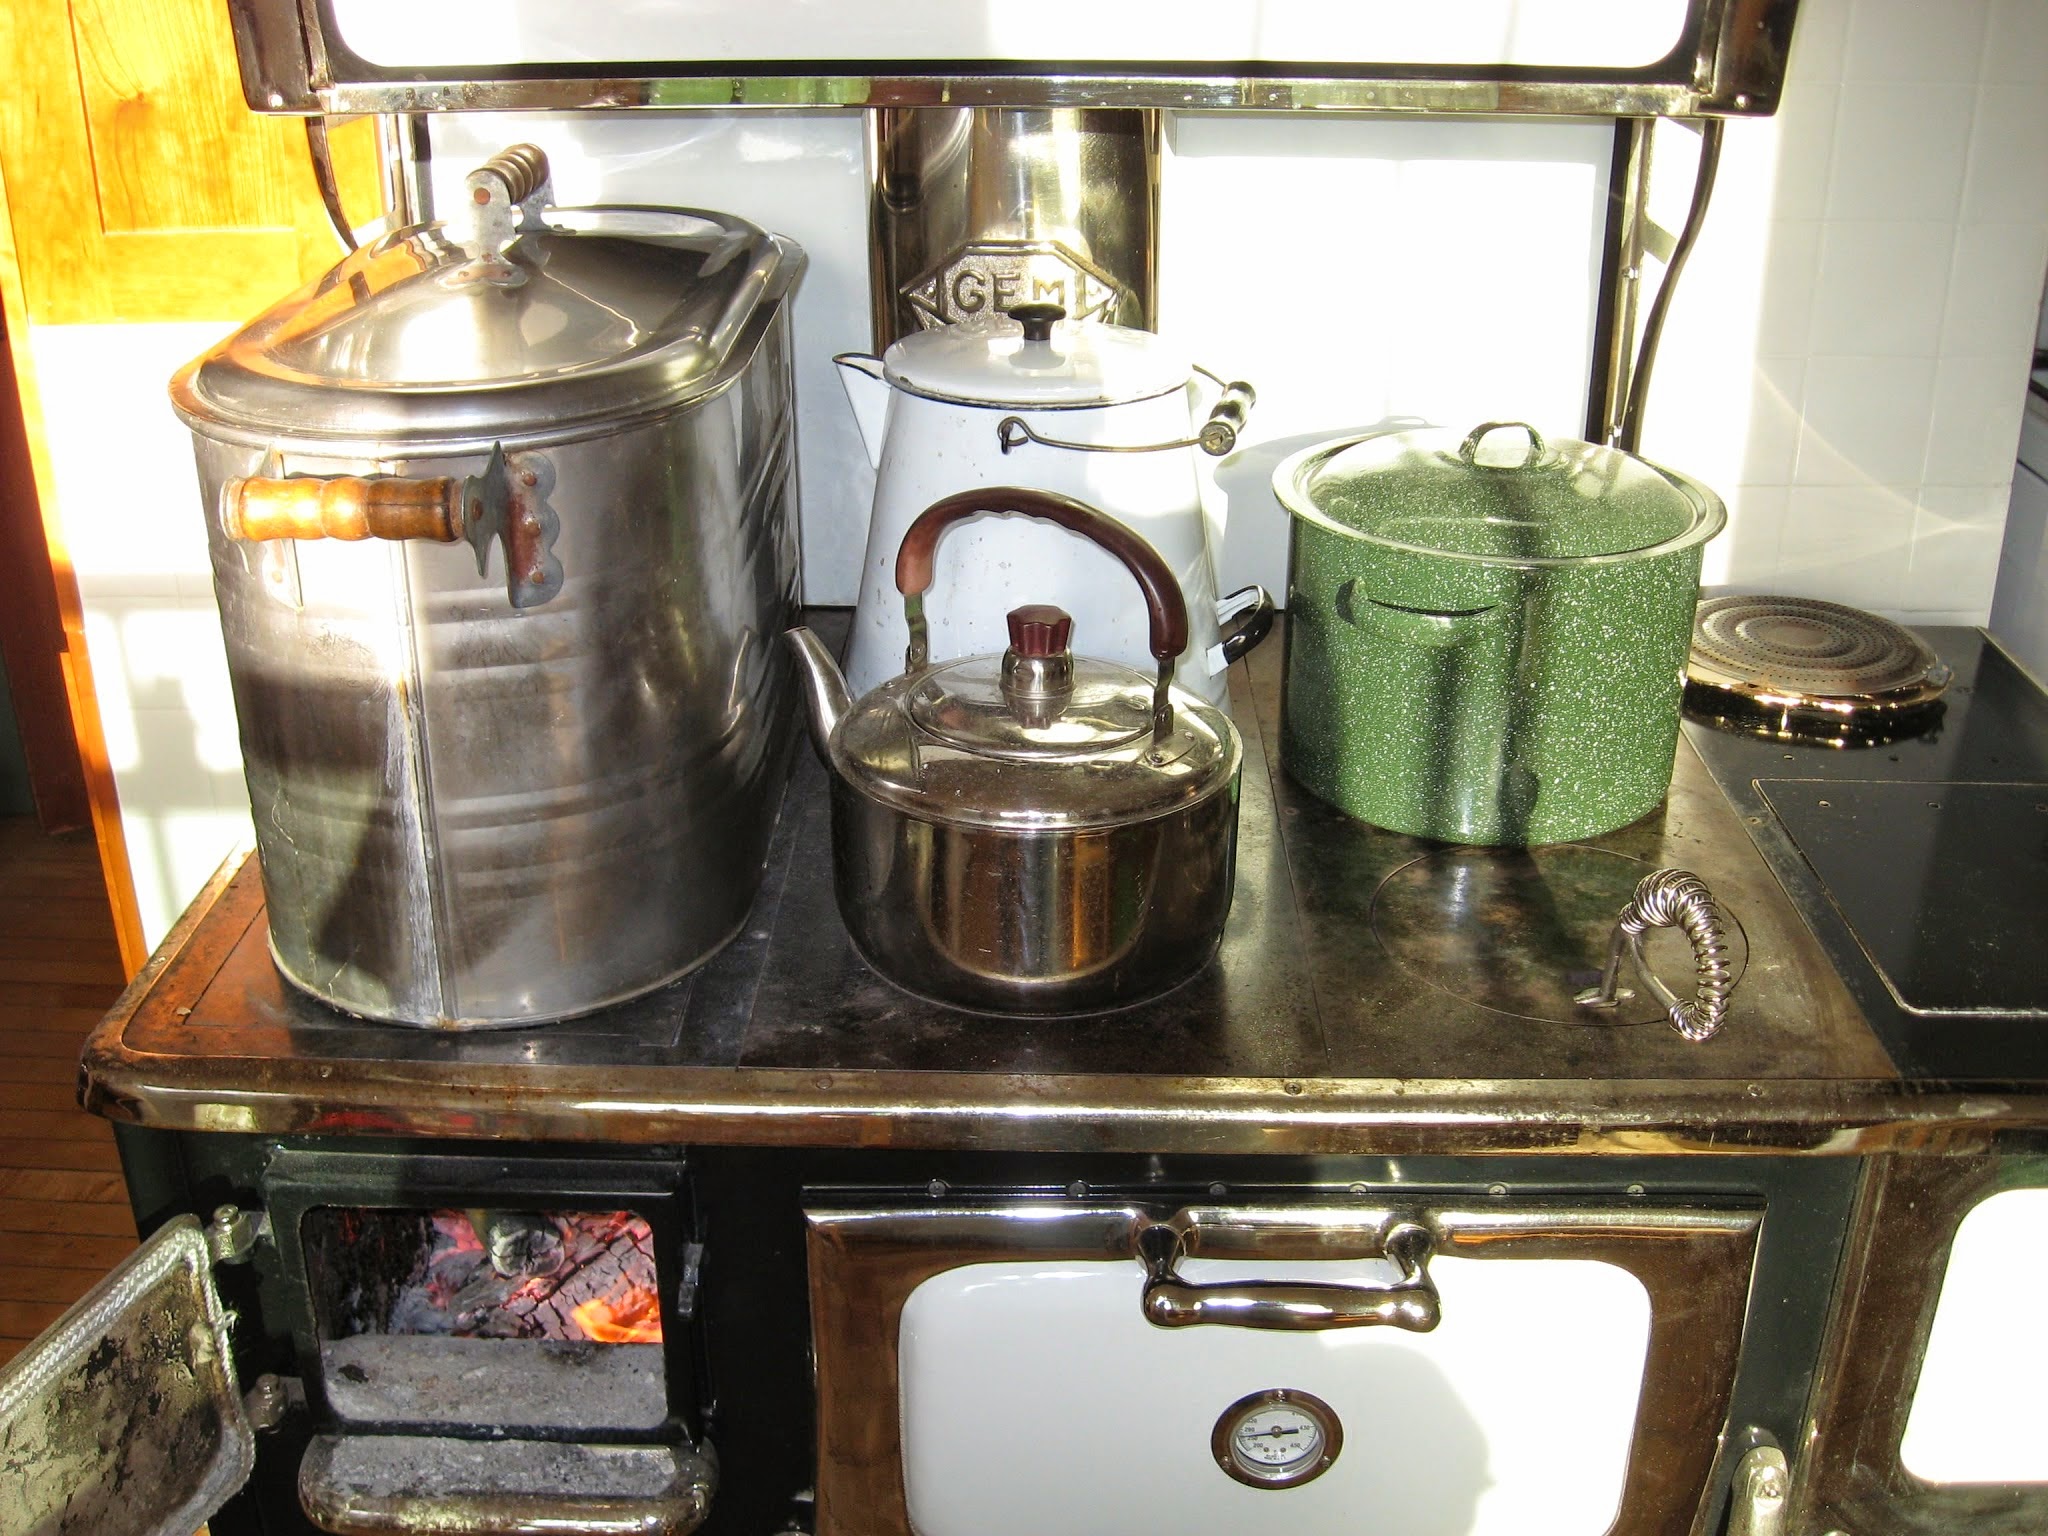
In addition to a reservoir, water can be heated in vessels on top of the stove.  The most commonly found is the old-fashioned teakettle; its spout makes using the water from it quite convenient, too.  You'd be surprised how many dishes can be washed and rinsed in a mere gallon of boiling water that has been diluted with cold water to a usable temperature.  You may find it impossible to turn off your automatic water heater, but you can still save a little money by supplementing it with a little hot water here and there from your wood cookstove.


B. Take Advantage of the Home Heating Capacity of Your Woodburning Range

The woodburning cookstove can be a powerful heater.  In fact, new ranges even come complete with BTU ratings and information about the number of square feet that they can heat.  I'm kind of amused by that because when you look at old cookstove advertisements, the heating capacity of the range is never mentioned.  Instead, they were always about the quality of the stove's construction, its fuel efficiency, and ALWAYS about its superior baking capabilities--even though history is replete with stories about cookstoves being the sole source of heat for many homes.  Nowadays, advertisements tout the cookstove's heating capacity, but they don't say much about how well a stove can bake.  Oh, the pendulum swings we see in life!

To maximize the heating capabilities of your woodburning range, keep the cooktop as free from extra kettles and miscellaneous as possible in order to let the heat radiate into the room.  Open that oven door, too!  The greater the surface area that is exposed, the greater the heat sent into the room.

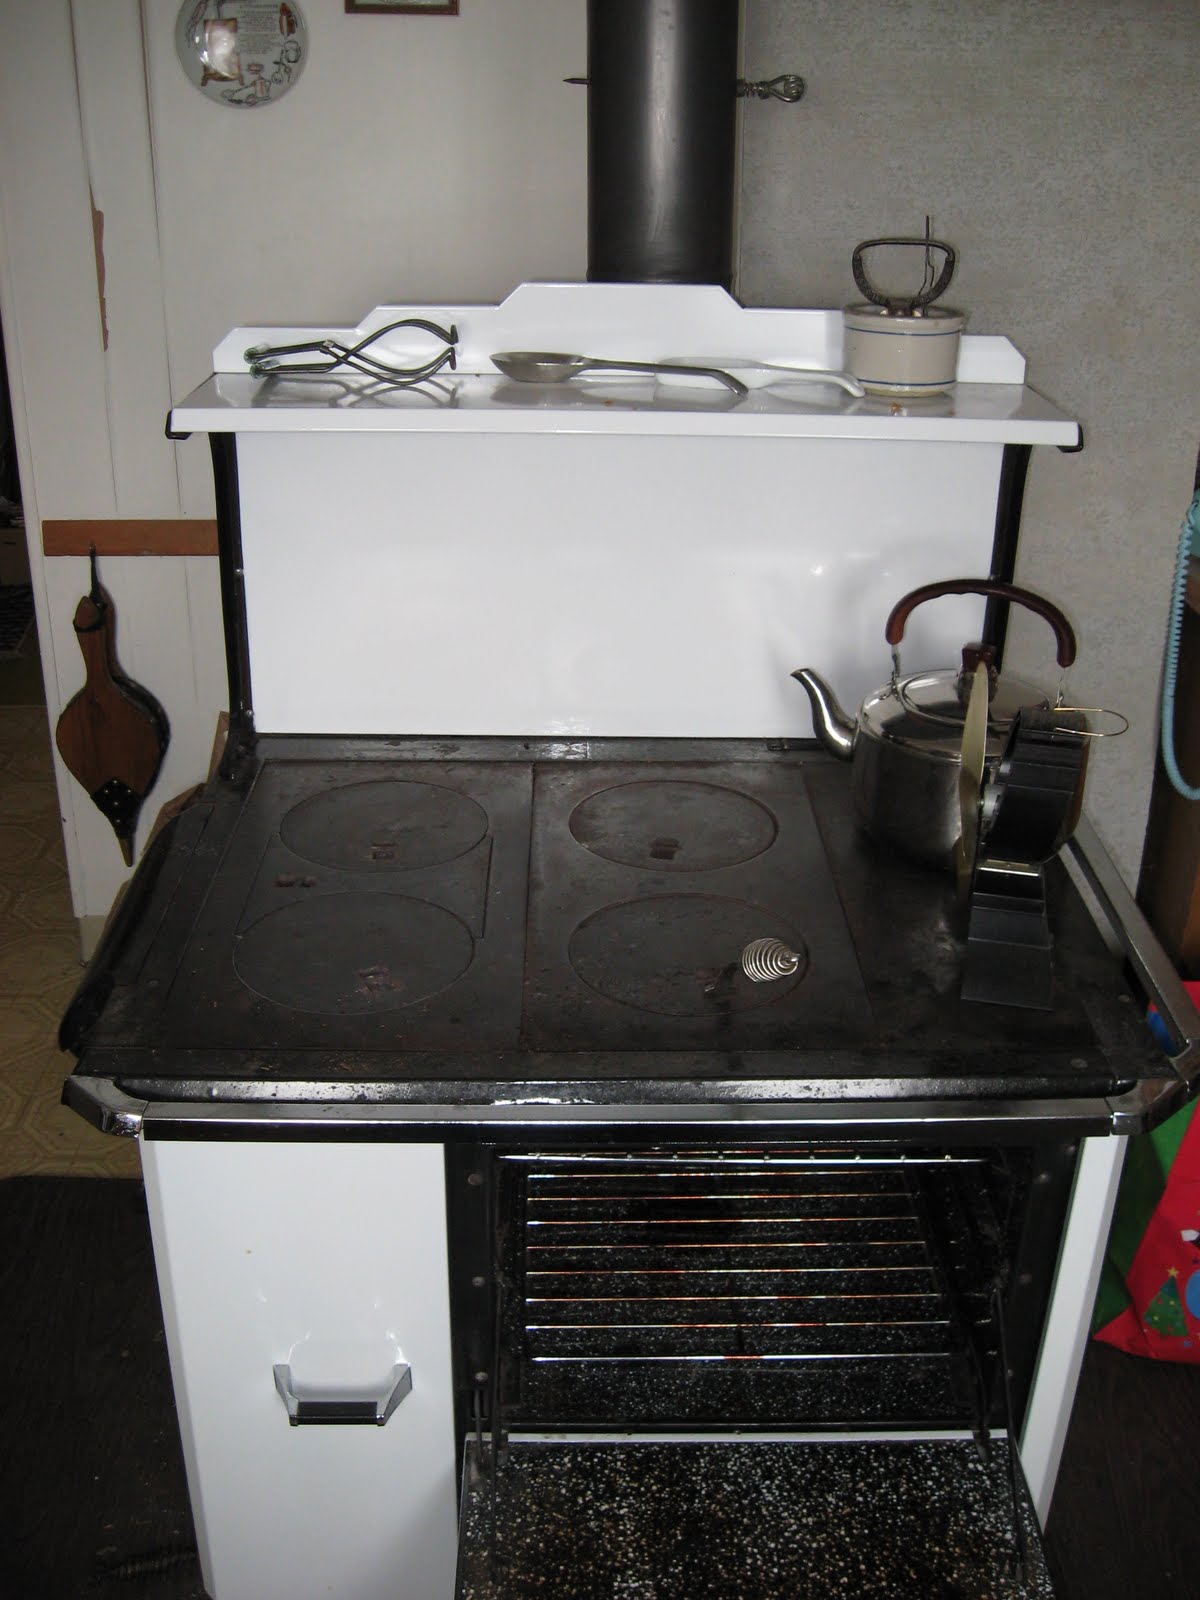
Also, a strategically placed fan can move the heat through your house better, making you feel warmer when you are not standing right next to the stove.  You can see our wood stove fan to the right on the Qualified Range below.  For more details about getting the most heat from your wood cookstove, visit this post. 


C) Use Your Woodburning Range Instead of Your Small Kitchen Appliances

Conventional kitchen wisdom is that electric countertop appliances use less energy than utilizing your kitchen stove to accomplish the same cooking task.  This is the complete opposite of what happens when your kitchen stove is a woodburning range.  Here is a list of small electrics that can stay in the cupboard when the cookstove is in use:

The Electric Skillet
French Toast cooking on the wood cookstove.

The Toaster

For a very lengthy post about the many ways you can toast bread on a wood cookstove, visit here and here.

The Microwave

In the pictures below, you can see me using the warming ovens on both the Riverside Bakewell and the Margin Gem to soften or melt butter and to defrost homemade applesauce.  Susan Fenoff, in her video about using wood cookstoves, calls the warming oven her "Amish microwave."


The Waffle Iron


Waffles are delicious, but waffles cooked on a wood cookstove are a step above in my opinion.


The Slow Cooker or Crock Pot

There are actually many ways that you can use your cookstove as a slow cooker/crock pot, but the method discussed in this post creates the most similar heat by using your wood cookstove's oven with the door open.

The Electric Wok

I don't know anyone with an electric wok anymore, but I know they exist.  However, you don't need one because you can cook wonderful Oriental food in a stovetop wok on a wood cookstove.

The Insta-Pot

I am almost afraid to point this one out since I know many people are in love with their Insta-Pots, but you can use a pressure cooker on top of a wood cookstove quite easily.  Sure, it won't do all of the things that an Insta-Pot can do, but you can pick up a cheap used pressure cooker in second hand stores very easily, and the food possibilities are endless and fast.


My favorite thing to cook in a pressure cooker is tougher cuts of meat, but you can quickly cook vegetables, rice, and even hot cereals in them.

The Popcorn Popper

You'll need a very hot fire, but you can easily pop popcorn on top of a woodburning cookstove, and don't worry about having a fancy hand-cranked popper.  You can get popcorn that is every bit as delicious by shaking it in a plain old saucepan.

The Deep Fat Fryer

Of course you have to be careful, but the wood cookstove is great for deep fat frying.  Historically, wood cookstove cooks favored frying over baking because it is easier to control the temperature of the oil than the oven.  In the picture above, you see homemade chicken nuggets frying on the Margin Gem, and in the post I wrote about them, I discuss the details and cautions that are necessary to deep fat fry on a wood cookstove.

Some readers may look at the above points and note that specialized equipment is sometimes necessary.  For example, in order to bake waffles on your wood cookstove, a stovetop waffle iron is a requirement.  They are increasingly hard to come by in antique stores, and the price has risen exponentially in the last twenty years.  However, new stovetop waffle irons are still available from Lehman Hardware, and at anywhere between $30 - $60, they are competitively priced with new electric ones.  Stovetop waffle irons can be used on gas and electric coil-type modern ranges too, so they are not a bad investment when your countertop waffle iron gives up the ghost.

D. Use Your Wood Cookstove in Place of Other Non-Cooking Appliances

Your wood cookstove can do the jobs of other energy consuming appliances as well.  Here is a list of non-cooking appliances that you can unplug:

The Scentsy® Warmer

Wonderful aromas can be sent wafting through your home by simmering potpourri on top of your wood cookstove.  You'd be amazed how many things resting quietly in your spice rack can be put to use as perfumes for your house without having to spend a ton of money on a ceramic warmer and individually packaged lumps of colored soy oil.

Still, if the colored lumps are your preference, you can melt them in a pan on the cool end of the range just as well as in the expensive warmers.  The same can be said of candles in glass jars.  When we get down to the bottom of a candle which has a scent we really enjoy, instead of lighting the candle, we just put the glass jar as far away from the fire as possible.  The warmth of the stove still melts the wax so that it can emit the scent.  Eventually, the aroma wears away and the candle can move onto its next stage of usefulness, but we've taken all possible advantage of its perfume.  NOTE: Just be sure not to put any glass candle vessels where the heat of the fire is so intense that it could break the glass.  That could be a disastrous fire hazard!

The Clothes Iron

I know, I know.  Some of you are laughing because it's been years since you've ironed any clothes at all.  Well, more power to you.  But for those of us for whom ironing is still a very real chore, ironing can still be accomplished with a wood cookstove as your source of heat.  That's all I'll say about that here.

The Clothes Dryer


American households have to be the worst in the world about wasting energy to dry clothing.  Oops!  Sorry, I jumped up on one of my soapboxes there for a second.  Seriously, though, a clothes rack placed near the wood cookstove can speed along the drying process for freshly laundered clothes.  In the past, woodburning ranges were even equipped with rods for drying towels, mittens, and socks.  Cookstoves can still be used to cheaply and quickly dry clothes.  The double advantage in this is that your can also unplug your home humidifier if you are hanging your clothes to dry indoors.

E. Eat Leftovers

Reducing food waste is one of the easiest things a household manager can do to save money.  In the future, I hope to write a series of posts which give hints and recipes for making leftover foods into entirely new dishes.  I will admit that reheating leftovers is the primary function of our microwave oven, but there are many more tasty ways that leftovers can be reheated or re-made using the wood cookstove.  For example, instead of tossing mashed potatoes in the microwave and having them come out smelling unappetizing and looking no better, making mashed potato patties requires only a little extra effort, and the end product is three times as delicious.

Two posts that I already have which deal with leftovers include one about how to use leftover roast beef and gravy that is very good.  However, if you are really serious about stretching your grocery dollar, the most economical food discussed on this blog is definitely pot-au-feu.

A bowl of Pot-a-Feu.

Literally translated from the French, pot-a-feu means "pot on the fire."  It is as delicious as you want it to be, it is never the same twice, and it is only feasible on a wood cookstove.  

In short, to get the largest financial return from a wood cookstove, make it the energy center of the home.  This is most certainly the way our ancestors used their kitchen ranges, and if one of today's households is blessed with a working wood cookstove, it still has every capability of serving in that capacity.

So, dear readers, what have I missed?  Fill up the comments below with what you do, what you remember your ancestors doing, or what you have heard others did to save money with a wood cookstove.  I'm anxiously awaiting your feedback.

Tuesday, September 11, 2018

Summer Uses for a Cold Cookstove

My last post was about Marjorie the Margin Gem cookstove coming out of her summer retirement.  I got to thinking about that.  In reality, even though she had not been fired since May, it wasn't as if she had just been taking up space.  In the summer, she becomes a rather versatile kitchen cabinet--versatile because she doesn't mind if I set hot things on her.

I also mentioned that we don't use her for baking for Monday Markets anymore.  During the first season of Monday Markets, she did all of the baking because she had the only functional oven we had at that time.  You can read about that in this post.

Now, during Monday Market baking, Marjorie serves as a proofing center while her oven stores some large pieces of cast iron cookware.

Marjorie holding a small fraction of the sweet rolls baked yesterday
while they were rising.

During the approximately eight months of the year that the wood cookstove is being fired, the roles of our two kitchen stoves are reversed, and the modern gas stove becomes an elaborate cooling rack and storage area.  I also have a large, homemade cutting board that fits almost perfectly over the gas stove top and makes a nice addition to our counter space.

Using a cold wood cookstove for storage is not a new idea at all.  I used to know of an elderly couple in Macedonia, Iowa, who had an old wood cookstove in their kitchen.  When the lady of the house wanted to remove it, her husband opposed the idea because he didn't know where he would keep all of his medications if not in the cookstove.  I've also heard of people using cookstoves to store groceries and pet food. 

When I first moved back into our house from the little house up the hill, the chimney was not yet ready to hook a cookstove back into it.  Thus, my old Qualified range (which was only a little over a year old at that time) sat patiently waiting to be used again.  I used it as a microwave stand because the idea of the wood cookstove "supporting" the modern technology of the microwave oven appealed to my warped sense of irony . . . Yup, I'm that much of a nerd.

For those of you who have wood cookstoves in your kitchen which are not used year round, please fill up the comments below and tell us what you do with your stove in the off-season.

Tuesday, February 20, 2018

Woodburning Cookstove: A Prepper's Necessity

When one thinks of major disasters, usually events like tornadoes, hurricanes, blizzards, earthquakes, wildfires, or tsunamis come to mind.  Of course, major disasters can take the form of man-made catastrophes as well, such as terrorist attacks or economic depressions.

If your home is completely destroyed in a disaster such as these, there is relatively little you could have done ahead of time in order to mitigate the aftereffects of such an event.  However, many of these calamities can leave your home untouched or damaged but still inhabitable.  When this is the case, whatever steps you have taken to prepare for a major disruption in your normal life will be greatly appreciated.

Each of the disasters listed above--except perhaps economic depression--carry with them the possibility of an extended electrical power outage as a part of their destruction.  I, for one, find our American dependence on electrical power absolutely frightening.  Fortunately, a power outage is something people can prepare for.

Power outages take many different forms.  Some can affect just one house or only a few houses.  Others can be widespread blackouts.  When you think about it, though, the number of homes involved in the power outage is not nearly as important as the length of time the power outage lasts.  A blink of only a few seconds is a mere blip in the vinyl that makes you reset the clock on your microwave oven.  The power outage of an hour could be an annoying inconvenience that alters your plans a bit.  An outage lasting more than two days can have disastrous consequences on your household budget if the food in your home freezer is spoiled.

In contrast, the power outages that I think about being prepared for are the results of disasters of a much larger scale, such as a major storm which could take out the electricity for a period of weeks or a solar flare or EMP (manmade or otherwise), which could alter the use of electricity for the foreseeable future on a scale that we have trouble even imagining.

Now, I don't consider myself a "prepper."  I don't have anything against preppers, but I know that in the event of a long-term, large-scale blackout like an EMP, I'm on the short list of people who will die soon because of my utter dependence on blood pressure medications.  I'm actually okay with that since having Jesus Christ as my Savior makes the next life look far better than this Earthly one anyway, and if we're looking at a catastrophic compromise of the electrical grid, I don't want to stick around to watch American society implode.  The problem is that I could live a headache-ridden existence for quite awhile since it's not up to me.  Thus, I can't help but think and plan a little bit.

If a power outage of this magnitude occurs, I think that having and knowing how to use an installed woodburning cookstove is an essential preparedness item.  Here are my reasons:

1. A woodburning cookstove can be used indefinitely.
Many people's answer to energy independence is a propane range.  I see this all the time in homesteading/preparedness videos and blogs as well as in homesteading magazines.  If you live in an area where a woodburning range is an impossibility, then a propane cooking device of some kind is certainly a better option than no option at all.  However, in a situation such as an EMP, whatever propane you have in your possession at the time of the disaster is the extent of the propane you will probably have for a very long time.  Thus, you cannot cook over propane indefinitely.

What waffles for supper might look like at our
house during an extended power outage (as long
as we still have lamp oil, of which I keep gallons
on hand).

With a woodburning cookstove, you will be able to cook as long as you are able to procure fuel.  Keep in mind, however, that if you are completely dependent on your chain saw and gasoline log splitter, you are not much better off than those with propane ranges.  For this reason, it is best to keep a manual set of wood-gathering equipment at hand.  The good news about these items is that they can be procured for little money.

Also, a wood cookstove can burn a number of different bio-fuels, so unlike a propane range which can only burn one type of fuel, you have several more options with a woodburning cookstove.

2. A woodburning cookstove can be used to heat your home and your water.

It is true that you can heat your water with a propane range, but heating your home with one is a dangerous proposition because of carbon monoxide.  The other advantage to a woodburning cookstove in this instance is that the fire that is cooking your food can be warming your home and your water at the same time, whereas heating water on a propane range will involve increased fuel consumption no matter how you look at it.

While I'm talking about water, let me take a moment to admit that I feel strongly that this is our achilles heal on our farm.  Though we are still using the same water system designed by my great-grandparents where gravity delivers water to the house and barns from an in-ground cistern on top of the hill behind the house, we no longer have a windmill to pump the water from the well to the cistern.  That situation is something I would like to rectify sooner rather than later.  At least, while there is water in the cistern, our wood cookstove hot water heating system allows us hot and cold running water without the aid of any electricity whatsoever.

After a long day of dealing with the life changes that a major, long-term power outage created, a hot shower would feel really good.

3. Your diet during a large-scale emergency won't have to change so drastically.

Most of the things I've read about preparing for a major, long-term catastrophe advise that keeping as much normalcy as possible is good. This advice extends to menu-planning, too, especially if you have children in your family.  In the face of the many day-to-day challenges which will arise from living without electricity, people will take comfort in being able to sit down and enjoy a familiar meal.

A wood cookstove can do anything that a modern range can do with the only exception being broiling in the fashion that we are familiar with where a heating element or flame is above the food. This means that wood cookstove owners will be able to cook just like they had been doing before the power went out.  The problem will be that in a situation like an EMP, the availability of familiar foods will be altered.

For this photo, I opened the firebox door to
prove that I was truly baking the waffles on the
wood cookstove (some people doubt this without
seeing the fire).  You will notice that this photo
was taken after Nancy had her waffle on her plate.
She doesn't like my homemade pancake syrup--
hence the bottle of Log Cabin syrup next to her
plate.

4. A wood cookstove will allow you to prepare food for long-term storage.

As mentioned above, a long-term power outage can cause you to lose the food in your home freezer.  Of course, when you see that the freezer is no longer maintaining a safe temperature for frozen foods, you might begin to consume as much of the food as possible.  However, our freezer is a 25 cubic foot model, and eating all the food that we store there would be very difficult to do in a short amount of time.  To be prepared to save as much of that food as possible, I always maintain a large supply of canning jars and lids.  Neither of these will do me any good, though, unless I've got a woodburning cookstove to can on.

A word or two about canning lids in a long-term disaster:  We buy our canning lids in bulk sleeves from the Amish.  They are much more reasonably priced than buying them by one dozen boxes.  This means that we usually have several dozen canning lids on hand at all times.  However, these are single-use lids.  In the event of a major catastrophe where they would no longer be in production, my supply will dwindle in a hurry. Recognizing that, I have a small collection of Tattler re-usable lids, and a very large collection of zinc and glass lids and rubber sealing rings which are also re-usable.  In my library of vintage canning books, explicit canning instructions for these lids are also maintained, and I have been practicing with them.

5. A woodburning cookstove is more convenient than cooking outdoors or cooking on a heating stove.

Some readers may be thinking that as long as they have a woodburning heating stove, they can cook, heat, and can with that.  This is true, of course, if your heating stove is designed in such a way as to make that possible (our Jotul is not).  When I was growing up, we only had a woodburning heating stove, and I tried cooking on it, and I've always been impressed by what Misty Prepper could do on her Fischer, but a woodburning cookstove is far easier to cook with than a heating stove.  At a time when virtually every other task could be more difficult than usual, any little convenience will be appreciated.


No doubt some of my readers have had their suspicions about my sanity confirmed with this post.  Others will think I'm woefully ignorant about what prepping really entails.  I'd like to hear from both.
What reasons have I missed?  As always, I welcome you to use the comments section below.  Thanks for reading!

Friday, October 6, 2017

Another Use for the Warming Oven: Softening Crystalized Honey

You'd think that after using a wood cookstove for almost twenty years that I wouldn't very often run across a new trick.  But no, I'm continually amazed by the versatility and usefulness of these ranges.

My latest new discovery is that the warming oven is a great place to soften honey which has crystalized.

Honey crystallization is a very natural process, and will happen to all honeys eventually.  However, it is inconvenient when you want to use honey in its liquid form.

The honey that you see in the picture below was purchased from Van Sickle Bees, a local honey producer.  It originally came in one of those plastic bear-shaped containers, but I put the honey in a mason jar because I was worried that the floor of the warming oven would get too hot and melt the plastic.


After a while in the warming oven, the honey returned to its liquid state. Once the honey has re-liquified, you want to let the honey cool to room temperature slowly so as not to encourage it to crystalize again.

Don't be tempted to leave the honey in the warming oven because continued exposure to high temperatures will break down the nutritive value of the honey.

Now we know another reason wood cookstoves are great appliances!

Saturday, December 26, 2015

Using Your Wood Cookstove as a Clothes Dryer

I can probably count the number of times we have used our clothes dryer in the last year on the fingers of one hand.  We keep it around for emergencies, but sometimes even an emergency can be handled more quickly in an old-fashioned way.

One such emergency occurred one weekend earlier this month when Nancy and I needed black dress socks for our choir outfits on Sunday morning.  Fortunately, I had thought ahead enough to throw the load of dark dress socks into the automatic washing machine before I went to bed on Saturday evening, but they still needed to be dried on Sunday morning in time for church.  I could have dried the socks in the dryer, but there was no need because we have a wood cookstove!

When we have a small article of clothing that needs to be dried in a hurry, I pin it (or them as in the case of the required socks) to a wire clothes hanger and then hang it all from the handle of the warming oven door.  As the heat rises from the cooktop, the clothing dries very quickly.  See below for cautionary statements regarding this method, though.


Drying socks on the Margin Gem.  I've also dried
underwear this way, but I'll spare you the embarrassment
of having to look at it.


When we were still using the Qualified Range, it functioned as a much better clothes dryer than the Margin Gem.  For one thing, along the front of the range and along the right side, the Qualified was equipped with a guard rail that I frequently used as a clothing or towel rack.

You can see the chrome plated towel racks on
the front and right sides of the Qualified range in
this picture.

You can sort of see to the left rear of the Qualified (by the bellows) that there was a gap of space between the rear of the range and the wall.  This gap was created by the fact that the chimney juts into the kitchen; this is where our Vaughn range boiler now sits.  This space was the perfect spot for our extra tall clothes rack, which was a Christmas gift that my in-laws bought me from Lehman's.  We would put a small clothes rack near the right side. 

Even if the space behind the Margin Gem still existed, this would no longer be nearly as efficient a method to dry clothing because the Margin Gem has a built-in heat shield on the back that causes it to not radiate nearly as much heat (hence its significantly lower clearance requirements).  Also, putting a rack to the right of the stove is also not effective since the water reservoir absorbs the heat from that side of the range.

Blog reader Gary D. from Gettysburg, Pennsylvania, modified his Ideal Sunshine cookstove by adding some towel racks which were originally made for Vermont Castings heating stoves.


But now, I must caution you.  Drying clothing or any other thing near a woodburning stove or other heating device can be dangerous!  Here are some things to keep in mind:

1) Clothing or other things drying near or on a hot stove can dry before you know it, and then they become a fire hazard.  I once scorched a wet tea towel beyond salvage in record time on the Qualified.

2) Never leave clothes drying on or very near a cookstove unattended.

3) If you are planning on leaving your stove with clothing drying near it, make sure that the clothes have been moved a safe distance away, using your stove's clearance requirements as a guide.

4) In your calculations of safe clearances, figure out where your racks would land if they fell toward your stove.  I've heard of fires starting because of flammable things falling against woodburning stoves, and no one wants that to happen.

That said, being able to use your cookstove as a clothes dryer has some distinct advantages beyond the savings on your energy bills.  Depending on your geographic location, winter air can be quite dry, so hanging wet clothing around the cookstove adds humidity to the air in your home.  This makes your home feel warmer as well as relieving you of such annoyances as static electricity or bloody noses.

Also, clothes that are hung to dry last longer than if they were dried in a tumble dryer.  The lint in your dryer's lint filter is the result of wear and tear on fabric.

Using your cookstove to dry clothing is another way to get as much good as possible out of these wonderful appliances; just be sure to do it safely.


Monday, December 29, 2014

Stovetop Potpourri

I hope that you all were able to enjoy celebrating the birth of Christ last week.  I feel a bit guilty about not writing a Christmas post like I have done over the last couple of years, but there just wasn't time.  This year, my school was still in session on the 23rd, and I barely had enough time to get our traditional candies and cookies made before Christmas, let alone have time to blog.

Anyway, many of you who read this post will undoubtedly have a "Well, duh!" reaction to its content.  To tell the truth, I'm having a "Well, duh!" reaction to my own ignorance.  Before I get too hard on myself, though, let me explain a couple of things: 1) My mother does not like home fragrances, air fresheners, potpourris, or perfumes of any kind.  They give her a headache, so I was raised in a home with unscented everything, and I, too, don't much care for overly scented things.  2) Nancy and I are not made of money, so while I believe we still spend too much in some areas of our lives, we try to avoid unnecessary expenses where we can.  Thus, air fresheners, potpourri, and Scentsy pots are not part of the regular housekeeping expenses here.

When we went to Nancy's parents' home (five miles away) for Christmas with that side of the family on December 26th, Nancy's sister Susan had put a little pot of things on the stove that looked like it was definitely not going to be a part of the Christmas dinner menu.  Since no pot of stuff on a stove may go undiscussed in my presence, I inquired as to what it was that I was looking at.  Susan explained that it was a pot of "stovetop potpourri," the recipe for which someone had found on Pinterest and which had become popular among the people she knows in her hometown.

"Turn it on and let it simmer," she said.

I did.  It smelled divine.  Nancy liked it, too.  I asked for the recipe.

We bought a new bag of cranberries the next day--we already had everything else--and Nancy remarks multiple times per day how much she enjoys the scent of this simmering on the stove.

Now see, I would never have thought about using a wood cookstove as a potpourri warmer, but I have to say that I think a cookstove is the perfect appliance for it for several reasons.  For one thing, the stove is going to be going anyway, so there is no added energy expense--which would have absolutely prevented me from doing this sort of thing on a gas or electric stove.  Also, I think that candles actually provide a greater fire hazard than a wood cookstove.

Here is the recipe:

1 orange, sliced
1/2 c. or so whole cranberries
1 Tablespoon whole cloves
3 cinnamon sticks
2 cups of water

Let this simmer on the stove indefinitely.  As the water steams away, add more.  You can use this as long as you are happy with the intensity of the aroma.  Our first batch has been sitting on the side of the range for three days now, and it still smells great.

The potpourri simmering on the side of the Margin Gem.


A quick peek at Pinterest revealed that there are many, many recipes for this sort of thing.  This particular combination (which smells just like expensive candles or bags of dry potpourri) is considered a "holiday scent," but Pinterest has many recipes for stovetop potpourri for different times of the year.  I bet this isn't the only recipe that we will have simmering on the stove over the next few months of constant winter firing!

Saturday, December 13, 2014

Making Toast on a Wood Cookstove

I find it interesting to read the many articles about how to make toast on a wood stove (heating stove or cookstove) which appear all over the internet, and I've decided to put my two cents in with this post.

To be completely honest from the outset, we do not make toast very often on our wood cookstove.  Our early 1950s Toastmaster toaster is just too convenient.  However, I know that many of the people who read this blog are interested in homesteading, preparedness, or increased self-sufficiency.  Furthermore, many people who cook on woodburning cookstoves live an off-grid lifestyle, and a conventional toaster can be quite a drag on alternate power sources.  Thus, it seems pertinent to include information about toasting on a cookstove here.

One can make toast on a wood cookstove in five different ways.  I think some are better than others, though, so I'll warn you right now that I will be editorializing along the way.  You're not a bit surprised, are you?

To make an accurate comparison of the toasting methods, I used purchased bread so that each slice would be as nearly uniform in size and composition as possible.  No matter how I slice homemade bread, I cannot get it to be perfectly even, and I didn't want the bread to be a variable which affected the results of my experiments.

Method 1: Using a stovetop--or "camp"--toaster.  These can be purchased all over the internet in the style you see below or in what is sometimes called the pyramid style, where a louvered pyramid directs the heat of the stove toward the toast that is resting parallel to the sides of the pyramid.  Mine happens to have been purchased from Lehman Hardware, but I do not know whether they still carry it.


I consider the stovetop toaster method quite unsatisfactory for a woodburning cookstove.  I had asked for this toaster as a Christmas gift from my in-laws several years ago, thinking that it would be the perfect thing to add to my collection of wood cookstove accessories.  To make a long story short, I could never get it to work right on the Qualified range, but thought it must have just been me.  It went to the basement for several years, but I decided I would try it out on the Margin Gem.
 
The bread that you see in the picture rested on the toaster for 30 minutes and did nothing but dry out.  Thinking that I might just as well get rid of the thing (Nancy is constantly pointing out that we have too much stuff in our house), I decided to give it a try on the gas range.  Within four minutes of having the thing over a pretty high flame, I had very respectable toast.  Thus, this toaster went back to the basement in case I need toast in the middle of a summer power outage, but it will not be used on the Margin Gem again.
 
Method 2: Laying the toast directly on the cooktop.   Of course, you first want to make sure that your cooktop is very clean--free of fly ash, wood dust, and any spilled food which might have cooked on and then carbonized.  Lay the piece of bread wherever you feel that the heat is appropriate.  I put mine directly over the firebox, but I think that at the time I was conducting this experiment, that place was perhaps a little too hot.
 
When you feel that the bread is toasted to your liking on the first side, turn it to toast the other side.  Watch it carefully because this method goes quite quickly.

A lady who lives in our small town and is a friend of my mother's once told me that the only toast that she ever had growing up was made this way.  She shared this memory because for some reason she and my mom were talking about burnt toast and how it can be salvaged by scraping the burnt parts with a table knife until all of the blackened crumbs have been scraped off.  She grew up thinking that scraping the burnt part was just a necessary step in the way everyone made toast, so you can see that this method can easily result in burning your bread rather than toasting it.


The aspect of method two that I don't much care for is that the toast always leaves its autograph on the stovetop.  If you've been following this blog for any length of time, you've seen picture proof that I'm not as fussy about the look of my stovetop as I probably should be, but still.

Method 3: Toasting bread on aluminum foil on the cooktop.  I didn't think of this one myself.  I found this one online here at this "toast post" on the Paratus Familia Blog.


Clearly, this method works--quickly, too--and I've made good toast this way before, but in the pictures above, I had the foil over a part of the stovetop that was a little too hot for toasting.  My main complaint with this method is that after you've used your toast foil for a while, it will need to be replaced.  That is why this is not my preferred method.

Method 4: (my preferred method) Toasting on a cast iron griddle.  I asked for this 11 1/4" breakfast griddle as a Christmas gift when I was in either junior high or early high school.  It is extremely well seasoned from frying pancakes and French toast, so things don't stick to it.  I put it over the hottest part of the stove and lay the bread on it.


Watch carefully and turn the bread when it is toasted according to your preferences.

Bread toasted using my preferred method of using the
cast iron griddle.  You'd think that I could at least keep
the camera strap out of the picture, wouldn't you?
You can see that this method results in good looking toast.  I can't tell any difference between the flavor of this toast and that which comes out of the electric toaster.  This method doesn't take much time after the griddle is hot.
 
Method 5: Now, if you are going to spread a layer of real butter on your toast anyway, an extremely delectable treat is made using this method which is similar to the fourth one.
 
Using soft butter, spread an extremely thin layer of it on only one side of the bread.  Lay the buttered side down on the hot griddle.  Again, watch closely and turn as soon as it has reached the desired shade of brown.  Turn it over to toast the unbuttered side.

The toasted buttered side.

The toasted un-buttered side.
Method five results in toast with an amazing flavor, but since I usually spread light tub margarine over my toast, I don't do this often.  It is quite a treat, though, and the less butter you use, the better the flavor, in my opinion.  You just have to be sure that the thin layer of butter covers the entire side of the bread; otherwise, it browns very unevenly.

Toast made with Method 5 and spread with Nancy's grandma's
recipe for pineapple-rhubarb jam.  Yum!
I guess I should say that there is a sixth method.  It involves putting the pieces of bread in an extremely hot oven (500 degrees or more) until it has reached the desired shade of brown, but I'm not going to try that because I slightly warped the steel bottom of the oven on the Qualified Range by getting the oven that hot, so now I try to avoid firing the stoves in that manner.

As with any cooking done on a wood cookstove, there are as many methods as there are cooks.  Please utilize the comments section below to share yours!


Friday, October 31, 2014

Maximizing the Heat from Your Wood Cookstove

This is my 100th blog post!
Sorry.  I just had to point that out.

As the weather has definitely decided to become chilly, it seems timely to talk about how one can get the most room heat from a wood cookstove.

Let me first just say that I have often read in older information about cookstoves that they should not be required to do double duty as a heating stove.  I think the intention was to prevent people from over-firing their cookstoves, causing undue wear and damage.  In addition, the small fireboxes of vintage cookstoves did not lend themselves to fires large enough to heat much more than a few rooms in fairly temperate winter weather.  However, the expectation to not rely on the cookstove as a heater was probably almost always unrealistic.  History is replete with accounts of early households for which the only source of heat in the winter was the kitchen stove, and I have also read (and know from the stories from my family) that even homes with furnaces or additional heating stoves counted on the heat from the kitchen stove to keep at least part of the house livable during winter weather.

It is my guess that most of the people who currently use a wood cookstove also rely on theirs for at least part of their home heating.  Present-day stove manufacturers certainly know this and have thus equipped modern cookstoves with far larger fireboxes than their predecessors had in order to meet that need.  Large modern firebox or small vintage firebox aside, there are a few steps that a cookstove operator can take that will result in the maximum amount of heat being radiated into the room.

The main theme of this discussion then focuses around surface area.  More surface area of the stove being heated and more surface area being exposed to the room results in more heat radiating from the stove.  On all of the cookstoves that I have looked at, the most effective thing to do then is to close the oven damper.

The oven damper in the closed or baking position.
Yeesh!  I just hate how I can't see the dust on
Marjorie in normal light, but a camera flash creates
a horror show.

This results in the heat of the fire having to travel over more area of the stove before it can escape up the chimney.  When the oven damper is open, some of the heat goes around the oven, but quite a lot can simply travel to the great outdoors in short order.

The next step would be to open the oven door.  This drastically increases the surface area which is radiating heat into the room.  As long as we are not baking something, the oven door on our cookstove is open nearly all winter long.

The open oven door.

The Margin Gem cookstove is equipped with a lever which, when in the open position, diverts some of the heat and smoke traveling around the oven so that it travels under the reservoir tank in order to get the reservoir water hotter than if it were just absorbing the head from the side of the stove.  Opening this lever causes the reservoir side of the stove to radiate more heat into the room because the reservoir itself reaches a higher temperature.

The lever in the open position to let the smoke and heat reach the
bottom of the reservoir.  Hmmm . . . Marjorie needs polishing too.

Lastly, when you have a fine draft (our kitchen chimney is superb in this regard) keep the stovepipe damper partially closed to retain more of the heat from the fire rather than just letting it rush up the chimney to the great outdoors.

The stovepipe damper on the Margin Gem is in
the length of stainless steel pipe (which comes
with the stove) between the cooktop and the
warming oven.

If you are a wood cookstove user, what do you do to get the most heat out of your stove?  Let us know by utilizing the comments field below.  Hope you are all keeping warm!

Saturday, October 20, 2012

In Hot Water, Part II

A couple of days ago, I received a comment on the post called In Hot Water from a reader asking for more information about our Margin Gem and hot water system.  Her questions were quite good, and I felt they deserved their own blog post.

As we are entering the heating season, our Margin Gem has been fired pretty regularly.  In fact, we've only had a handful of days in the last month when we've had our electric hot water heater going.  There have been days when we've intentionally fueled the fire in such a way as to keep the stove heating while we are gone during the day, and it has almost always had a fire in it overnight.  However, we still haven't been firing the cookstove at full tilt like we will when our weather is truly cold. 

While the stove is in use, we are quite happy with the amount of hot water that we have--and unless there are unforeseen circumstances (on one night, a log didn't burn the way I had expected that it would), the water that we do have is HOT! 

Below is a picture of the firebox of the Margin Gem taken while standing in front of the stove.  I let the fire die down enough this afternoon so that we could remove the piece of the stove top that covers the firebox in order to snap the picture.  The pieces of metal in the corners and in the middle of the right side are the air jets for Margin's Air Jet re-burn design.  At times when you open a top lid, you can see flames curling from those holes.  At the top, the right side, and the lower half of the bottom, the light gray panels are firebrick.  The entire left side of the firebox is the waterfront. 

Top view of the Margin Gem's firebox with water-
front on the left.
Just like hot air, hot water rises.  Thus, cooler water from the bottom of the range boiler flows into the bottom of the water jacket.  There, it is heated by the fire and then flows up out of the top of the water jacket to the top of the range boiler. 


The pipes carrying water to and from the waterjacket.
(Ughh!  I hate how a camera flash makes dust that, in
normal light, is imperceptible to the naked eye
 suddenly appear unduly tragic!)
The Vaughn range boiler behind the Margin Gem. 
In the picture above, the pipe which enters the tank on the left side is the one which carries the hot water into the boiler.  The two pipes coming out of the top of the tank are both exits.  The one on the left has a temperature pressure relief (TPR) valve on it for the tank and is connected to the other two TPR valves in the lines going to and from the waterfront and is plumbed into the basement to exhaust near a floor drain.  The pipe coming out of the top right side of the tank is the hot water which serves the house.  When we open a hot water tap in the house, the hot water flows out of the top of the tank and down to a mixing valve which is located where the cold water enters the right middle side of the boiler.

The mixing valve which allows us to temper the hot water before
circulating throughout the house.

The end of the pipe that is attached to the TPR valves.
The above picture shows the end of the pipe which is attached to the TPR valves.  It is located in the basement and is aimed toward a floor drain which is a few feet away.  The dark stain on the concrete below the opening is from a few drips of water which leaked out during the Margin Gem's first firing.  No noticeable moisture has occurred since then.  Originally, I thought that this pipe should have been plumbed directly to the sump pit in the basement, but the plumber felt that this was unnecessary.  I was concerned about this because I was afraid that if a valve should release, there was a chance that someone could be standing in the way of the hot water coming out of the end of this pipe.  However, the only time that anyone would be standing there would be if he or she was using the shower or the wringer washer.  As it turns out then, the plumber was right because both of these activities would use enough hot water and release enough pressure to preclude the valves from releasing.

To date, the TPR valves have not released.  I'm surprised at this because some of the things that I have read seemed to indicate that this could happen on a fairly regular basis, and if it does, each TPR valve is supposed to be replaced after it has released three times.  These valves were purchased from Lehman Hardware and are supposed to release at 210 degrees or a pressure rating of 125 PSI.  We do bear in mind, though, that as I said earlier, we have not yet been operating the cookstove at its peak output for long periods of time, so we'll see what happens when it is truly cold outside.  The one thing that we also know is that colder outdoor weather will also mean that the water entering the system will be much colder, too.  This may be sufficient to offset the additional heating capacity of the hotter fire.

One thing that is different about heating water with the cookstove as opposed to electricity or gas is that as the water heats, if no hot water has been used for awhile, the first time that a hot water tap is turned on there is noticeably more water pressure for a second or two while the pent up pressure in the system releases through the faucet.  This pressure is neither dangerous nor excessive, and might not even be noticed by people who routinely have more water pressure than our gravity fed system provides us.

I recorded in my original post about wood heated hot water that we had had some initial difficulty in adjusting the tempering valve due to its having been damaged slightly during installation.  Because the indicator plate on the black part of the valve fell off, we have no idea where the temperature of the valve is actually set.  I measured the hot water temperature at the tap this morning at 169 degrees.  That's HOT!  If we had children here, we would definitely adjust the valve to a more reasonable setting, and we may have to adjust it down as the stove is regularly kept burning at a hotter rate.

Our blog reader asked if we noticed a drop in the space heating capacity of the range because it is also heating our water.  My answer to that is that we don't know how the Margin Gem would have acted without the waterfront because it came equipped with it and you cannot fire a range with a waterfront unless the waterfront is connected to a water system.  However, here are two observations that may be helpful:

1) One thing that I have noticed about the Margin Gem that is different from the other two cookstoves that I have used is that the left side panel of the stove is always cool enough that you can touch it.  I don't know whether this is because the water jacket is on the left side of the firebox or just due to the design of the stove (note the louvers in the side panel in the picture above).  I like this feature because now my legs don't have to roast while I'm standing over those pesky dishes that have "stir constantly" in their directions. 

2) The presence of the range boiler in the kitchen adds a great deal of thermal mass to the whole set up.  When the water in the boiler is hot, you cannot comfortably lay your hand on the outside of the boiler.  If the fire is allowed to go out and little hot water is used, the boiler will radiate noticeable heat for quite some time.  When you figure in the radiant surface area of the boiler, it seems to me like any change in room heating capacity is negligible if it exists at all.

Some things that you read indicate that having a woodstove heat your domestic hot water cools the combustion in the stove sufficiently to increase creosote buildup.  While it is true that the waterjacket has creosote covering the side of it, this is normal and actually beneficial.  It is also true that coals and firewood resting against the waterfront don't seem to burn quite as hot as in the right side of the firebox sometimes.  However, as far as increased creosote in the rest of the stove or chimney, all I can say is that I haven't noticed it.  Perhaps this is due to the Margin Gem's air jet re-burn design.  At any rate, I would chalk it up to the stove being airtight and the fact that we aim for a long slow burn overnight and while we are away during the day rather than the presence of the waterfront.

Overall, we are very happy with the Margin Gem and Vaughn range boiler so far.  I wish that we'd been heating our water with wood much earlier now that we know how easy and efficient it is.