
This elegant but relatively simple dish originated with a Pampered Chef recipe. Let me say right up front that I like a lot of the Pampered Chef merchandise, and if you were to take inventory of our kitchen, you would find many pieces of Pampered Chef equipment--some of which are used very regularly.
However, I have a couple of little problems with Pampered Chef recipes. One is that because Pampered Chef is out to sell their merchandise, the directions for each recipe are made so complicated by them telling you in bold print which of their products you are to use to complete each task. Second, Pampered Chef recipes often include the use of a pre-packaged or pre-processed ingredient such as canned biscuit dough, etc. I don't mind a bit that their recipes use these things, but I wish that they would also include a "from scratch" version for a couple of reasons. To begin with, many people are trying to cut as many of the pre-packaged, processed foods from their diets as they can. Furthermore, I've spent a lot of time poring over vintage recipes, and nothing frustrates me more than when a recipe says something like "a box of marshmallows" or something like that. The size and contents of packages change over time, and a recipe that calls for a "package" of something is then rendered useless.
Thus, the recipe that I'm sharing here originated with a Pampered Chef recipe, but I drew on my great-grandmother's from-scratch recipe for cornstarch pudding to modify it so that it is completely from scratch.
This recipe is particularly timely if your family is like ours and experiences a rise in the consumption of eggs in the weeks before Easter. We poke holes in each end of the eggs and blow the egg out of the shell so that when we dye Easter eggs, we are only dying the empty shell. This is a great system because sometimes the weather on Easter forces us to hold our egg hunts indoors. You have to understand something about our Easter egg hunts, though: they are a competition, and we hide the eggs so well that sometimes we don't find them all. Thus, hiding only the shell prevents us from having a rotten mess on our hands.
It's a timely recipe for other reasons too. We had a huge apple crop last fall, and we've still got bushels of apples in our utility room. It is quite cool in there, and the apples were Jonathans, so they've been keeping quite well. We need to get them used, though.
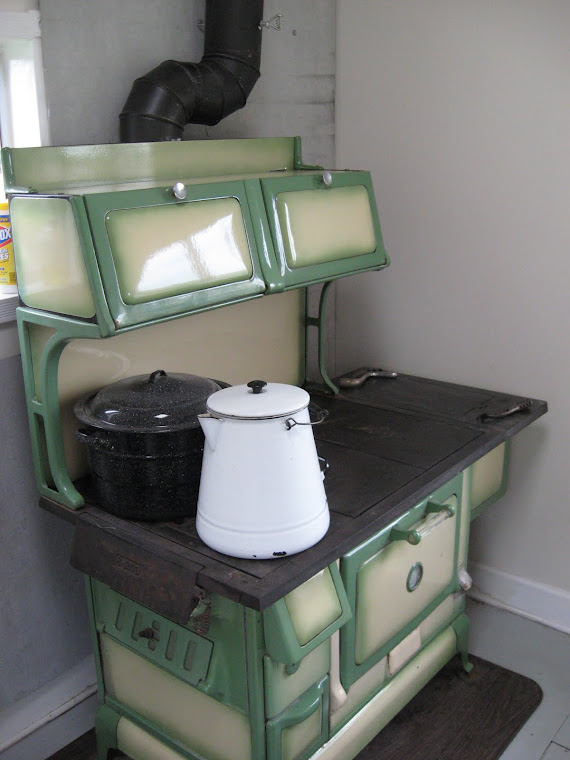
Since the cookstove is being fired almost constantly still, I added small pieces of wood to make a brisk fire in order to bring the oven temperature up to around 400 F.
Here is what you'll need to make the popover puff crust:

3 Tablespoons butter
6 eggs
1 cup milk
1 cup all-purpose flour
First, melt the butter in the bottom of a cast iron skillet. I used a #8, but I think the next size up would have been better.
 |
| I didn't measure the butter for this particular tart, and I think I got a little too generous. This resulted in a puff that wasn't as pretty as it usually is, so I guess this is one time when more butter isn't better. |
Remove the skillet from the heat and tilt and turn it until butter coats the entire bottom and goes part way up the sides. Set aside.
Combine the eggs, milk, and flour, beating well.

Add the melted butter from the skillet, beating it in quickly so that if it is a little hot yet, it doesn't cook the eggs. The batter will look a little lumpy. Pour all into the skillet and put it in the hot oven to bake.


The popover puff is supposed to bake in a hot oven for about twenty minutes. Then, the oven heat is to be reduced to moderate for another fifteen or so minutes to finish the cooking. I've found that reducing the heat is not really necessary. All you need to do is be sure that you've accomplished your hot oven by burning small pieces. Then, don't refuel the fire as quickly as you would if you were maintaining the high oven heat. Rather, let the oven gradually cool down to a little hotter than 350 before you add fuel to the fire.
Of course, you'll want to occasionally take a peek in the oven to see that everything is progressing as it should. This is particularly fun during this recipe because the popover part changes so dramatically.
 |
| The popover puff about midway through its baking. This is not nearly as pretty as some that I have made. |
While the popover puff is baking, begin working on the fruit filling. You'll need the following:
4-5 baking apples (I think Jonathans are best)
1 orange
3 egg yolks
3/4 cup sugar
1/2 cup orange juice
1/4 c. raisins
1/4 c. dried cranberries
2 1/2 Tablespoons cornstarch
water
vanilla

Core and slice the apples into a skillet. I use Granny's large Saladmaster stainless steel frying pan for this step. Add the raisins and cranberries. Zest the orange, putting the zest in the pan with the fruits.
Squeeze the juice from the orange and add it to the 1/2 c. of orange juice. Add enough water to make a cup of liquid.
In a medium bowl, combine the rest of the filling ingredients and whisk until smooth. Pour over fruit.

Place the fruit mixture directly over the firebox. Stirring constantly, cook until thick and fruit is coated.
 |
| By the time I inherited Granny's frying pan, the bottom was warped enough that it doesn't make contact with the stovetop except in the center. Therefore, I remove the stove lid beneath it to speed the cooking. |

As the popover puff cools, it will contract and make a nice "bowl" to receive the fruit mixture.

 |
| This is what the fruit filling looks like when it is finished. |


