Friday, October 31, 2014

Maximizing the Heat from Your Wood Cookstove

This is my 100th blog post!
Sorry.  I just had to point that out.

As the weather has definitely decided to become chilly, it seems timely to talk about how one can get the most room heat from a wood cookstove.

Let me first just say that I have often read in older information about cookstoves that they should not be required to do double duty as a heating stove.  I think the intention was to prevent people from over-firing their cookstoves, causing undue wear and damage.  In addition, the small fireboxes of vintage cookstoves did not lend themselves to fires large enough to heat much more than a few rooms in fairly temperate winter weather.  However, the expectation to not rely on the cookstove as a heater was probably almost always unrealistic.  History is replete with accounts of early households for which the only source of heat in the winter was the kitchen stove, and I have also read (and know from the stories from my family) that even homes with furnaces or additional heating stoves counted on the heat from the kitchen stove to keep at least part of the house livable during winter weather.

It is my guess that most of the people who currently use a wood cookstove also rely on theirs for at least part of their home heating.  Present-day stove manufacturers certainly know this and have thus equipped modern cookstoves with far larger fireboxes than their predecessors had in order to meet that need.  Large modern firebox or small vintage firebox aside, there are a few steps that a cookstove operator can take that will result in the maximum amount of heat being radiated into the room.

The main theme of this discussion then focuses around surface area.  More surface area of the stove being heated and more surface area being exposed to the room results in more heat radiating from the stove.  On all of the cookstoves that I have looked at, the most effective thing to do then is to close the oven damper.

The oven damper in the closed or baking position.
Yeesh!  I just hate how I can't see the dust on
Marjorie in normal light, but a camera flash creates
a horror show.

This results in the heat of the fire having to travel over more area of the stove before it can escape up the chimney.  When the oven damper is open, some of the heat goes around the oven, but quite a lot can simply travel to the great outdoors in short order.

The next step would be to open the oven door.  This drastically increases the surface area which is radiating heat into the room.  As long as we are not baking something, the oven door on our cookstove is open nearly all winter long.

The open oven door.

The Margin Gem cookstove is equipped with a lever which, when in the open position, diverts some of the heat and smoke traveling around the oven so that it travels under the reservoir tank in order to get the reservoir water hotter than if it were just absorbing the head from the side of the stove.  Opening this lever causes the reservoir side of the stove to radiate more heat into the room because the reservoir itself reaches a higher temperature.

The lever in the open position to let the smoke and heat reach the
bottom of the reservoir.  Hmmm . . . Marjorie needs polishing too.

Lastly, when you have a fine draft (our kitchen chimney is superb in this regard) keep the stovepipe damper partially closed to retain more of the heat from the fire rather than just letting it rush up the chimney to the great outdoors.

The stovepipe damper on the Margin Gem is in
the length of stainless steel pipe (which comes
with the stove) between the cooktop and the
warming oven.

If you are a wood cookstove user, what do you do to get the most heat out of your stove?  Let us know by utilizing the comments field below.  Hope you are all keeping warm!

Friday, October 24, 2014

Danish Apple Bars with Brown Butter Frosting

Our apple crop this year has not been nearly so large as last year, and the quality of the apples is lesser also.  However, we have taken the opportunity to make a couple of these Danish Apple Bars. This is a perfect seasonal recipe for autumn when apples can seem to be multiplying before your very eyes and while the chickens begin to respond to the waning daylight by slackening off on their laying.

The first step is to cut 1 cup of vegetable shortening into 2 1/2 c. all-purpose flour and a scant teaspoon of salt.  I always use a pastry blender for this job.

Shortening, flour, and salt blended together.
Next, place an egg yolk in a measuring cup.  Add a little vanilla and enough water or milk to make 2/3 c. of wet ingredients.  Beat the mixture until well combined.

The egg yolk, vanilla, and milk combined to make 2/3 cup.
Add wet ingredients to the dry ingredients and combine.  Do not over beat!  This is a pastry after all.
The completed pastry dough.
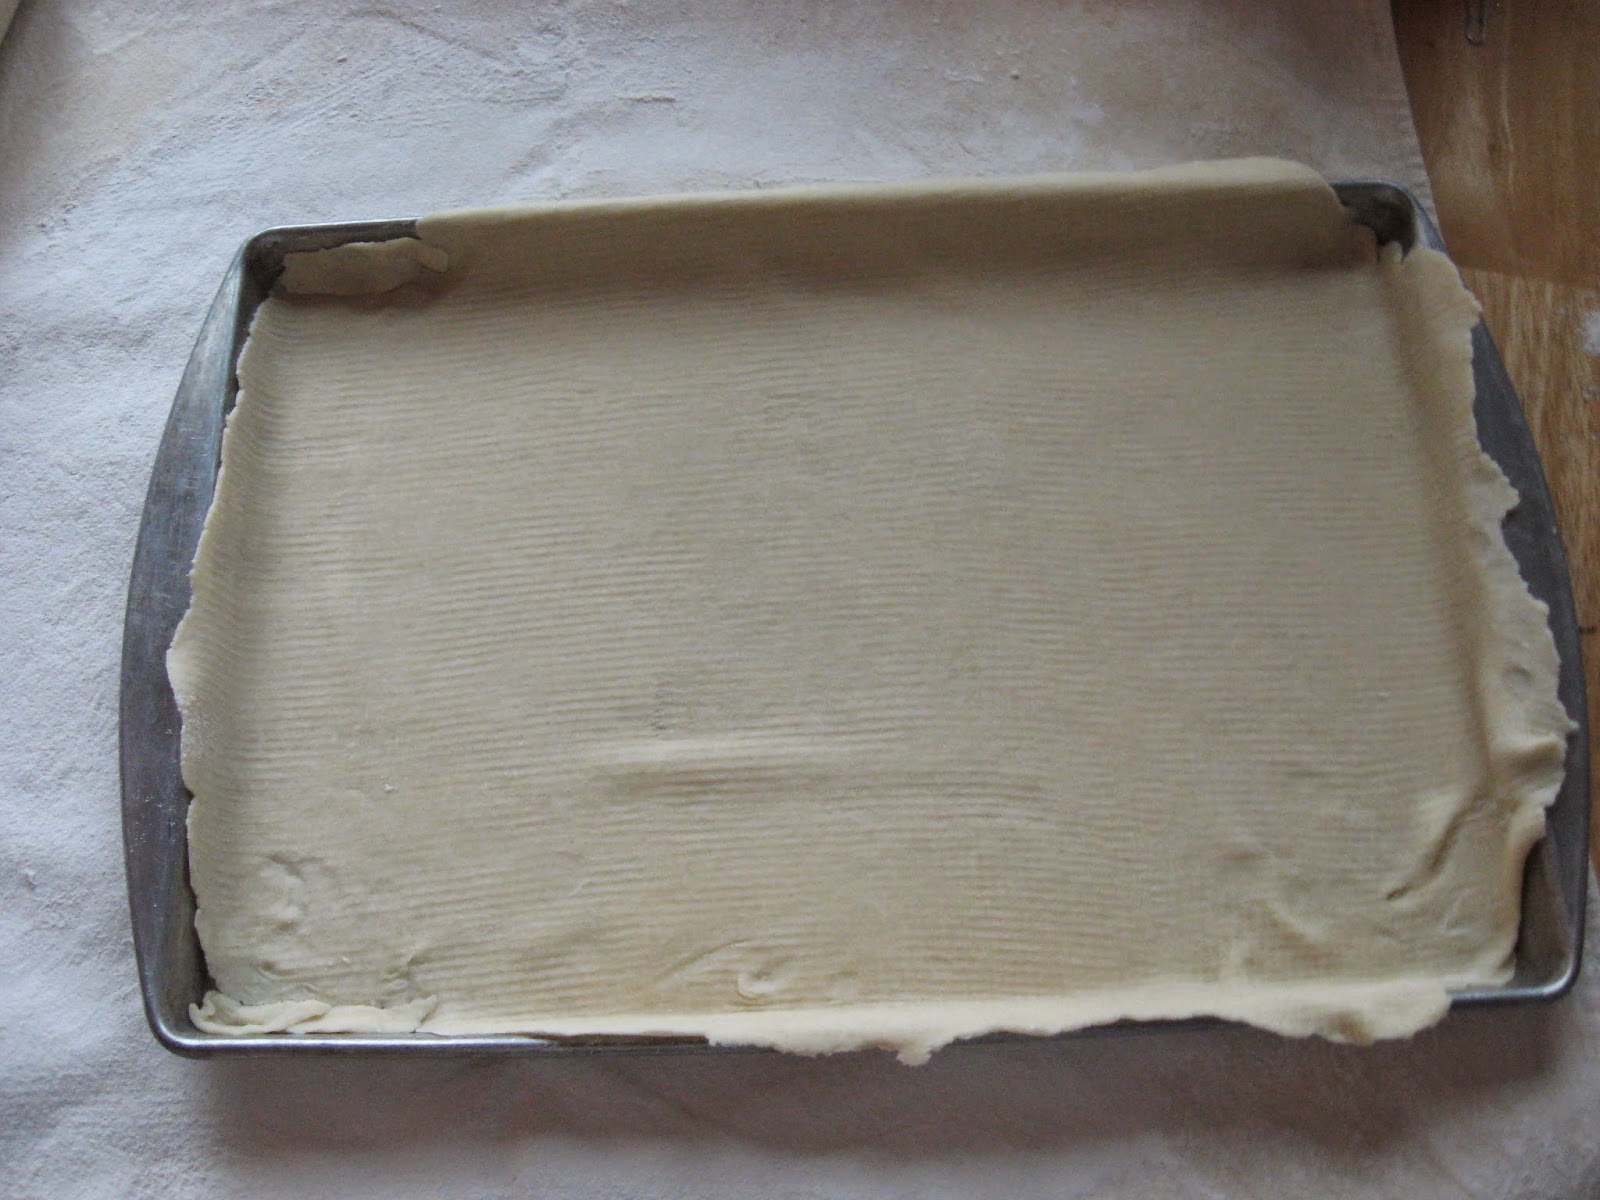
Divide the dough in half and roll one half into a 10x15-inch rectangle.  Line the bottom of a 10x15 jelly roll pan with this bottom crust.
 
The bottom crust in the jelly roll pan.
Next, peel eight to ten small baking apples and slice them thin as for pie.  Spread these on top of the bottom crust.  On top of the apples, sprinkle two handfuls of corn flakes (to absorb some of the moisture from the apples), one cup sugar, and one teaspoon of cinnamon.  I also added some raisins because I love them--in everything.  


The apple, corn flake, sugar, cinnamon, (and raisin) mixture.
Roll out the other half of the crust and put it on top of the fruit mixture.  Seal the edges.  Beat the egg white and brush it over the top of the upper crust.

The Danish Apple Bars ready to go into the oven.  My second
one of these of the season looked a lot better.
Bake in a moderately hot oven for 45-60 minutes.  The recipe says to bake it at 400 degrees for that amount of time, but I think that an oven closer to 375 degrees for about forty minutes seems better.  You be the judge based on how brown you want the crust to be and how thickly you have sliced the apples.
Danish Apple Bars baking in the oven of Marjorie, the Margin
Gem cookstove.

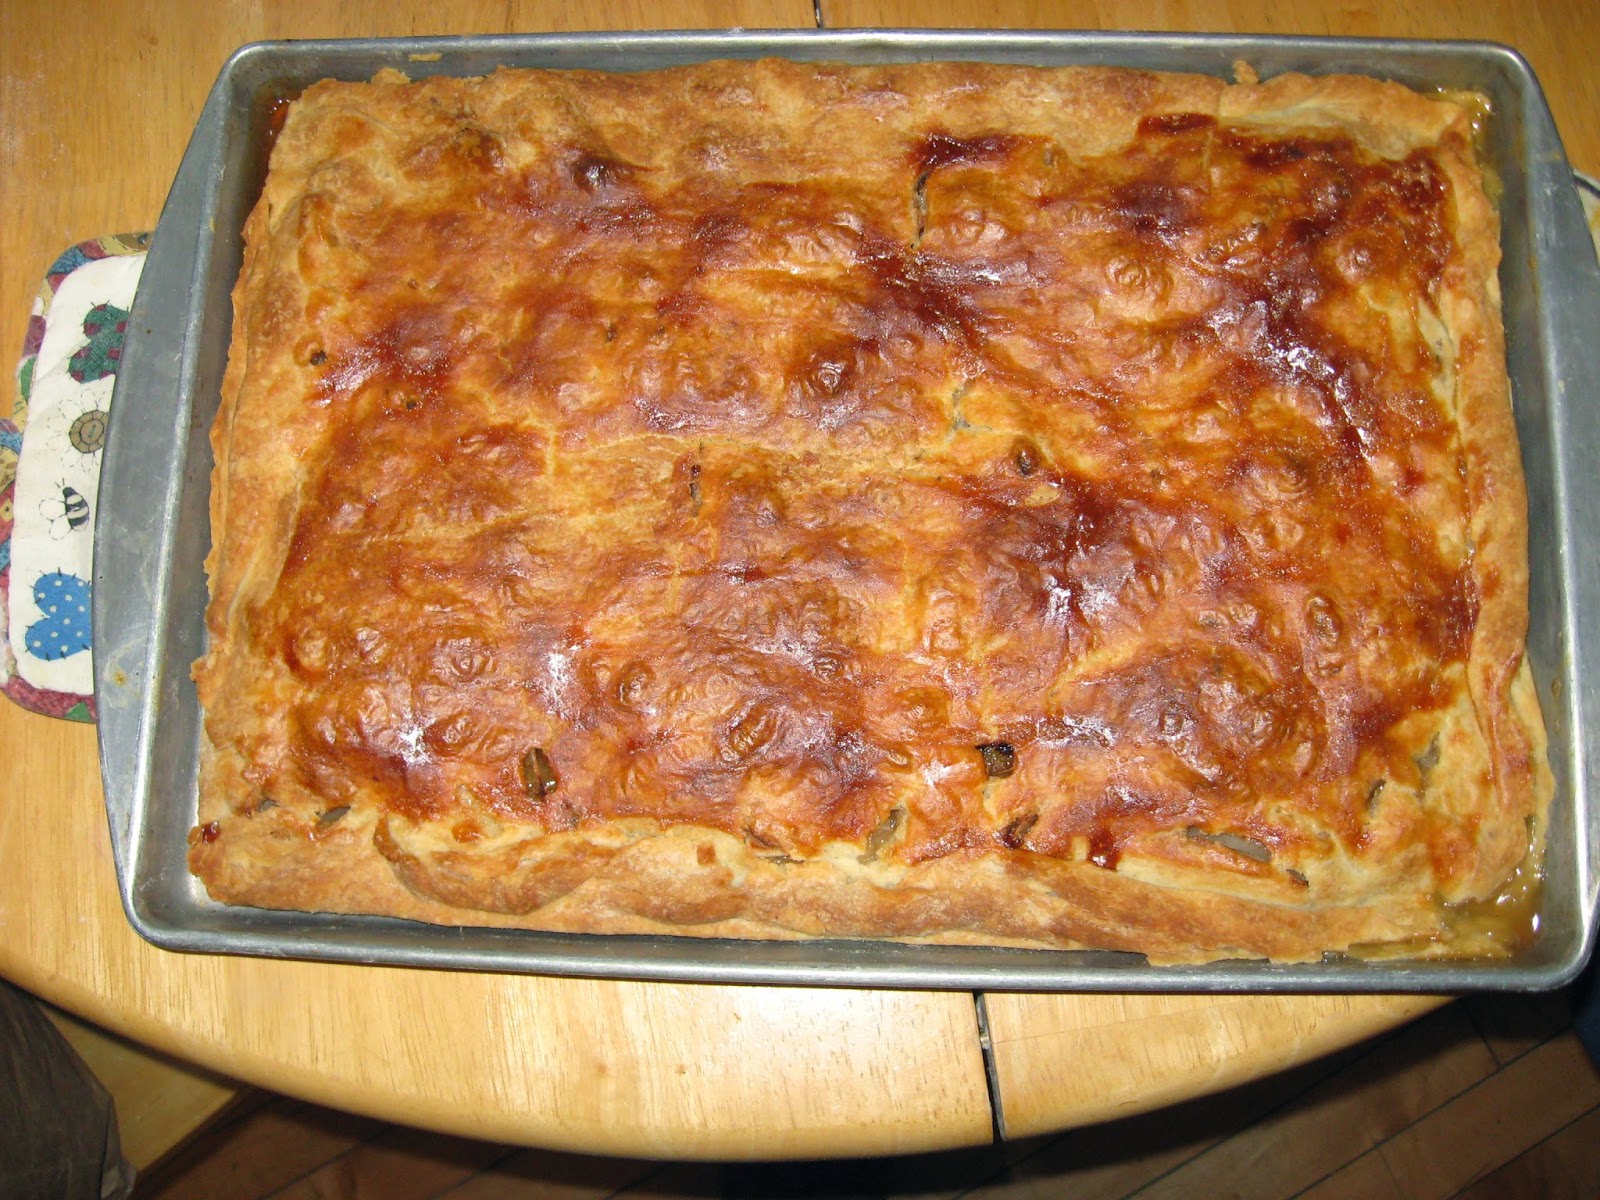
The finished bars.  The second batch of these was not so dark,
partly because I didn't put the egg white on top.

And now for my favorite part of the whole thing: the frosting!

Some of you may recall that I had written about the Applishus booths at the Iowa State Fair and how wonderful I consider their frosting.  This recipe is so similar to what they use that it may be the very same recipe.  I found it on page 339 of the 463-page Kitchen Klatter cookbook, a wonderful collection of recipes that I sometimes call "the southwest Iowa kitchen bible."  This was a very popular cookbook in our area in the middle of the last century, and it remains so popular that they are very hard to come by.

For the frosting, melt 1/4 cup of butter.
 

A half stick of butter melting over the fire.

Gently brown the butter.


Add the browned butter to two cups of powdered sugar.  Add 2 Tbls. cream, 2 Tbls. hot water, and 1 1/2 tsp. vanilla.  Beat until smooth.


The finished frosting.
Drizzle frosting over the pastry.


Here are the same recipes in a little more accessible form:
 
 
Danish Apple Bars
 
Pastry:
 
2 1/2 c. flour
1 tsp. salt
1 c. vegetable shortening
1 egg yolk
1/2 tsp. vanilla
enough water or milk with the above to ingredients to make 2/3 c.
 
Directions: Mix as for pie crust.  Roll out half to cover the bottom of a 10x15 inch jelly roll pan.
 
Filling:
 
8-10 medium baking apples
1 c. sugar
2 handfuls corn flakes
1 tsp. cinnamon
 
Directions: 1. Peel and core apples, slice thin. 
2. Spread apples and rest of filling ingredients on bottom crust.
3. Roll out top crust and place over apple filling.  Seal edges.
4. Beat egg white and brush over top crust if desired.
5. Bake at 400 degrees for 45-60 minutes until apples are done.  (See what I think about this above.)
 
 Brown Butter Frosting
 
(p. 339 of the Kitchen Klatter Cookbook, The Prairie Press, 17th Printing, March 1978)
 
1/4 c. butter or margarine, melted
2 cups powdered sugar
2 Tbls. cream
2 Tbls. hot water
1 1/2 tsp. Kitchen Klatter vanilla flavoring
 
Melt butter or margarine over a low flame until golden brown.  Remove from fire and add sugar, cream, water and vanilla.  Beat until smooth and creamy.
 
 
I have also used this recipe for making apple strudel.  Instead of making the pastry into bars that will be cut into squares, I roll the pastry out, put the apple filling along one side, then start rolling the fruit up in the pastry.  It works pretty slick.  I hope you enjoy this recipe as much as I do.


Saturday, October 11, 2014

Request for Information about the Olympic B-18 Range

If you've followed this blog for any length of time, you know that every once in a while I get a comment from a reader that I feel needs more attention than it would receive if simply left in the comments section of a blog post. Such is the case with a recent comment put on the "Purchasing a New Wood Cookstove" entry from June 2013.

Blog reader Charlie G. asked if anyone had any information about the Olympic B-18 range made by the Washington Stove Works in Everett, Washington.  I will share the little bit that I had on hand here, but if any of you readers can help Charlie out, please use the comments section below.

The Olympic B-18 Family Range made by the
Washington Stove Works.  Pretty sharp looking
cookstove, in my opinion.

I knew which range Charlie was asking about because my grandmother on my dad's side was a great catalog saver.  I have 1950s Sears catalogs that she saved which were found "over top of the garage" and various catalogs from the 60s, 70s, and 80s.  Thus, the picture that you see above is a scan of page 990 from a JCPenney catalog.  Unfortunately, I do not know the exact year because I took this scan from just a few pages that were removed from it.  I can say with certainty that this stove was not carried by Penney's in the early 1970s, but did appear in their catalogs for a space of about three years in the late 70s when wood heat was making a comeback due to high energy prices.

Compared to the other wood heating stoves that Penney's advertised on the near pages, the price of the Olympic was quite high, which leads me to believe that its quality might have been pretty good, too.

The catalog description reads as follows:

One of America's Classic Stoves . . . authentic down to the smallest detail.  Cast from original molds by Washington Stove Works, builders of fine wood-burning stoves since 1875.  All castings made of Western Gray Iron, famous for its strength and toughness.  Ideal for your home or country retreat.  Superbly crafted, this stove lets you heat a large room or cook a complete meal on its full-size, cast iron cooking surface.  This surface also has cast-iron polished tops, 32-in. rag rack and commercial-size 27x40-in. griddle.  Lids and center are reinforced to prevent warping, sagging and crackling.  Two center posts support the top section--helps keep it flat.  Linings are sectional to avoid burning out.  Oven is heavy-gauge, rust-resistant steel with heavy cast-iron braces.  The body is one-piece 20-gauge polished steel, features triple-wall construction accented with heavy nickel-plated trim and legs.  Kettle shown not included.  Firebox: 9 in. wide, 20 in. deep, 9 in. high.  Cooking surface:35 1/4 in. wide (wing shelf adds 4 1/2 in. to width), 26 1/2 in. deep, 31 1/2 in. high.  Oven: 18x18 1/2 x 13 in high.  Overall: 59 3/4 in. high.  Installation: use with 8-in. stovepipe, sold above, from stove to ceiling or wall.  Finish the installation with 8-in. Metalbestos Chimney Pipe, sold on page 998.  Not fully assembled--only pliers and screwdriver needed; instructions included.  See Clearance information below.  Warranted by manufacturer--see page 802.
RJ 904-2078 A--Delivery Class C--see page 808.  Wt. 490 lbs. ....1299.99

The clearance information states that the required space between the sides of the stove and a combustible wall is 36 inches.  The clearances from the stove to the outside edge of non-combustible floor protection is 12 inches on all sides.

Charlie is looking for any information that about this stove, and he wonders if anyone has an owner's manual.  Again, if you have any additional information, please utilize the comments feature below.

P.S.:  With the two brand new cookstoves that I have purchased in the last seventeen years, the information that came with them was sparse to say the least.  That's why I started this blog.  I'll do my best to answer any questions that anyone has.