Friday, November 30, 2018

Acorn Squash Pie Baked in the Wood Cookstove

I'm so behind in my posting for November!  Don't worry, though.  The woodburning cookstove has been very busy.  Aside from using the gas oven for baking-for-sale days and a bread baking class; the broiler on the electric stove in the basement for making garlic toast; and the crockpot for a day when I wasn't home, Marjorie the Margin Gem has done all of our cooking since September 21st.  The poor girl is in desperate need of a bath from all of her labors too, but she is so rarely cold enough to accomplish that task that it keeps getting put off.

A month ago today, I wrote a blogpost about how I prepare acorn squash in the wood cookstove.  I still have a lot of squash to deal with, and I also have WAY TOO MANY CANS of sweetened condensed milk on hand (this I cannot explain because I'm not sure how it happened).  Thus, I dug out a recipe that I devised when I lived in the little house--over twenty years ago now!  Really, this is a recipe for pumpkin pie using canned pumpkin, but cooked acorn squash works just fine in it with a little tweaking.

Since canned pumpkin is sold by weight, I had to weigh the squash pulp to figure out how much twenty-nine ounces would be.  I think a safe bet would be two and a half to three cups of UNSWEETENED squash pulp. Do take the time to run it through the blender so that you don't end up with stringy custard.


To the squash, add one and a half cans (22.5 oz total) of sweetened condensed milk.  

You can do all sorts of fun things with the remaining half-can of this gooey stuff.  I made hot fudge sauce out of it this time.

Squash puree and sweetened condensed milk.

Into 3 TBLS of molasses, mix 2 tsp. of cinnamon, 1 tsp. of nutmeg, and 1 tsp. of ginger.  Pour this molasses spice mixture into the squash/milk mixture and add a scant teaspoon of salt (omit the salt when using canned pumpkin) and 4 eggs.

All the ingredients in the custard waiting to be beaten together.

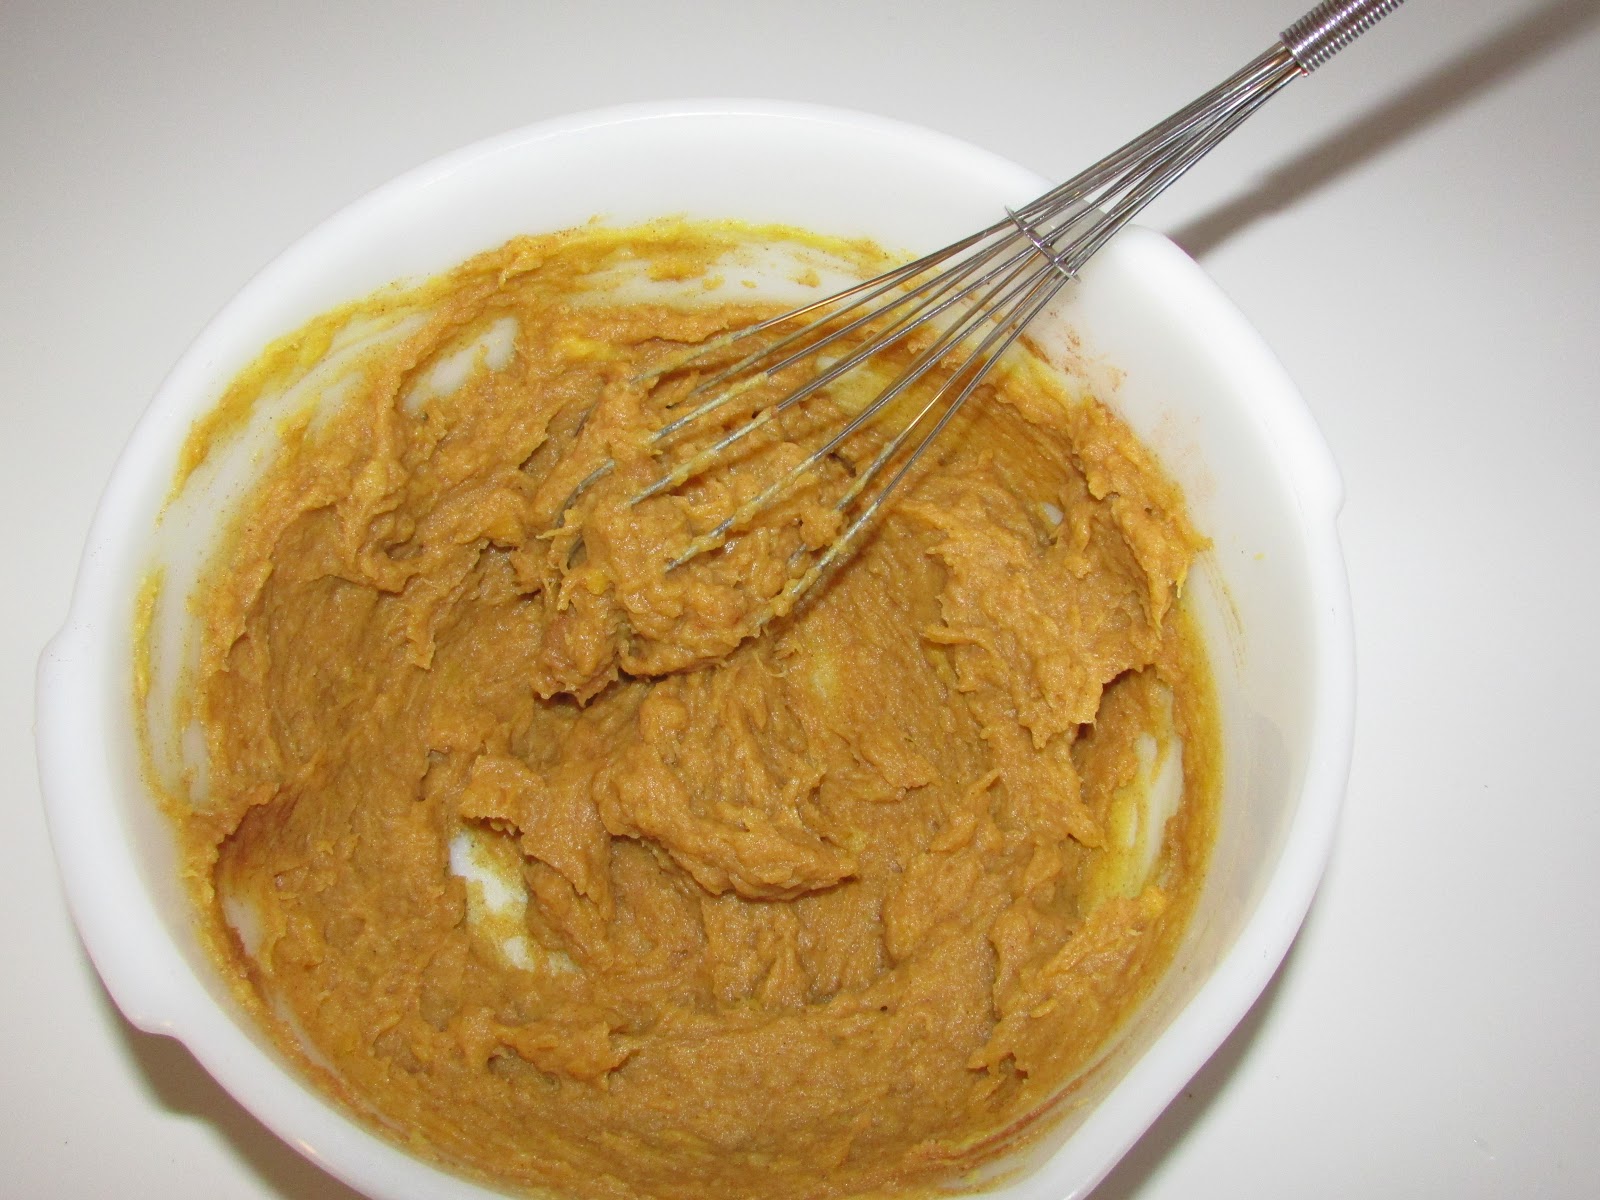
Beat all of the custard ingredients until well blended.

The custard once it was completely mixed.

The mixture will be pretty thin as you can see from the drips running down the side of the bowl in the picture below.  Divide the mixture in half and pour each part into a 9" unbaked pie crust.  For the piecrust recipe that I use, you can visit my post about apple pie here.

Squash pies ready to go into the oven.

Place the pies in a hot oven (about 400ºF or more).  Bake for ten to fifteen minutes at this high temperature, and then let your fire cool to a more moderate oven for another 35-45 minutes or until the custard is completely puffed up and does not appear to jiggle in the middle.  Another reliable way to test this sort of pie is to insert a table knife into the custard half way between the edge and the center.  The knife will come out completely clean if the pie is done.

When you bake in a woodburning cookstove, it is very important to know what signs foods exhibit when they are properly and thoroughly cooked rather than relying on a certain amount of time to have elapsed at a certain temperature.  Actually, I feel like knowing these signs is important even when baking in a modern oven.  I am absolutely convinced that if we were aware of how much the temperature in a modern oven truly fluctuates, we would be quite surprised.

Pardon my soapbox, but while I'm on the subject of modern ovens, I would also like to say that I find it quite amusing when I hear people complain about there being hot spots in wood cookstove ovens.  In both our new gas oven (2012) and my parents' high-end electric oven (2011), even with the convection fan on, these modern ovens have hot spots.  You can easily detect them in a pan of our Roadhouse Dinner Rolls or baking powder biscuits.  This situation was the same in a commercial oven I used earlier this year, too.  Uneven oven heating seems to me to just be a fact of life, and we cooks just have to learn to deal with it.

Sorry, but I feel better now.

The pies just after they had been put in the Margin Gem's oven.

When the pies are done, remove them to a rack to cool.  The custard will fall shortly after this, and they will look like you expect pumpkin pie to look.


Of course, a pie like this is not complete without some whipped cream on the top.


The tweaking that I mentioned earlier in the post is the addition of the salt. Originally, there was no salt in this recipe, but the squash really needed it. I consulted a can of pumpkin and discovered that while salt was not on the ingredient list, a serving of canned pumpkin provided 10% of your recommended daily allowance of sodium.  I'm sure that this is why this recipe didn't taste as good to me as I would have liked.  

I took one of the two pies shown above to some friends of ours, and when they added their own homemade whipped cream, they put additional salt in it because I told them that I thought the pie needed it.  They all found the pie much tastier than I did, so if you make this recipe with squash, be sure to add that half teaspoon of salt.

I'm sure I could have used pureed acorn squash in the pumpkin pie recipe that I normally use, which you can find in this post from 2012.  As I said, though, I was trying to use up an over-abundance of sweetened condensed milk.  I hope you enjoy this one!

Wednesday, November 7, 2018

Awesome Roasted Bacon-Wrapped Maple Pecan Carrots in the Wood Cookstove

So, our Sunday dinner last weekend was really good even if I do say so myself.

The meat dish was a pork roast that I cooked in the Margin Gem using this method.  The roast was frozen solid when it went into the oven at 9:00 a.m. as we were leaving for church.  When we arrived back home at 11:30, it wasn't quite finished yet, but I needed a hotter oven for a new carrot recipe that I wanted to try, so I set one of my stove top ovens on the cooktop and transferred the roast to it.  This way, I could add a lot of biscuit wood to the fire in order to raise the temperature of the Margin Gem's oven but continue gently cooking the roast by moving the tin oven across the stovetop to the appropriate coolness.

Originally, the carrot recipe came from Hey Grill, Hey by Susie Bulloch, a website devoted to recipes for grilling a variety of foods.  Of course, I had to put my own spin on it and convert it for use on the wood cookstove, but she deserves all of the credit for the fabulous original idea.  You should go see her original post with links to a video because you will better understand what I did after you see what inspired me.

We had a wonderful carrot crop this year.  The carrots have had excellent flavor and texture, but they are shorter and thicker than what you usually see in the grocery store, so to make the cooking time in this recipe work for them, I had to halve or quarter some of them after they were scraped and pared at either end in order to make them cook uniformly.

Each peeled carrot (or half or quarter carrot) was wrapped with a slice of bacon.  Some of the carrots were small enough that only part of a slice was needed.

I then placed them on the top of a broiler pan (this was the first time I had ever used a broiler pan--a distinctly modern cooking utensil--inside a wood cookstove!).  I sprinkled them with a little bit of coarse sea salt and a little freshly ground pepper.  Go easy on the sea salt or feel free to omit it altogether; the bacon has plenty of salt in it.

The next step was to slide the carrots into a hot oven (around 400ºF) and let them roast for about 20 minutes.

Taken at the end of the process, this photo shows
the carrots roasting in the Margin Gem's oven, the
pork roast finishing in the stovetop oven, and the
mashed potatoes boiling over the firebox.

Now, this next part is where I went off script a bit.  We had a "baking for sale" day two weeks ago.  We had enough customers at our local farmers' market who asked us if we would be baking during the off season that we have scheduled one day a month on which I do some custom baking.  One of the most popular items that people request is our sweet rolls, and I had a number of orders for them with caramel pecan topping.

When we turn out a pan of these rolls (we often just call them sticky rolls), we put them onto a cooling rack which has been placed inside a jelly roll pan.  This allows us to catch all of the syrup that runs off the rolls.  All through the summer, we scrape this extra syrup into a sauce pan, save it, and then make it into pancake syrup, which is then water bath canned.

Well, for our baking day in October, we had a lot of pecan roll orders.  We try to make sure that as much of the pecan chunks stay on the rolls as possible, but some invariably land beneath the cooling rack, so my collection of syrup drips was very nutty.  To the saucepan of this mixture of pecan pieces, brown sugar, dark corn syrup, and butter, I added some hot water from the teakettle and brought the whole thing to a boil, stirring occasionally until the syrup no longer had any lumps in it.  When I took it off the fire, I added a little over an 1/8 tsp. of Mapleine.

After the first twenty minutes of roasting time had elapsed, I pulled the broiler pan of bacon-wrapped carrots out of the oven and spooned a little of the hot pecan syrup over each of them, taking care that as many pecan pieces remained on the top of the carrots as possible.

The pan of carrots was returned to the hot oven for another five minutes, at which point I removed it again and spooned onto them what remained of the pecan syrup.  The carrots were returned to the oven for another five minutes, which resulted in the pecans being beautifully toasted.  Of course, the vast majority of the syrup dripped down into the bottom of the broiler pan, but enough remained on the carrots to give them a mildly sweet taste.

With the pork roast and mashed potatoes, these carrots were AWESOME! Really, they were so good that I think they could be made as an hors d'oeuvre.

A scrumptious Sunday dinner.  You can see a jar of my
homemade Heinz ketchup at the top left corner, but everything
was so good that I didn't use any of it.

Now, if you aren't making a boat load of pecan rolls like we are, you could easily make a small batch of my homemade pancake syrup, using all brown sugar and reducing the water a little.  The result would be the same, and you could add a few pecans to it.  You can find that recipe here; just scroll down a little in the post to find it since it is about water bath canning on a wood cookstove.


Saturday, November 3, 2018

Easy Baked Fish in the Wood Cookstove

I've mentioned before on this blog that this land-locked Iowa boy prefers to eat meat that originally had fur or feathers on it, but I do occasionally enjoy fish.  This method of baking fish is what my mother used to do when she cooked orange roughy for us when I was growing up.  However, when I find orange roughy these days, it is horribly expensive, so I now use this same method with pollack and feel that it is almost as good.  (In case you haven't followed this blog for very long, I'm all about dirt cheap cooking!)

I think that baking fish is particularly well-suited to the wood cookstove because it doesn't seem to me like it needs a certain oven temperature to be successful so long as your oven is at least above 250ºF.  If you disagree, let me know in the comments section below.

Because I never worry about an exact oven temperature for baking fish, I don't have to build my fire in any particular way before I begin the preparations for it.  I have also baked fish in both of my stovetop ovens quite successfully.

The first thing to do is to put your fish filets in a glass baking dish and sprinkle them with perhaps a tablespoon of lemon juice.  The acidic nature of the lemon juice is why I use a glass dish rather than a metal pan.

I then sprinkle the fish with a little seasoned salt.  I used Lawry's in the picture.  Some regular salt and a little paprika would work, too.  Then add a little bit of pepper.  I've also used a sparing sprinkle of Mrs. Dash, but Nancy doesn't like that, so I just used a tiny bit of freshly ground pepper in the photo below.

Lastly, dot the top of the fish with a little bit of butter--you don't need much!

The fish is ready to go into the oven.

Pop all of this in the oven to bake uncovered until the fish flakes easily when you stick a fork into it.  This occurs at an internal temperature of 145ºF.  The cooking time simply depends on how hot your oven is. Obviously, the hotter it is, the faster it will bake.

The fish is done because it flakes easily.

So quick, so easy, so flexible for the wood cookstove, and so delicious!

The fish was the only part of this meal that did not come from
our farm.  I wrote about preparing the squash in this post last week.