Saturday, May 30, 2015

Rhubarb Cobbler

During rhubarb season in Iowa, I can't help but think of Nancy's grandma Ruth, who was sort of a "Rhubarb Queen" in her day.  Even though I didn't meet Ruth until she was 88 years old, she cooked and kept her own house on the family farm until she was 95, and every spring she would make various rhubarb dishes.  Her rhubarb/pineapple jam is still Nancy's favorite thing to spread on toast, and the following recipe for Rhubarb Cobbler was always Nancy's cousin Nathan's favorite.  This is a particularly good wood cookstove recipe, so I wanted to share it with all of you.

Here is what you will need:

3 to 4 cups raw rhubarb cut into chunks no larger than a half inch
1 3/4 c. sugar, divided
3 Tbsp. butter
1 c. flour
1 tsp. baking powder
1/2 tsp. salt, divided
1/2 c. milk
1 Tbsp. cornstarch
1 cup boiling water


Step 1: Build your fire such that you will have a moderate oven.  Put a teakettle of water directly over the fire so that it will be boiling when you are finished with the other preparations.


Step 2: Cut up rhubarb and place in the bottom of a greased 9" square baking dish.  Because this has a tendency to sometimes run over the sides of the dish during baking, I would tend to favor using only three cups of rhubarb.


Step 3: Cream 3/4 c. sugar and 3 Tbsp. butter.  


Step 4: Mix together the cup of flour, the tsp. of baking powder, and a 1/4 tsp. of the salt.


Step 5: Alternately add the dry ingredients from step 4 with the 1/2 cup milk.  Spread this over the rhubarb.


Step 6: Combine the remaining 1 cup of sugar, 1 Tbsp. cornstarch, and the remaining 1/4 tsp. of salt.  Sprinkle this mixture over the cake.


Step 7: Pour 1 cup of boiling water from the teakettle over the top of the whole mixture.


Step 8: Place baking dish on a cookie sheet or jelly roll pan and bake in a moderate oven for one hour.


Step 9: Serve with milk, cream, or ice cream.

 
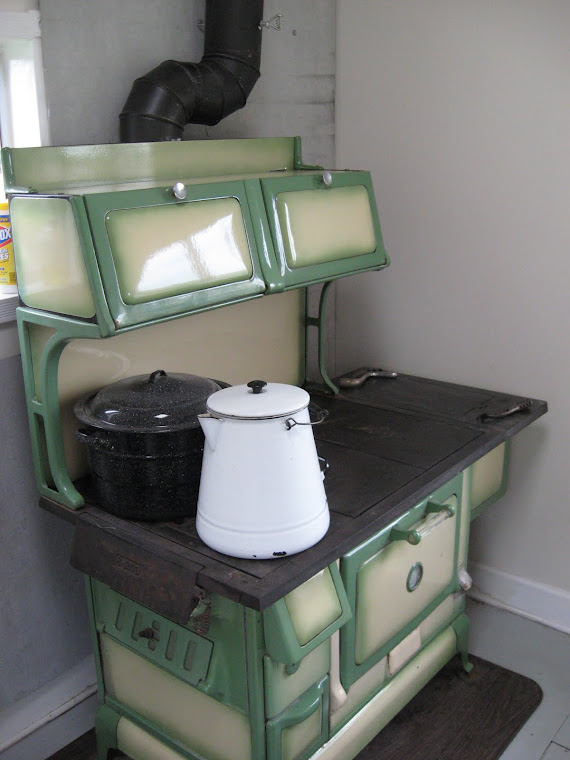
If you have been following this blog for any length of time, you have already figured out that the reason I classify this as an excellent wood cookstove recipe is because it calls for the cup of boiling water just before baking, which takes advantage of the heat generated by the fire as it heats the oven.  As I look over different old-time recipes, I notice that they frequently have boiling water added to them, and I am convinced that part of the reason for this was the teakettle which was ever present on the woodburning range.

Tuesday, May 12, 2015

Baked Halibut


Sometimes one person's misfortune ends up being another person's gain.  Nancy and I were on the "gain" side of that equation when one of my brother and sister-in-law's freezers quit a couple days ago.  Sara caught the food before it spoiled, but they brought a cooler of various kinds of meat and fish that needed to be used in a hurry to our family's Mother's Day dinner, and we were on the receiving end of two prime halibut steaks.

Now, I am not a huge fish eater.  This land-locked Iowa boy prefers meat and poultry over sea-dwelling creatures most any time.  However, my sister shared a recipe for baked halibut several years ago that is out of this world.  Of course, it is a recipe that has managed to make fish--a usually healthy entree on its own--into an artery-clogging joy that may indeed manage to send you out of this world into the next, but you might as well die happy, right?  Besides, I've only made it twice, and those two times have been five years apart.

The last time I made this was in the Qualified range, and we took that out of the kitchen in 2011.  Kevin and Sara had graciously shared some of the halibut that Kevin had caught on a fishing excursion with Sara's dad then, too.  After getting a taste of halibut prepared this way, I was hooked, so we looked for halibut in the grocery store and decided that it was definitely not in our grocery budget.  Therefore, you can kind of understand why I was excited to receive these beautiful halibut steaks.


You can find the recipe that my sister gave us here Taste of Home's website.

The halibut with the sour cream mixture on it.

After putting the sour cream mixture atop the fish and covering it, I slid it into the oven of the Margin Gem.  The oven was quite hot (probably around 450) because I had gotten a little over-zealous with small pieces of wood, trying to get the oven hot in a hurry.  The extra heat in the oven was no problem since our halibut steaks were much thicker than the one-inch ones listed in the recipe and because I think this recipe is pretty forgiving of a higher oven temperature.

The covered halibut in the oven of the Margin Gem.
I'm sorry about the blurriness of this picture; I didn't
have the camera set correctly.

Adding the paprika after the halibut is uncovered
for the last fifteen minutes of baking.

Once again I don't have a photograph of the finished product, but when it is finished, it doesn't look any different than what you see in the last photo, which was taken as it was uncovered before the last fifteen minutes of baking.  I'm sorry for my lack of a photo, but we were in a hurry because we had to get to a meeting.

I hope you enjoy this one.  You know I wouldn't have shared it if I didn't think it was delicious!